ሐምሌ . 28, 2024 11:07 Back to list
How to Effectively Remove the Brake Drum from Your Club Car for Maintenance and Repair
Removing the Brake Drum on a Club Car A Step-by-Step Guide
Removing the brake drum on a Club Car can seem daunting, especially if you're not familiar with the process. However, with the right tools and a bit of patience, you can accomplish it safely and effectively. This article will guide you through the steps involved in removing a brake drum from a Club Car, ensuring you understand each stage of the process.
Tools You Will Need
To begin, gather the necessary tools. You will need
- A jack and jack stands - A lug wrench - A drum brake adjustment tool (if necessary) - A hammer - A screwdriver - Brake cleaner - New brake shoes (if you plan to replace them) - Safety goggles and gloves
Step-by-Step Process
1. Safety First Before you start working on your Club Car, ensure it is parked on a flat, stable surface. Engage the parking brake to prevent any movement. Wear safety goggles and gloves to protect yourself from debris and sharp edges.
2. Lifting the Vehicle Use a jack to lift the rear of the Club Car. Once elevated, secure it with jack stands to prevent any accidental falls. Make sure that the car is stable before proceeding.
3. Removing the Wheels Using a lug wrench, remove the lug nuts that hold the wheel in place. Once you’ve taken off the nuts, carefully remove the wheel to expose the brake drum.
4. Inspecting the Brake Components Before removing the brake drum, it's essential to inspect the brake components for wear or damage. Look for any signs of cracking, excessive wear, or contamination with oil or grease. If the components appear old or worn out, consider replacing them.
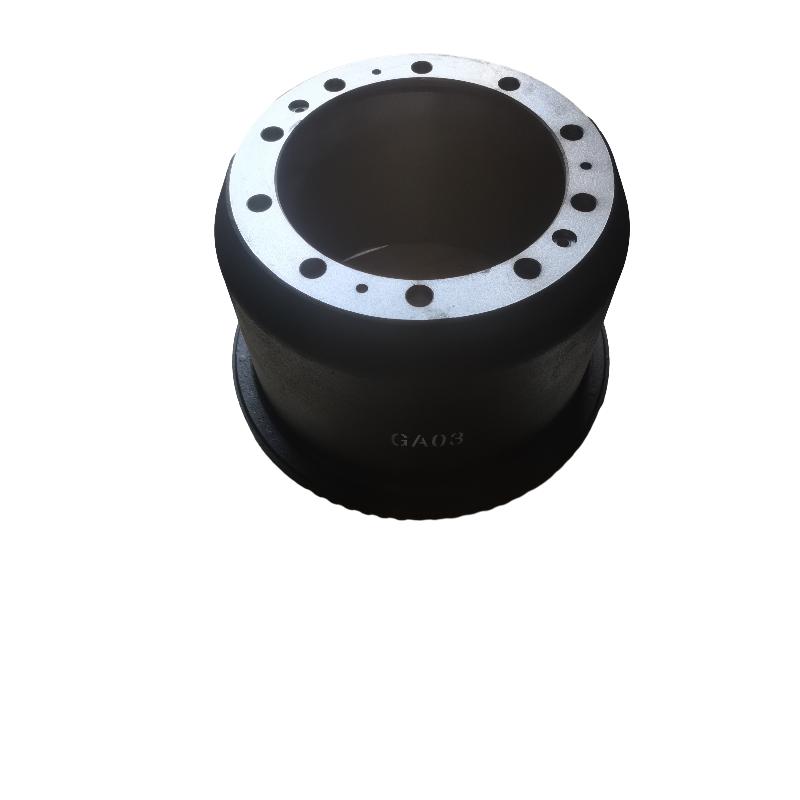
club car brake drum removal

5. Adjusting the Brake Shoes If the brake shoes are too tight against the drum, you will need to adjust them. Look for an adjustment slot on the back of the brake assembly where you can turn the adjuster wheel with a brake adjustment tool or a screwdriver. This will ease the tension and make it easier to remove the drum.
6. Removing the Brake Drum With the shoes adjusted, gently tap the brake drum with a hammer to help loosen it. If the drum is still stuck, you can use a brake drum puller for more leverage. Avoid excessive force as this could damage the drum or other components.
7. Cleaning and Inspecting the Drum Once the drum is off, clean it with brake cleaner to remove any dust or debris. Inspect the inside surface of the drum for scoring or uneven wear. If any abnormalities are present, you may need to replace the drum.
8. Replacing Brake Shoes If you decided to replace the brake shoes, now is the time to do so. Remove the old shoes carefully and install the new ones according to the manufacturer’s guidance, ensuring all clips and springs are securely fastened.
9. Reinstalling the Drum Place the drum back onto the axle, ensuring that it sits correctly. Make any necessary adjustments to the brake shoes to ensure they are aligned appropriately with the drum.
10. Reattach the Wheel Place the wheel back onto the hub and hand-tighten the lug nuts. Once secure, lower the car back to the ground using the jack. After the car is on the ground, use the lug wrench to fully tighten the lug nuts in a crisscross pattern to ensure even pressure.
11. Final Check Once everything is reassembled, perform a final inspection to ensure that all tools have been removed from the working area, and everything is properly secured. Before taking the car out for a test drive, press the brake pedal a few times to seat the new shoes against the drum properly.
Conclusion
Removing the brake drum on a Club Car can be a straightforward process, provided you take the necessary precautions and follow the steps carefully. Regular maintenance, such as checking brake components, can enhance the safety and performance of your vehicle. If you're ever in doubt, don’t hesitate to consult a professional. Happy driving!
-
Iveco Brake Drum | Premium OE Quality for Daily & Eurocargo
NewsAug.22,2025
-
Your Brake Drum Man: Quality & Performance Parts
NewsAug.21,2025
-
Explore Japan: Ultimate Travel Guide & Authentic Experiences
NewsAug.19,2025
-
Your Brake Drum Man: Premium & Reliable Brake Drums for Sale
NewsAug.18,2025
-
ROR Web Development: Build Fast, Scalable, Secure Apps
NewsAug.17,2025
-
Scania Brake Drums: OEM Quality for Optimal Safety & Durability
NewsAug.16,2025
