
የካቲ . 11, 2025 21:15 Back to list
how to get brake drum back on
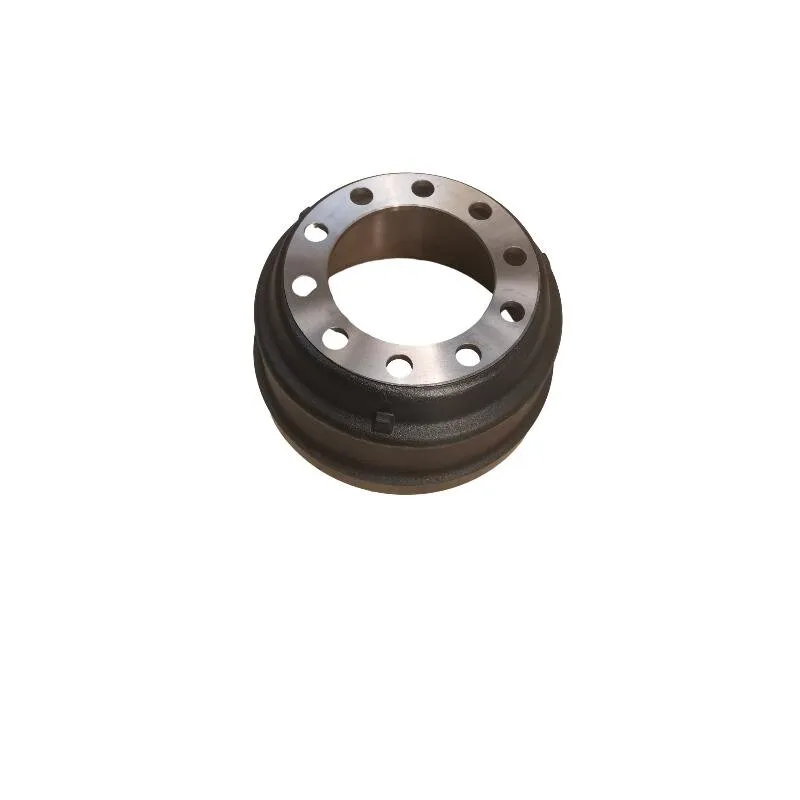
Installing a brake drum can seem daunting, but with the right knowledge and expertise, it becomes a manageable task. Utilizing years of experience in automotive repair, this guide offers a step-by-step process to ensure you not only understand how to fit a brake drum back on but also trust the process for safety and efficiency.
When placing the brake drum, gently slide it over the threaded wheel stud. It’s vital to ensure the drum seats fully and snugly against the hub. If resistance is felt, do not force it; instead, recheck the alignment of the brake shoes and adjust if necessary. Once the drum is in position, rotate it to ensure it moves freely without binding. This simple test confirms the adjustments are accurate and that no parts are inhibiting the drum’s rotation. A binding drum can indicate misalignment or that the brake shoes are set too close. After verifying the drum’s rotation, replace the wheel and tighten the lug nuts to the manufacturer’s specified torque settings. Proper tightening is crucial for avoiding brake and wheel assembly issues. Finally, carefully lower the vehicle to the ground and undertake a test drive to assess the brake system’s responsiveness and efficiency. During the drive, pay keen attention to any unusual noises or vibrations, which can signal improper installation. This comprehensive guide benefits from professional expertise gained over decades of hands-on experience, ensuring you approach the task with authority and trust. Whether a DIY enthusiast or a seasoned mechanic, the principles outlined are designed to enhance your understanding and execution of brake drum reinstallation. In summary, careful preparation, attention to detail, and adherence to automotive standards are the hallmarks of a successful brake drum installation. Following these steps will not only improve the longevity of your brake components but also enhance the safety and reliability of your vehicle on the road. Trust in the process, and prioritize precision and safety for the best outcomes in your automotive endeavors.

When placing the brake drum, gently slide it over the threaded wheel stud. It’s vital to ensure the drum seats fully and snugly against the hub. If resistance is felt, do not force it; instead, recheck the alignment of the brake shoes and adjust if necessary. Once the drum is in position, rotate it to ensure it moves freely without binding. This simple test confirms the adjustments are accurate and that no parts are inhibiting the drum’s rotation. A binding drum can indicate misalignment or that the brake shoes are set too close. After verifying the drum’s rotation, replace the wheel and tighten the lug nuts to the manufacturer’s specified torque settings. Proper tightening is crucial for avoiding brake and wheel assembly issues. Finally, carefully lower the vehicle to the ground and undertake a test drive to assess the brake system’s responsiveness and efficiency. During the drive, pay keen attention to any unusual noises or vibrations, which can signal improper installation. This comprehensive guide benefits from professional expertise gained over decades of hands-on experience, ensuring you approach the task with authority and trust. Whether a DIY enthusiast or a seasoned mechanic, the principles outlined are designed to enhance your understanding and execution of brake drum reinstallation. In summary, careful preparation, attention to detail, and adherence to automotive standards are the hallmarks of a successful brake drum installation. Following these steps will not only improve the longevity of your brake components but also enhance the safety and reliability of your vehicle on the road. Trust in the process, and prioritize precision and safety for the best outcomes in your automotive endeavors.
Latest news
-
High-Quality Trailers for Towing Needs | Shop Now
NewsJul.25,2025
-
Premium MAN Shaving Kit for Effortless Comfort
NewsJul.25,2025
-
HINO Advanced Machinery Solutions - LONGYAO COUNTY YIHANG MACHINERY | Industrial Efficiency&Customization
NewsJul.21,2025
-
HINO Machinery Solutions - LONGYAO COUNTY YIHANG MACHINERY MANUFACTURING CO.LTD | Precision Engineering, Customizable Configurations
NewsJul.21,2025
-
HINO Machinery Solutions - LONGYAO COUNTY YIHANG MACHINERY MANUFACTURING CO.LTD | Precision Engineering, Customizable Configurations
NewsJul.21,2025
-
HINO Machinery Solutions - LONGYAO COUNTY YIHANG MACHINERY MANUFACTURING CO.LTD | Precision Engineering, Customizable Configurations
NewsJul.21,2025