
Fev . 14, 2025 21:59 Back to list
Mitsubishi Lancer Rear Drum Brakes
Experiencing the frustration of being unable to remove stuck brake drums is a common challenge for many vehicle enthusiasts and home mechanics. Successfully addressing this issue requires a mix of patience, skill, and the right tools. This article provides practical steps and insights based on expert advice, helping you safely and effectively remove stuck brake drums.
4. Bolts and Screws Check if there are any retaining bolts or screws holding the drum in place. If visible, remove these using the appropriate sized wrenches. This step is crucial—missing this can result in damaging components when forcefully trying to remove the drum. 5. Utilizing the Adjustment Hole Many brake drum assemblies have an adjustment hole on the backside. Use a brake spoon or flathead screwdriver to access the adjuster gear through this hole. Turn the gear to retract the brake shoes. This can reduce tension on the drum, making removal much easier. 6. Heating Technique In stubborn cases, applying moderate heat from a heat gun around the drum’s center can expand the metal slightly and break the rust bond. This should be done cautiously and in a controlled manner to avoid overheating components, which could result in damage. 7. Pulling the Drum Off After ensuring all possible obstructions are dealt with, attempt to wiggle and pull the drum off evenly. If necessary, use a drum puller—a specialized tool designed to apply force evenly to stubborn drums. Post-removal Inspection Once removed, inspect both the drum and the underlying components for wear or damage, such as cracked surfaces or worn-out brake linings. Replacing or servicing damaged parts is crucial for maintaining brake efficiency and safety. Prevention Tips To minimize future issues, regularly inspect for rust or corrosion. Greasing the hub and contact surfaces occasionally with anti-seize lubricant can prevent the formation of rust that leads to sticking. Less frequent but systematic maintenance checks prolong component life and enhance performance. By following these carefully curated and professionally recommended steps, removing stuck brake drums becomes a manageable task rather than a formidable challenge. Having the right knowledge and tools empowers you to maintain your vehicle yourself, promoting safety and reliability on the road.

4. Bolts and Screws Check if there are any retaining bolts or screws holding the drum in place. If visible, remove these using the appropriate sized wrenches. This step is crucial—missing this can result in damaging components when forcefully trying to remove the drum. 5. Utilizing the Adjustment Hole Many brake drum assemblies have an adjustment hole on the backside. Use a brake spoon or flathead screwdriver to access the adjuster gear through this hole. Turn the gear to retract the brake shoes. This can reduce tension on the drum, making removal much easier. 6. Heating Technique In stubborn cases, applying moderate heat from a heat gun around the drum’s center can expand the metal slightly and break the rust bond. This should be done cautiously and in a controlled manner to avoid overheating components, which could result in damage. 7. Pulling the Drum Off After ensuring all possible obstructions are dealt with, attempt to wiggle and pull the drum off evenly. If necessary, use a drum puller—a specialized tool designed to apply force evenly to stubborn drums. Post-removal Inspection Once removed, inspect both the drum and the underlying components for wear or damage, such as cracked surfaces or worn-out brake linings. Replacing or servicing damaged parts is crucial for maintaining brake efficiency and safety. Prevention Tips To minimize future issues, regularly inspect for rust or corrosion. Greasing the hub and contact surfaces occasionally with anti-seize lubricant can prevent the formation of rust that leads to sticking. Less frequent but systematic maintenance checks prolong component life and enhance performance. By following these carefully curated and professionally recommended steps, removing stuck brake drums becomes a manageable task rather than a formidable challenge. Having the right knowledge and tools empowers you to maintain your vehicle yourself, promoting safety and reliability on the road.
Latest news
-
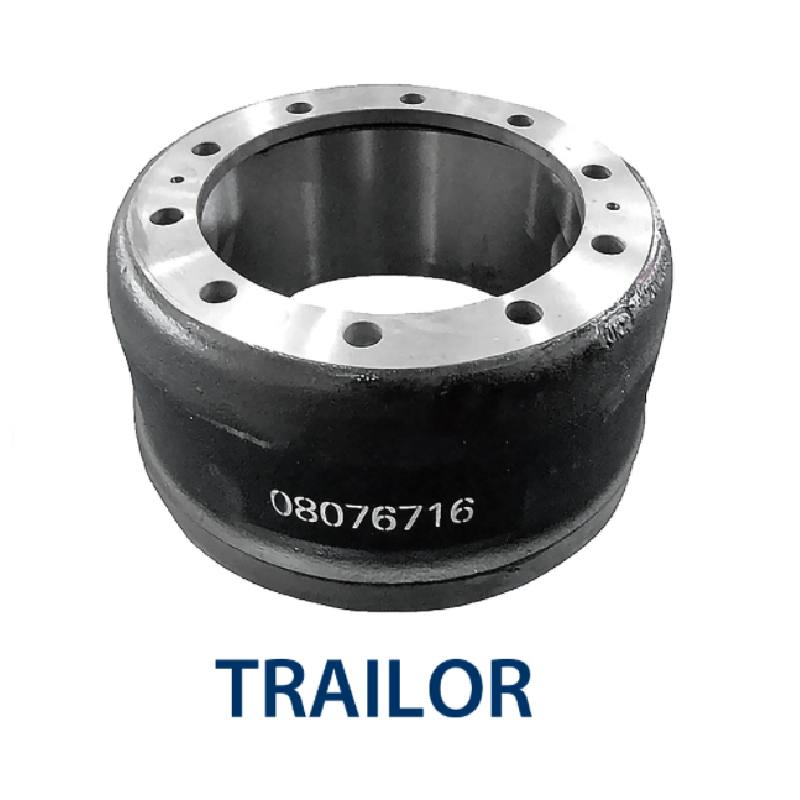
High-Quality Trailers for Towing Needs | Shop Now
NewsJul.25,2025
-
Premium MAN Shaving Kit for Effortless Comfort
NewsJul.25,2025
-
HINO Advanced Machinery Solutions - LONGYAO COUNTY YIHANG MACHINERY | Industrial Efficiency&Customization
NewsJul.21,2025
-
HINO Machinery Solutions - LONGYAO COUNTY YIHANG MACHINERY MANUFACTURING CO.LTD | Precision Engineering, Customizable Configurations
NewsJul.21,2025
-
HINO Machinery Solutions - LONGYAO COUNTY YIHANG MACHINERY MANUFACTURING CO.LTD | Precision Engineering, Customizable Configurations
NewsJul.21,2025
-
HINO Machinery Solutions - LONGYAO COUNTY YIHANG MACHINERY MANUFACTURING CO.LTD | Precision Engineering, Customizable Configurations
NewsJul.21,2025