снеж . 07, 2024 08:57 Back to list
changing brake drums
Changing Brake Drums A Comprehensive Guide
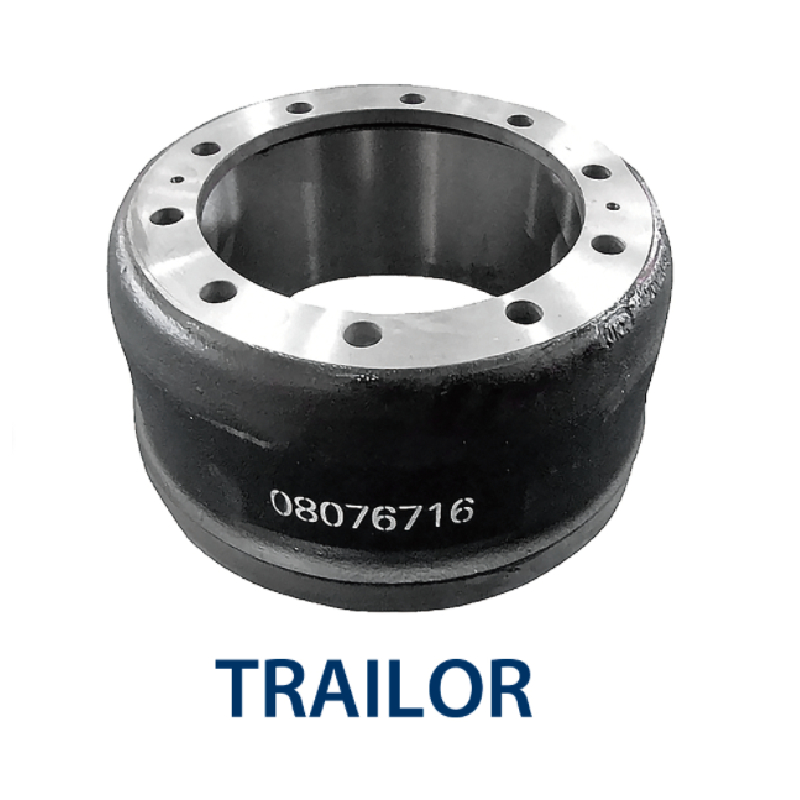
Brake drums are a critical component of a vehicle's braking system, particularly in older cars and certain trucks that employ drum brakes for their rear wheels. Understanding how to change brake drums can save you time and money, and it's a valuable skill for any car enthusiast or an essential maintenance task for vehicle owners. This article will guide you through the process of changing brake drums, covering tools needed, safety precautions, and step-by-step instructions.
Why Change Brake Drums?
Brake drums can wear out over time due to friction, heat, and general wear and tear. Symptoms of wear include a pulsating brake pedal, unusual noises during braking, or reduced braking efficiency. Regular inspection and timely replacement of the brake drums ensure safety and enhance vehicle performance.
Tools and Materials Needed
Before starting the job, gather the following tools and materials
1. Jack and Jack Stands To elevate the vehicle safely. 2. Lug Wrench To remove the wheel. 3. Brake Drum Puller If the drum is stuck. 4. Brake Cleaner For cleaning components. 5. New Brake Drums Make sure they are compatible with your vehicle. 6. Socket Set For removing bolts. 7. Grease and Brake Lubricant For lubrication after installation. 8. Safety Goggles and Gloves For protection during the process.
Safety Precautions
1. Work in a well-ventilated area, preferably outdoors or in a garage with proper air circulation. 2. Always use jack stands after lifting the vehicle with a jack to prevent it from slipping. 3. Wear safety goggles and gloves to protect yourself from dust and debris, as well as sharp metal edges.
Step-by-Step Instructions
changing brake drums

1. Prepare the Vehicle - Park the vehicle on a flat surface and engage the parking brake. - Loosen the lug nuts slightly while the car is still on the ground.
2. Lift the Vehicle - Use the jack to raise the vehicle and secure it with jack stands. - Remove the lug nuts and take off the wheel to access the brake drums.
3. Inspect the Brake Assembly - Before removing the brake drum, check the entire brake assembly, including the shoes, springs, and hardware for wear or damage. Take pictures for reference when reassembling.
4. Remove the Brake Drum - If the drum is stuck, use a brake drum puller to gently remove it. Be cautious not to damage the surrounding components. - Clean the area with brake cleaner to remove dust and debris.
5. Install the New Brake Drum - Slide the new brake drum onto the hub. Ensure it fits snugly but can rotate freely. - Inspect the brake shoes and lubricate contact points with brake grease.
6. Reassemble the Brake System - Reattach the wheel, tighten the lug nuts in a star pattern to ensure even distribution. - Lower the vehicle back to the ground.
7. Test the Brakes - Before driving, pump the brake pedal a few times to seat the shoes against the new drum. - Perform a short test drive at low speed to ensure everything is functioning correctly.
Conclusion
Changing brake drums is a straightforward task that can be accomplished with some basic tools and a little know-how. Regular maintenance of your vehicle’s braking system not only ensures safety but also extends the life of the components. Remember, if you’re ever in doubt or uncomfortable with a DIY repair, it’s always best to consult a professional mechanic. Safe driving starts with reliable brakes, so be proactive in maintaining them!
-
Volvo Brake Drum: OEM Quality, Optimal Safety
NewsAug.27,2025
-
Durable Brake Drum MAZ for Heavy Duty Trucks | High Performance
NewsAug.26,2025
-
FUWA: Premium Quality, Reliable Performance & Innovative Solutions
NewsAug.25,2025
-
Liza Brake Drum: Superior Quality & Performance for Safe Driving
NewsAug.24,2025
-
Iveco Brake Drum | Premium OE Quality for Daily & Eurocargo
NewsAug.22,2025
-
Your Brake Drum Man: Quality & Performance Parts
NewsAug.21,2025
