юли . 22, 2024 02:35 Back to list
How to Safely Dislodge a Stuck Brake Drum for Smooth Vehicle Performance
How to Remove a Stuck Brake Drum A Step-by-Step Guide
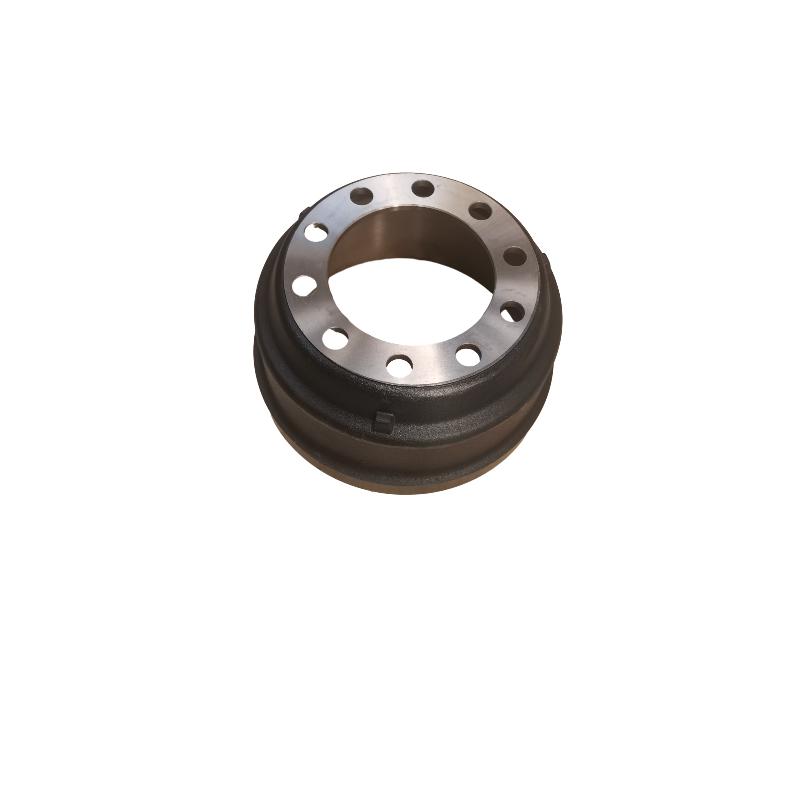
Brake drums are critical components of a vehicle's braking system, often found in older cars, light trucks, and some newer models. Over time, the drum can become stuck due to corrosion, rust, or the buildup of brake dust. Removing a stuck brake drum can be a challenging process, but with the right tools and techniques, it can be accomplished. Here's a comprehensive guide on how to safely and effectively remove a stuck brake drum.
Tools and Materials Needed
Before you begin, ensure you have the following tools and materials ready - Jack and jack stands - Lug wrench - Hammer or mallet - Socket set and ratchet - Brake cleaner - Pry bar - Pliers - Gloves and safety glasses
Step 1 Safety First
Park the vehicle on a flat surface and engage the parking brake. Wear safety glasses and gloves to protect yourself from dust and debris. If you're working on the front brakes, make sure the rear wheels are chocked to prevent any movement.
Step 2 Lift the Vehicle
Using the jack, lift the vehicle and place it securely on jack stands. This step is crucial for your safety, as working under a vehicle with inadequate support can be dangerous. Remove the wheel lug nuts with a lug wrench and take off the wheel to expose the brake drum.
Step 3 Inspect the Brake Drum
Before attempting to remove the drum, inspect it for any visible damage or wear. Look for signs of rust or corrosion that may be causing it to stick. If the drum appears severely worn or damaged, replacing it might be a better option than removing it.
Step 4 Use Brake Cleaner
Spray the brake cleaner around the edges of the drum to help break down any dirt or rust. Allow it to sit for a few minutes. This will help in loosening any debris that could be causing the drum to stick.
remove stuck brake drum

Step 5 Tap the Drum
Using a hammer or mallet, gently tap around the circumference of the brake drum. This technique helps to break the bond between the drum and the hub. Be careful not to hit too hard, as this could damage the drum or surrounding components.
Step 6 Try the Adjustment Mechanism
Many brake drums have a self-adjusting mechanism that can cause them to seize. Locate the adjuster wheel through the access hole in the backing plate. Using a pair of pliers or a flathead screwdriver, turn the adjuster to loosen the brake shoes. Once loosened, the drum may come off more easily.
Step 7 Lever with a Pry Bar
If the drum still won’t budge, take a pry bar and gently apply leverage between the drum and the backing plate. You may need to reposition and adjust your grip to prevent damage. Again, gradual pressure is key to avoiding breakage.
Step 8 Check the Wheel Cylinder
If the drum continues to resist removal, it could be due to a stuck wheel cylinder. Inspect the cylinder for leaks or signs of failure. If it is compromised, it may need replacement, which will make it easier to remove the drum.
Step 9 Final Resort—Drum Removal Tool
If all else fails, consider using a drum puller, a tool designed specifically for removing stuck brake drums. This tool attaches to the drum and applies even pressure to help separate it from the hub.
Conclusion
Removing a stuck brake drum can be a labor-intensive process, but with patience and the right techniques, it's manageable. Always prioritize safety, and when in doubt, consult a professional mechanic. Regular maintenance and cleaning of your brakes can help prevent future issues with stuck drums, ensuring your vehicle’s braking system remains in optimal condition. Remember, a well-functioning brake system is essential for your safety on the road.
-
Brake Drum Man - High-Quality Drum Brake Drums & Brake Shoes for Reliable Performance
NewsJun.24,2025
-
High-Quality Brake Drum Kamaz – Durable Drum Brake Drum & Brake Shoe Replacement
NewsJun.10,2025
-
High-Quality Brake Drum Liza for Drum Brake Systems - Superior Durability and Performance
NewsJun.10,2025
-
High-Quality Brake Drum Kamaz – Durable Drum Brake Drum & Brake Shoe Solutions
NewsJun.10,2025
-
Durable Kamaz Brake Drums High-Performance Truck Parts
NewsJun.09,2025
-
Premium Brake Drum Maz Kit with Shoes Enhanced Braking
NewsJun.09,2025
