aug . 16, 2024 19:32 Back to list
Guide to Proper Brake Drum Installation Techniques for Optimal Performance
Brake Drum Installation A Comprehensive Guide
Proper brake drum installation is crucial for ensuring the safety and performance of your vehicle. Whether you're a seasoned mechanic or a DIY enthusiast, this guide will walk you through the steps and considerations necessary to install brake drums effectively.
Understanding Brake Drums
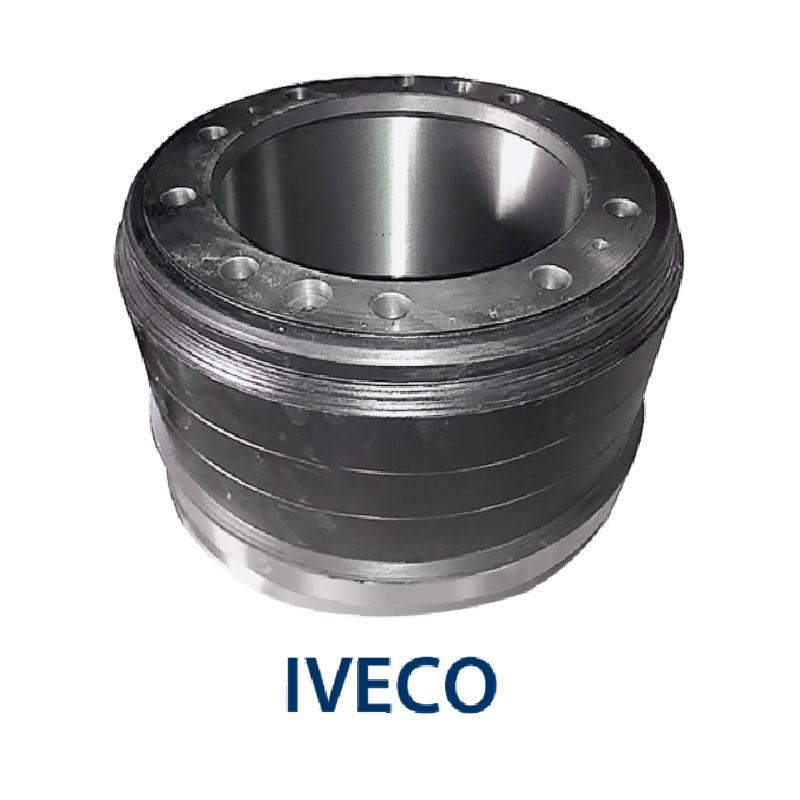
Brake drums play a vital role in a vehicle's braking system. They are part of drum brake assemblies, which use friction to slow down or stop the vehicle. When the brake pedal is pressed, brake shoes inside the drum are pushed against its inner surface, creating resistance that slows the wheels. Over time, brake drums can wear out or become damaged, necessitating replacement.
Tools and Materials Required
Before you begin the installation process, gather the necessary tools and materials
. You'll need- New brake drums - Brake shoes (if not reusing old shoes) - Brake cleaner - Torque wrench - Socket set - Screwdriver - Jack and jack stands - C-clamp or brake tool
Step-by-Step Installation Process
1. Preparation Start by ensuring your vehicle is parked on a flat surface and set the parking brake. Loosen wheel lug nuts slightly before lifting the vehicle.
2. Lifting the Vehicle Use a jack to lift the vehicle and secure it with jack stands. Remove the wheel to access the brake assembly.
brake drum installation

3. Removing Old Brake Drums Locate the retaining screws (if applicable) holding the drum in place. Remove these using a screwdriver or socket wrench. If the drum is stuck, gently tap around its edges with a hammer. Ensure you’re cautious not to damage the surrounding components.
4. Inspecting Components Once the drum is removed, take a moment to inspect the brake shoes, springs, and hardware for wear. If the brake shoes are worn down, it’s a good idea to replace them at the same time as the drums.
5. Cleaning the Assembly Clean the brake assembly with brake cleaner to remove dust, grease, and debris. Be thorough, as residue can affect braking performance.
6. Installing New Brake Drums Align the new drum with the wheel hub and slide it onto the axle. If your drum has retaining screws, reinsert them to secure the drum in place.
7. Reinstalling Brake Shoes If you’ve decided to replace the brake shoes, install the new ones according to the manufacturer's instructions. Use a C-clamp or brake tool to compress the shoes and fit them in place.
8. Reassembling the Wheel Replace the wheel and hand-tighten the lug nuts. Lower the vehicle back to the ground.
9. Tightening the Lug Nuts Use a torque wrench to tighten the lug nuts to the manufacturer's specified torque settings. This step is crucial for safety.
10. Final Checks Before taking your vehicle for a test drive, check the brake pedal feel. It should be firm, not spongy. Pump the brake pedal a few times to ensure proper engagement.
Conclusion
Brake drum installation may seem daunting, but with the correct tools and careful attention to detail, it can be a straightforward task. Regular maintenance and timely replacement of brake components are essential for safe driving. Always consult your vehicle’s service manual for specific details and specifications. If at any point you feel uncertain, don’t hesitate to seek help from a professional mechanic. Safe driving starts with a dependable brake system!
-
Brake Drum Man - High-Quality Drum Brake Drums & Brake Shoes for Reliable Performance
NewsJun.24,2025
-
High-Quality Brake Drum Kamaz – Durable Drum Brake Drum & Brake Shoe Replacement
NewsJun.10,2025
-
High-Quality Brake Drum Liza for Drum Brake Systems - Superior Durability and Performance
NewsJun.10,2025
-
High-Quality Brake Drum Kamaz – Durable Drum Brake Drum & Brake Shoe Solutions
NewsJun.10,2025
-
Durable Kamaz Brake Drums High-Performance Truck Parts
NewsJun.09,2025
-
Premium Brake Drum Maz Kit with Shoes Enhanced Braking
NewsJun.09,2025
