jul. . 27, 2024 14:52 Back to list
Guide to Accurately Measure the Size of Your Trailer Brake Drum for Optimal Performance
Measuring the size of a trailer brake drum is an essential task for ensuring that your trailer's braking system operates efficiently and safely. Whether you're replacing old drums, upgrading your brake system, or simply checking for wear, accurate measurements will help you make the right choice for your trailer's needs. Here's a step-by-step guide on how to measure trailer brake drum size.
Understanding the Brake Drum
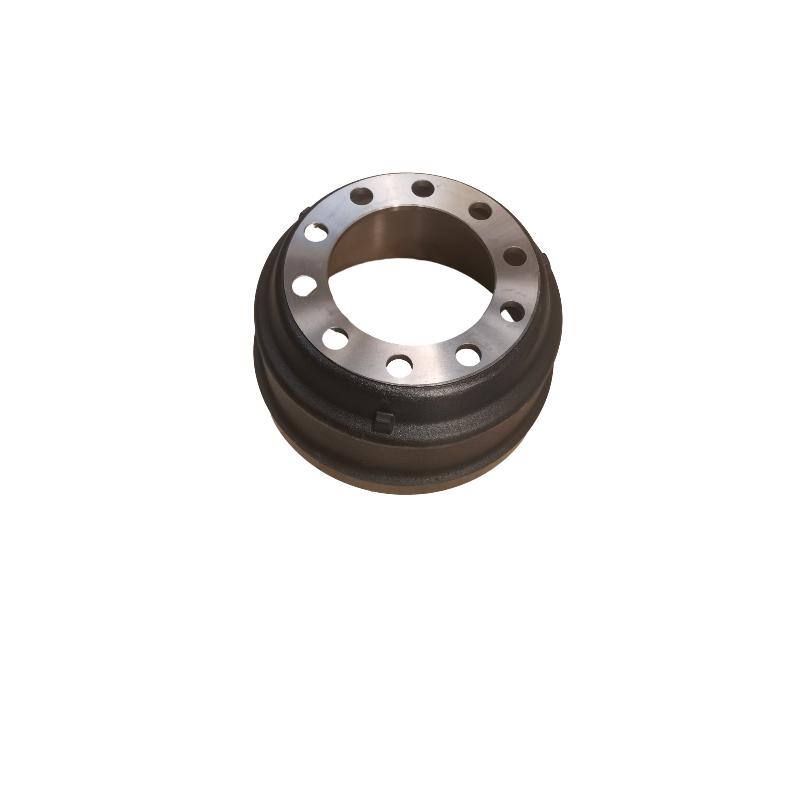
Before diving into the actual measurement process, it's important to understand what a brake drum is. The brake drum is a cylindrical component that houses the brake shoes. When the brakes are applied, the shoes press against the inside of the drum, slowing down and stopping the trailer. There are various factors involved in selecting the right brake drum, with size being one of the most critical.
Tools You'll Need
To accurately measure the size of your trailer brake drum, you'll require the following tools
1. Caliper or Ruler A caliper is ideal for precise measurements, but a standard ruler can also work. 2. Tape Measure This can be useful for measuring around the drum. 3. Marker or Notepad To note down your measurements. 4. Wrench or Socket Set If you need to remove the drum for better access.
Step-by-Step Measurement Process
1. Remove the Wheel
Start by safely lifting the trailer using a jack and securing it on jack stands. Then, remove the wheel to access the brake drum. If you're unsure about how to safely lift the trailer, refer to the owner’s manual for specific instructions.
Inspect the brake drum and clean any dirt or debris that may have accumulated around it. This cleaning will provide a better surface for accurate measurement and help you identify any imperfections on the drum.
how to measure trailer brake drum size

3. Measure the Diameter
Using the caliper, measure the inside diameter of the brake drum. Position the caliper jaws inside the drum and expand them until they touch both sides of the drum. If you're using a ruler, measure the gap between the inner walls of the drum. The measurement in inches will give you the diameter of the drum.
4. Measure the Width
In addition to the diameter, you will need to measure the width of the brake drum. To do this, measure the flat surface of the drum from one edge to the other. Again, use the caliper or ruler to take this measurement. The width is crucial because it must correspond to the width of the brake shoes.
5. Check for Wear
While taking your measurements, it’s a good idea to inspect the drum for signs of wear, such as grooves or cracks. If the drum is excessively worn or damaged, it may need to be replaced regardless of the size.
6. Document Your Measurements
Write down the diameter and width measurements and take notes on any irregularities you observed during your inspection. This information will be invaluable when you go to purchase new brake drums.
Conclusion
Measuring your trailer brake drum size may seem straightforward, but accuracy is vital for the safety and performance of your braking system. By following these steps, you can ensure that your measurements are precise, allowing you to select the correct replacement drums or make informed upgrades. Regular maintenance and inspection of your brake system are essential practices that will keep your trailer safe on the road for years to come. Always remember to consult with a professional mechanic if you’re uncertain about any aspect of your trailer’s braking system.
-
Brake Drum Man - High-Quality Drum Brake Drums & Brake Shoes for Reliable Performance
NewsJun.24,2025
-
High-Quality Brake Drum Kamaz – Durable Drum Brake Drum & Brake Shoe Replacement
NewsJun.10,2025
-
High-Quality Brake Drum Liza for Drum Brake Systems - Superior Durability and Performance
NewsJun.10,2025
-
High-Quality Brake Drum Kamaz – Durable Drum Brake Drum & Brake Shoe Solutions
NewsJun.10,2025
-
Durable Kamaz Brake Drums High-Performance Truck Parts
NewsJun.09,2025
-
Premium Brake Drum Maz Kit with Shoes Enhanced Braking
NewsJun.09,2025
