Set . 18, 2024 23:25 Back to list
how to remove rusty brake drums
How to Remove Rusty Brake Drums
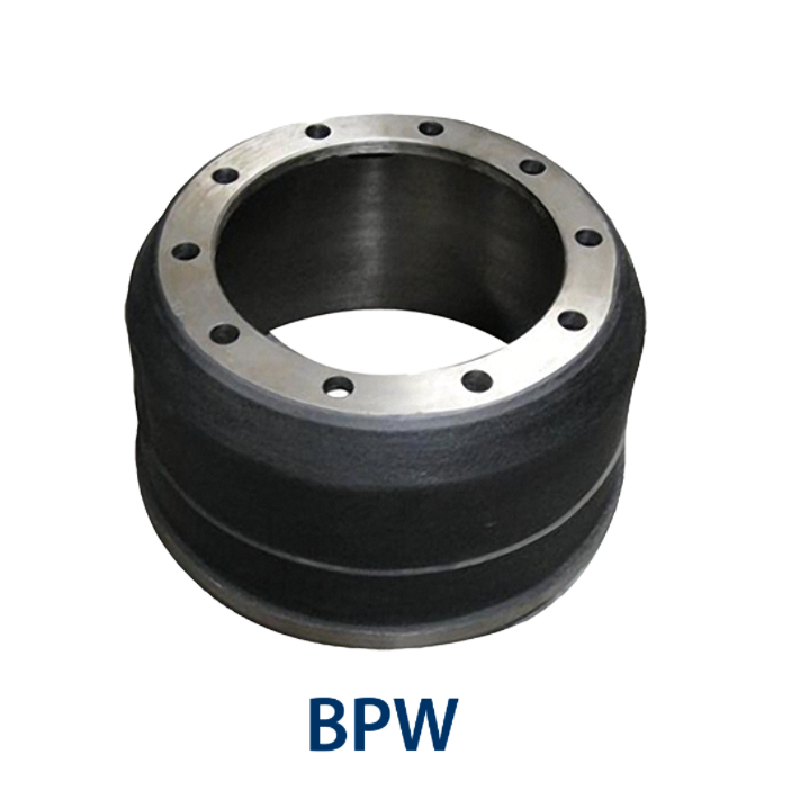
Rusty brake drums can affect vehicular performance and safety, making it crucial to address any rust buildup promptly. Over time, exposure to moisture, road salt, and other environmental factors can lead to rust accumulation on the brake drums. This article outlines a simple and effective approach to removing rusty brake drums, allowing you to restore your vehicle's braking system and ensure safe driving.
Tools and Materials Needed
Before starting the process of removing rusty brake drums, gather the following tools and materials
- Jack and jack stands - Lug wrench - Screwdriver (flathead and Phillips) - Brake cleaner - Wire brush or sandpaper - Socket set - Rust converter (optional) - Protective gloves and goggles
Step-by-Step Instructions
1. Safety First Before you begin, make sure to wear protective goggles and gloves to safeguard your eyes and hands. Always work in a well-ventilated area to avoid inhaling any harmful fumes from the brake cleaner.
2. Lift the Vehicle Using the lug wrench, loosen the lug nuts on the wheel of the brake drum you plan to remove, but do not fully remove them yet. Next, raise the vehicle using the jack and secure it with jack stands. Once the car is lifted, remove the lug nuts completely and take off the wheel.
3. Inspect the Brake Drum Before proceeding to remove the drum, inspect it for any significant damage or severe rust. If the rust is severe, consider replacing the drum rather than just cleaning it.
how to remove rusty brake drums

4. Remove the Brake Drum Locate the retaining screws that secure the brake drum. Use a screwdriver (flathead or Phillips depending on the screw type) to remove these screws. If the drum is stuck due to rust, gently tap it with a rubber mallet to break the bond. Be cautious not to damage other components during this process.
5. Clean the Brake Drum Once the drum is removed, take it to a safe work area. Use a wire brush or sandpaper to scrub away the rust. For stubborn rust spots, apply brake cleaner and let it sit for a few minutes before scrubbing. This helps loosen the rust and makes cleaning easier.
6. Prevent Future Rust After thoroughly cleaning the drum, consider using a rust converter to create a protective barrier against future rust formation. This step is especially important if you live in an area prone to moisture and road salt.
7. Reassemble After cleaning or replacing the drum, it's time to reassemble. If you used a rust converter, allow it to dry as per the manufacturer’s instructions. Then, reinstall the drum onto the axle, secure it with the retaining screws, and put the wheel back on, tightening the lug nuts in a star pattern to distribute pressure evenly.
8. Lower the Vehicle Once everything is reassembled and tightened, carefully lower the vehicle back to the ground. After lowering, perform a final check to ensure that the lug nuts are secure.
9. Test Drive Finally, take the vehicle for a short test drive to ensure that the braking system functions correctly and that there are no unusual noises or vibrations.
Conclusion
Removing rusty brake drums may seem daunting, but with the right tools and a systematic approach, it can be accomplished effectively. Regular maintenance, including monitoring rust development on brake components, is essential for vehicle safety and performance. By following these steps, you can ensure that your braking system remains in optimal condition, providing peace of mind during your drives.
-
High-Quality Brake Drum MAZ – Durable Drum Brake Drum & Brake Drum and Brake Shoe Solutions
NewsJul.05,2025
-
High-Quality Brake Drum Iveco - Durable Drum Brake Drum & Brake Shoe Solutions
NewsJul.05,2025
-
High-Quality Brake Drum MAZ – Durable Drum Brake Drum & Brake Drum and Brake Shoe Solutions
NewsJul.04,2025
-
Brake Drum Man - High-Quality Drum Brake Drums & Brake Shoes for Reliable Performance
NewsJun.24,2025
-
High-Quality Brake Drum Kamaz – Durable Drum Brake Drum & Brake Shoe Replacement
NewsJun.10,2025
-
High-Quality Brake Drum Liza for Drum Brake Systems - Superior Durability and Performance
NewsJun.10,2025
