Nov . 12, 2024 13:41 Back to list
how to adjust brake drum shoes
How to Adjust Brake Drum Shoes A Step-by-Step Guide
Adjusting the brake drum shoes on your vehicle is an essential maintenance task that can help ensure optimal braking performance and prolong the life of your braking system. While this task may seem daunting for some, with the right tools and guidance, you can successfully adjust your brake drum shoes at home. Here’s a step-by-step guide to help you through the process.
Tools and Materials Needed
Before you begin, gather the necessary tools and materials - Jack and jack stands - Lug wrench - Brake cleaner - A small screwdriver or brake adjustment tool - Torque wrench - Safety glasses and gloves
Step 1 Prepare Your Vehicle
1. Safety First Park your vehicle on a flat surface, engage the parking brake, and place wheel chocks around the wheels that will remain on the ground. 2. Lift the Vehicle Using the jack, lift the rear or front of the vehicle, depending on which brakes you’re adjusting. Secure the vehicle with jack stands to ensure safety while you work.
3. Remove the Wheels Use the lug wrench to take off the lug nuts and remove the wheels, providing clear access to the brake drums.
Step 2 Inspect the Brake Components
1. Clean the Area Before adjustments, use brake cleaner to remove dust and debris from the brake assembly. This helps ensure accurate adjustments and allows for better visibility when inspecting components.
2. Check Brake Shoes Visually inspect the brake shoes for wear. If they are excessively worn, it may be necessary to replace them rather than just adjust them.
Step 3 Adjust the Brake Shoes
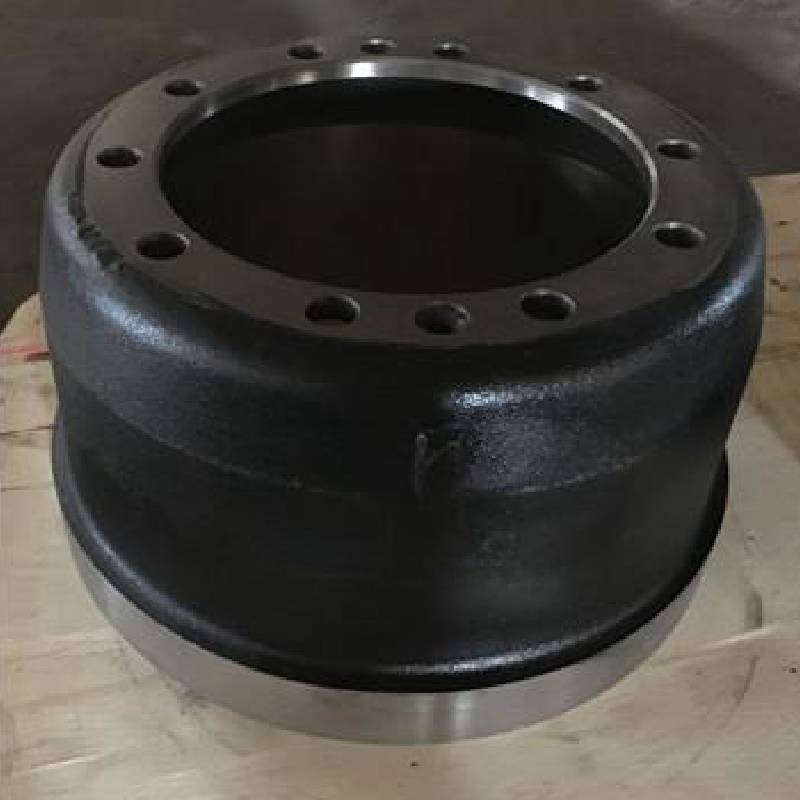
1. Locate the Adjusting Mechanism Inside the brake drum assembly, there will be an adjuster wheel or notch that controls the position of the brake shoes. This is often accessible through a hole in the backing plate.
how to adjust brake drum shoes

2. Adjusting the Shoes Using a small screwdriver or brake adjustment tool, turn the adjuster. If you’re using a star wheel type, turn it in the direction that tightens the brakes until the shoes slightly drag against the drum. Be careful not to over-tighten, as this can cause premature wear or even brake failure.
3. Check for Proper Engagement After adjusting, manually rotate the drum to ensure it moves freely but makes contact with the shoes. You may need to repeat the adjustment process a few times.
Step 4 Reassemble and Test
1. Reinstall the Drum Once satisfied with the adjustment, put the brake drum back on, ensuring all parts align correctly.
2. Put the Wheel Back On Place the wheel back onto the hub and hand tighten the lug nuts. Do not fully torque them yet.
3. Lower the Vehicle Carefully remove the jack stands and lower the vehicle back to the ground.
4. Torque the Lug Nuts Using a torque wrench, tighten the lug nuts to the manufacturer’s specifications.
Step 5 Final Checks
1. Test Drive Before hitting the road, conduct a short test drive in a safe area to ensure the brakes are functioning correctly. Listen for any unusual noises and pay attention to the braking feel.
2. Re-inspect After the test drive, recheck the adjustment and look for any signs of issues.
Conclusion
Adjusting your brake drum shoes is an essential part of vehicle maintenance that can significantly enhance safety and performance. If at any point you feel unsure or uncomfortable with the process, don’t hesitate to consult a professional mechanic. Regular brake maintenance will help ensure a smooth and safe driving experience for you and your passengers.
-
Iveco Brake Drum | Premium OE Quality for Daily & Eurocargo
NewsAug.22,2025
-
Your Brake Drum Man: Quality & Performance Parts
NewsAug.21,2025
-
Explore Japan: Ultimate Travel Guide & Authentic Experiences
NewsAug.19,2025
-
Your Brake Drum Man: Premium & Reliable Brake Drums for Sale
NewsAug.18,2025
-
ROR Web Development: Build Fast, Scalable, Secure Apps
NewsAug.17,2025
-
Scania Brake Drums: OEM Quality for Optimal Safety & Durability
NewsAug.16,2025
