Lis . 10, 2024 02:35 Back to list
Best Practices for Efficiently Removing Brake Drums Tips and Techniques
Tips for Brake Drum Removal
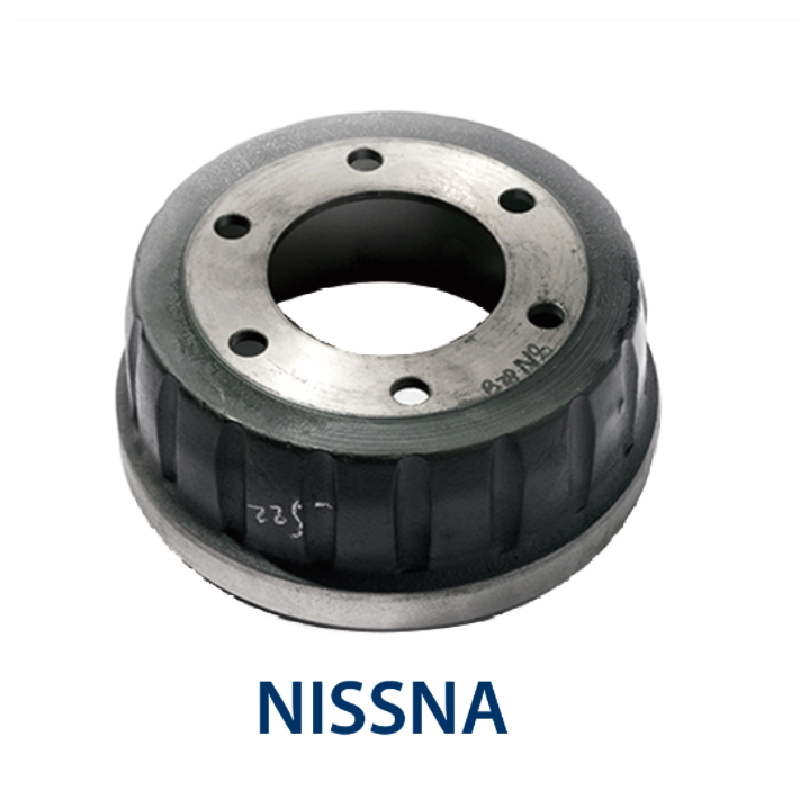
When it comes to maintaining your vehicle, one of the key components that requires periodic inspection and service is the brake system. Among these, brake drums play a significant role, especially in older vehicles and certain models still equipped with drum brakes. Removing brake drums might seem like a daunting task, but with the right tips and techniques, it can be accomplished efficiently and safely. Here are some essential tips for brake drum removal.
1. Safety First
Before diving into the project, prioritize safety. Ensure that the vehicle is parked on a flat surface and engage the parking brake. Use wheel chocks to secure the wheels that will not be lifted. Wearing safety glasses and gloves can protect you from dust, debris, and any accidental injuries.
2. Gather the Right Tools
Preparation is key. Before you start, gather all the necessary tools a lug wrench, a jack, jack stands, a brake drum puller (if needed), a hammer, and a basic socket set. Having everything on hand will streamline the process and save you time.
3. Loosen the Lug Nuts
Using your lug wrench, loosen the lug nuts on the wheel that you plan to work on, but do not remove them entirely. This step is easier done while the wheel is still on the ground. Once the nuts are loosened, use your jack to lift the vehicle and secure it with jack stands.
4. Remove the Wheel
Now that the vehicle is secured, completely remove the lug nuts and take off the wheel. With the wheel off, you will have a clear view of the brake drum and associated components.
5. Inspect for Retaining Screws
Before attempting to remove the brake drum, check for any retaining screws or clips. Some drum models have screws that secure the drum to the hub. If these are present, make sure to remove them before proceeding.
brake drum removal tips

6. Assess for Rust or Corrosion
Brake drums can sometimes become rusted or corroded to the hub. If you notice any signs of this, gently tapping the drum with a hammer can help loosen it. Be cautious not to damage the drum or the surrounding components while doing this.
7. Use a Brake Drum Puller if Necessary
In instances where the drum is particularly stubborn, a brake drum puller can be invaluable. This tool applies even pressure around the drum, allowing for easier removal without damaging the drum or the brake shoes.
8. Grasp the Drum Firmly
Once the drum appears loose, attempt to pull it off by gripping it firmly with both hands. If it still doesn't budge, recheck for any remaining screws or clips that may be preventing its removal.
9. Inspect the Components
After successfully removing the drum, take the opportunity to inspect the brake shoes, springs, and any other associated components for wear and tear. Look for uneven wear patterns, which can indicate other issues that may need addressing.
10. Clean the Area
Before installing new drums or reassembling, clean the brake assembly. Remove any dust or debris, which can lead to performance issues. A clean surface ensures that the new drums will fit properly and perform well.
Conclusion
Removing brake drums is a task that can be performed by a DIY enthusiast with a bit of preparation and the right tools. By following these tips, you can ensure a safe and effective brake drum removal process. Always remember to consult your vehicle’s service manual for specific instructions and torque specifications. If in doubt, don’t hesitate to seek professional help—safety should never be compromised. Happy wrenching!
-
Iveco Brake Drum | Premium OE Quality for Daily & Eurocargo
NewsAug.22,2025
-
Your Brake Drum Man: Quality & Performance Parts
NewsAug.21,2025
-
Explore Japan: Ultimate Travel Guide & Authentic Experiences
NewsAug.19,2025
-
Your Brake Drum Man: Premium & Reliable Brake Drums for Sale
NewsAug.18,2025
-
ROR Web Development: Build Fast, Scalable, Secure Apps
NewsAug.17,2025
-
Scania Brake Drums: OEM Quality for Optimal Safety & Durability
NewsAug.16,2025
