Srp . 01, 2024 01:16 Back to list
Effective Methods for Eliminating Rust from Your Brake Drums Safely and Efficiently
How to Remove Rust from Brake Drums A Step-by-Step Guide
Rust can be a significant issue for brake drums, especially for vehicles that are exposed to moisture or harsh conditions. Left unchecked, rust can compromise braking performance and lead to costly repairs. Fortunately, removing rust from brake drums is a manageable task that you can tackle yourself with the right tools and techniques. This article provides a step-by-step guide on how to effectively remove rust from brake drums.
Understanding the Problem
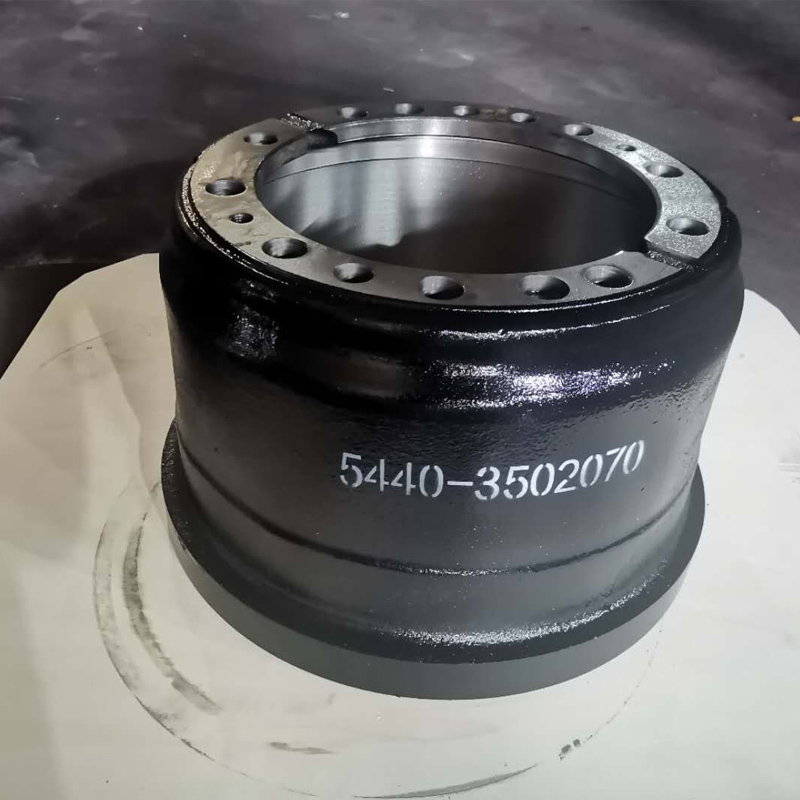
Brake drums are typically made of cast iron, which is susceptible to rusting when exposed to moisture. Rust can form on the surface of the brake drum, leading to uneven braking, noise, and potential damage to brake pads and shoes. Hence, it is crucial to address rust issues promptly to ensure vehicle safety.
Tools and Materials Needed
Before starting, gather the following tools and materials
- Safety glasses and gloves - Jack and jack stands - Lug wrench - Wire brush or rust scraper - Sandpaper (medium and fine grit) - Rust-inhibiting primer - High-temperature paint (optional) - Brake cleaner - Clean rag
Step-by-Step Instructions
Step 1 Prepare the Vehicle
Before working on the brake drums, ensure the vehicle is parked on a flat surface. Engage the parking brake and, if necessary, place wheel chocks behind the opposite tires. Using a lug wrench, loosen the lug nuts slightly before raising the vehicle.
Step 2 Raise the Vehicle
Using a jack, lift the vehicle and secure it with jack stands for safety. Remove the wheel to access the brake drum. Inspect the brake components for any additional wear or damage while you're at it.
Step 3 Remove the Brake Drum
how to remove rust from brake drums

Depending on your vehicle's design, you may need to remove the brake shoes to take off the drum
. Consult your vehicle's manual for specific instructions on removing the brake drum as it varies by model.Step 4 Inspect for Damage
Once the drum is removed, inspect it for heavy rust, pitting, or cracking. If the rust is superficial, you can proceed with the removal process. If the drum shows severe wear, consider replacing it altogether.
Step 5 Remove the Rust
Using a wire brush or rust scraper, start removing the surface rust from the drum. For more stubborn rust, sandpaper can be employed, beginning with medium grit before finishing with fine grit to smoothen the surface. Ensure to wear safety glasses and gloves during this process to protect yourself from debris.
Step 6 Clean the Drum
Once you’ve removed the rust, clean the drum thoroughly using brake cleaner. This will help remove dust, debris, and any remaining rust particles. Wipe everything down with a clean rag to ensure a smooth finish.
Step 7 Apply Rust Inhibitor
After cleaning, it’s a good idea to apply a rust-inhibiting primer to the brake drum's surface. This helps prevent future rust formation. If desired, you can also paint the drum with high-temperature paint for added protection and improved aesthetics.
Step 8 Reassemble
Carefully reinstall the brake drum and brake shoes (if removed). Replace the wheel and tighten the lug nuts by hand. Lower the vehicle and securely tighten the lug nuts using a lug wrench in a crisscross pattern to ensure even pressure.
Final Thoughts
Regular maintenance of your brake components, including periodic inspection for rust, is crucial for vehicle safety and performance. By following these steps to remove rust from brake drums, you can enhance the longevity of your brake system and ensure optimal performance. If at any point you feel uncertain about the process, don’t hesitate to consult a professional mechanic for assistance. Remember, safety first!
-
Brake Drum Man - High-Quality Drum Brake Drums & Brake Shoes for Reliable Performance
NewsJun.24,2025
-
High-Quality Brake Drum Kamaz – Durable Drum Brake Drum & Brake Shoe Replacement
NewsJun.10,2025
-
High-Quality Brake Drum Liza for Drum Brake Systems - Superior Durability and Performance
NewsJun.10,2025
-
High-Quality Brake Drum Kamaz – Durable Drum Brake Drum & Brake Shoe Solutions
NewsJun.10,2025
-
Durable Kamaz Brake Drums High-Performance Truck Parts
NewsJun.09,2025
-
Premium Brake Drum Maz Kit with Shoes Enhanced Braking
NewsJun.09,2025
