Tach . 14, 2024 07:10 Back to list
how to measure brake drum
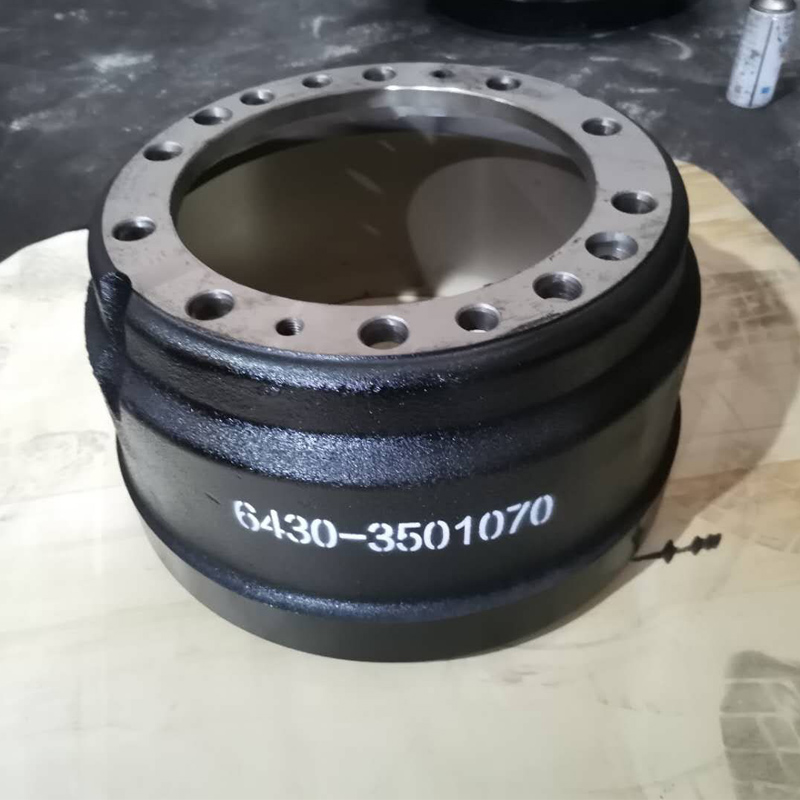
How to Measure a Brake Drum
Measuring a brake drum is a crucial task that ensures your vehicle's braking system operates efficiently and safely. Brake drums are integral components of a vehicle's braking system, providing the surface against which the brake shoes press to slow down or stop the vehicle. Over time, these drums can wear, warp, or become damaged, leading to diminished braking performance and potential safety hazards. Here’s a step-by-step guide on how to accurately measure a brake drum.
Tools You’ll Need
Before you start, gather the necessary tools - A caliper (digital or manual) - A micrometer (optional) - A ruler or tape measure - Clean cloth - Brake drum gauge (if available)
Step 1 Safety First
Safety is paramount when working on any vehicle component. Start by ensuring the vehicle is parked on a flat surface, the parking brake is engaged, and the wheels are chocked to prevent any movement. Wear safety glasses and gloves to protect yourself from debris and sharp edges.
Step 2 Remove the Wheel
To access the brake drum, you will need to remove the wheel. Loosen the lug nuts with a lug wrench but do not remove them completely. Raise the vehicle using a jack and secure it with jack stands. Once the vehicle is securely lifted, remove the lug nuts and take off the wheel.
Step 3 Clean the Brake Drum
Before taking measurements, clean the brake drum’s surface using a clean cloth. Remove any dirt, dust, or brake dust that may affect the accuracy of your measurements. A clean surface ensures that you can take precise readings.
Step 4 Inspect the Brake Drum
how to measure brake drum

Look for signs of wear, cracking, or warping. A visual inspection can reveal whether the drum needs to be replaced or can be resurfaced. If the drum has deep grooves or excessive scoring, it likely needs replacement.
Step 5 Measure the Diameter
Using a caliper, measure the diameter of the brake drum. Place the caliper inside the drum to measure the inner diameter at several points (ideally at the top, bottom, and sides) to ensure uniformity. Record the smallest measurement, as this will be your effective working diameter. If you have a brake drum gauge, use it for a more precise measurement.
Step 6 Measure the Width
Next, you should measure the drum’s width. Use the caliper to measure the width of the drum where the brake shoes make contact. Again, measure at different points to ensure accuracy, as uneven wear may occur.
Step 7 Verify Minimum Specifications
Consult your vehicle’s service manual or manufacturer specifications to find the minimum and maximum allowable diameter and width for the brake drum. This information is crucial to determine if the drum is still within safe operating limits. If your measurements indicate that the drum has exceeded these limits, it is time for replacement.
Step 8 Reassemble
Once you have taken all necessary measurements and determined the condition of the brake drum, reassemble the components. Replace the wheel, tighten the lug nuts to the manufacturer’s specifications, and lower the vehicle. Properly dispose of any old brake components if replacements are needed.
Conclusion
Measuring a brake drum is a straightforward but essential task to ensure your vehicle's safety and performance. Regular maintenance and inspection can prevent significant braking issues and extend the life of your vehicle's braking system. If you are uncomfortable performing this task or find that the brake drum has worn beyond acceptable limits, consider consulting a professional mechanic for assistance. Remember, the effectiveness of your brakes is vital to your overall safety on the road.
-
Explore Japan: Ultimate Travel Guide & Authentic Experiences
NewsAug.19,2025
-
Your Brake Drum Man: Premium & Reliable Brake Drums for Sale
NewsAug.18,2025
-
ROR Web Development: Build Fast, Scalable, Secure Apps
NewsAug.17,2025
-
Scania Brake Drums: OEM Quality for Optimal Safety & Durability
NewsAug.16,2025
-
R.V.I: Advanced Remote Visual Inspection for Precision
NewsAug.15,2025
-
Discover HYUNDA: Innovative Vehicles, Equipment & Solutions
NewsAug.14,2025
