Δεκ . 11, 2024 09:20 Back to list
Tips for Safely Removing Brake Drum from Your Vehicle
How to Get Brake Drum Off A Step-by-Step Guide
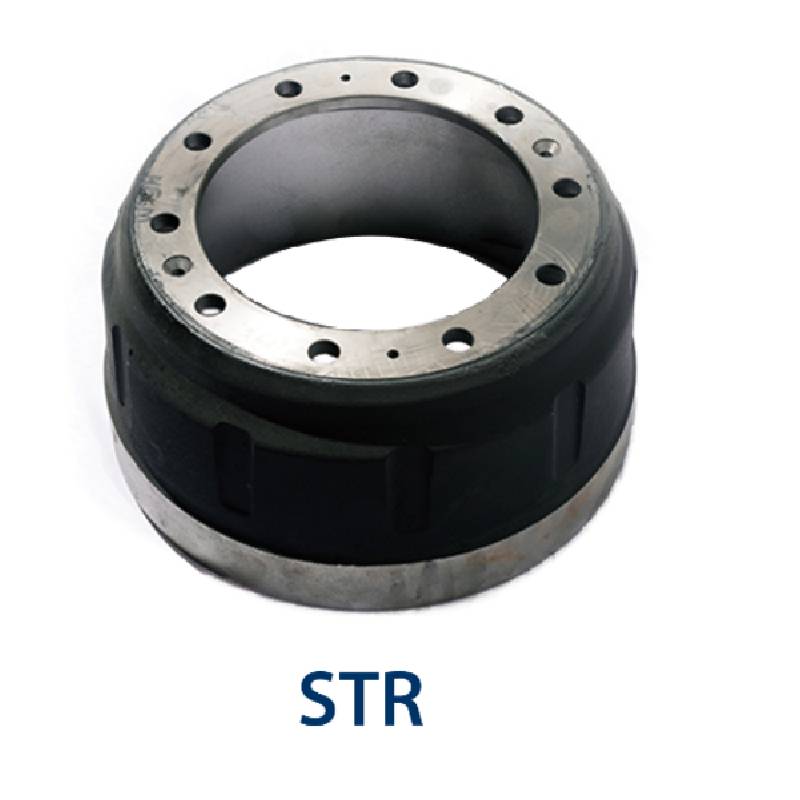
Removing a brake drum can be a daunting task for many car owners, but with the right tools and a bit of patience, you can do it yourself. Brake drums are an essential part of a vehicle's braking system, typically found in older models or in rear brakes of certain vehicles. Here is a step-by-step guide on how to safely get a brake drum off your car.
Tools You Will Need
Before you begin, gather the following tools - Jack and jack stands - Lug wrench - Brake drum puller (if necessary) - Hammer or mallet - Screwdrivers (flathead and Phillips) - Brake cleaner - Safety glasses and gloves
Step 1 Secure the Vehicle
Start by parking your vehicle on a flat surface. Engage the parking brake and place wheel chocks behind the front wheels to prevent any movement. This is crucial for your safety during the removal process.
Step 2 Loosen the Lug Nuts
Using the lug wrench, loosen the lug nuts on the rear wheels where the brake drums are located
. Do not remove them completely yet; just break the resistance so they can be removed easily once the vehicle is elevated.Step 3 Jack Up the Vehicle
Using the jack, lift the rear of the vehicle off the ground. Once it’s elevated, place jack stands under the vehicle to ensure it is secure and stable. Always prioritize safety by never working under a vehicle supported only by a jack.
Step 4 Remove the Wheel
how to get brake drum off

Now that the vehicle is safely elevated, completely remove the lug nuts and take off the wheel. Set the wheel aside and make sure that you keep the lug nuts in a safe place.
Step 5 Inspect the Brake Drum
Before attempting to remove the brake drum, inspect it for any visible retaining screws or clips that might be holding it in place. Some drums are secured by small screws that will need to be removed with a screwdriver. If your drum has no visible screws, it may simply be held in place by rust or debris.
Step 6 Remove the Brake Drum
If the brake drum does not come off easily, you can use a hammer or mallet to tap around the edge of the drum gently. Be careful not to hit it too hard, as this could cause damage. In some cases, you may find it necessary to use a brake drum puller, which can provide the additional force needed to remove the drum without causing damage. Follow the directions for the puller closely to ensure a proper and safe removal.
Step 7 Clean and Inspect
Once the brake drum is off, take the time to clean it with brake cleaner to remove any dust or debris. This is also an excellent opportunity to inspect the brake shoes and hardware for wear and tear. If you notice any significant wear, it might be time to replace those components.
Step 8 Reinstallation
To reinstall the brake drum, simply reverse the process. Make sure any retaining screws are tightened securely and the drum is seated properly. Replace the wheel, hand-tighten the lug nuts, and lower the vehicle back to the ground before fully tightening the nuts.
Conclusion
Removing a brake drum is a manageable task if you take the proper safety precautions and follow the steps outlined above. Regular maintenance and inspection of your braking system are essential for safe driving. If you ever doubt your ability to perform this task, don't hesitate to consult a professional mechanic. Remember, safety first!
-
Volvo Brake Drum: OEM Quality, Optimal Safety
NewsAug.27,2025
-
Durable Brake Drum MAZ for Heavy Duty Trucks | High Performance
NewsAug.26,2025
-
FUWA: Premium Quality, Reliable Performance & Innovative Solutions
NewsAug.25,2025
-
Liza Brake Drum: Superior Quality & Performance for Safe Driving
NewsAug.24,2025
-
Iveco Brake Drum | Premium OE Quality for Daily & Eurocargo
NewsAug.22,2025
-
Your Brake Drum Man: Quality & Performance Parts
NewsAug.21,2025
