
okt . 06, 2024 13:49 Back to list
how to remove frozen brake drum
How to Remove a Frozen Brake Drum
When working on a vehicle, one common issue that many mechanics encounter is a frozen brake drum. This can happen for a variety of reasons, such as rust, corrosion, or even just general wear and tear over time. A frozen brake drum can prevent the wheel from turning freely, making it difficult or impossible to drive the vehicle. Fortunately, there are several methods you can use to remove a frozen brake drum. Here’s a step-by-step guide on how to do it safely and effectively.
Tools and Materials Needed
Before you begin, make sure you have the following tools and materials ready
- Jack and jack stands - Lug wrench - Hammer - Brake drum puller (if necessary) - Penetrating oil (like WD-40) - Flathead screwdriver - Safety goggles and gloves
Step 1 Safety First
Before working on any vehicle, it’s essential to prioritize your safety. Park the car on a level surface, engage the parking brake, and wear safety glasses and gloves to protect yourself from debris and chemicals.
Step 2 Lift the Vehicle
Using the jack, lift the vehicle off the ground. Make sure to use jack stands to secure the vehicle in place to prevent it from falling. Once it’s safely elevated, remove the wheel using the lug wrench.
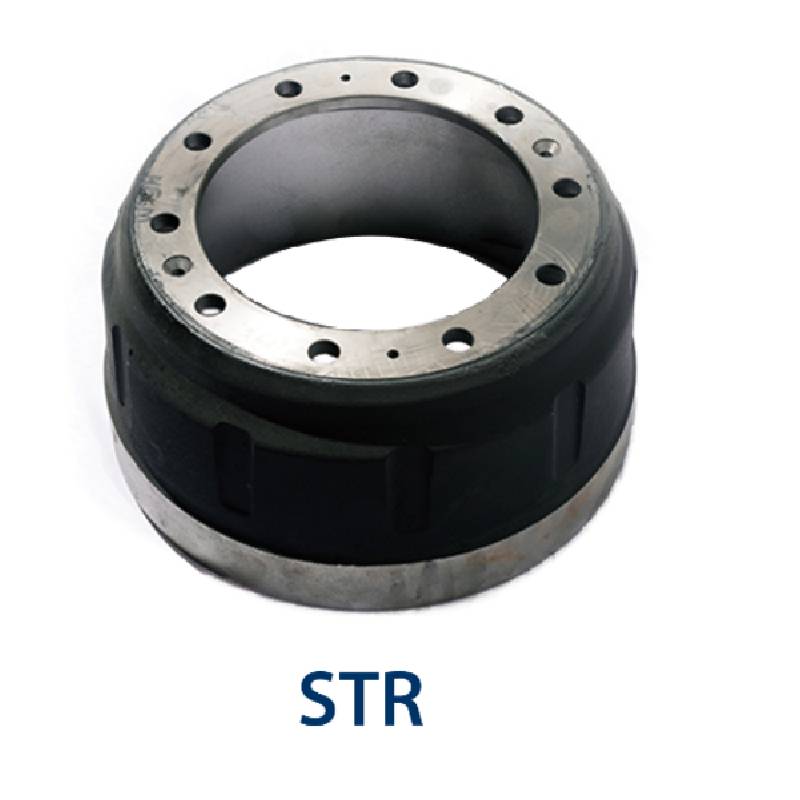
Step 3 Inspect the Brake Drum
With the wheel removed, you can now access the brake drum. Inspect it for any visible signs of wear or rust. If it appears to be stuck due to rust or corrosion, you will need to apply penetrating oil to help loosen it. Spray the penetrating oil around the drum’s perimeter where it meets the axle hub and let it sit for 10-15 minutes.
Step 4 Try to Remove the Drum
how to remove frozen brake drum
After the penetrating oil has had a chance to work, attempt to remove the drum by pulling it straight off the hub. Sometimes, a gentle wiggle while pulling can help in loosening it. If the drum moves slightly but doesn’t come off completely, you can use a rubber mallet or hammer to gently tap around the edges of the drum. Be cautious not to hit it too hard, as this can cause damage.
Step 5 Using a Brake Drum Puller
If the drum remains stubborn and won’t budge, it might be time to use a brake drum puller. This tool is specifically designed for removing brake drums without damaging them. Place the puller over the drum according to the manufacturer's instructions, ensuring it’s centered. Tighten the puller slowly; as it pulls the drum away from the hub, alternate tightening to keep even pressure.
Step 6 Check for Additional Issues
Once you successfully remove the drum, take a moment to inspect the components inside. Look for any signs of damage to the brake shoes, springs, or hardware. If you notice any worn parts, it may be a good idea to replace them before reassembling everything.
Step 7 Reinstalling the Drum
When you’re ready to reinstall, make sure the axle and drum surfaces are clean. Slide the drum back onto the hub, ensuring it sits evenly. Reattach the wheel, and lower the vehicle back to the ground. Once on the ground, torque the lug nuts to the manufacturer’s specifications.
Step 8 Test the Brakes
Before you hit the road, it’s crucial to test the brakes. Pump the brake pedal a few times to ensure everything is working correctly and that the shoes seat properly against the drum. This step is essential to ensure your safety while driving.
Conclusion
Removing a frozen brake drum can be a tedious process, but with the right tools and techniques, you can handle the task efficiently. Always remember to prioritize safety and take your time with each step to avoid damage to the brake components. If you find yourself struggling with the removal, don't hesitate to consult a professional mechanic for assistance. By ensuring your brakes are in good working order, you can maintain the safety and performance of your vehicle.
-
High-Performance Brake Drum Liza Durable Drum Brake Solutions
NewsMay.18,2025
-
Brake Drum Liza High-Quality Drum Brake & Shoe Compatibility
NewsMay.18,2025
-
Brake Drum Liza High-Quality Drum Brake Components & Shoes
NewsMay.18,2025
-
IVEKO High-Performance Brake Drums Durable & Precision-Engineered
NewsMay.17,2025
-
Brake Drum Man High-Quality Drum Brake & Shoe Solutions
NewsMay.17,2025
-
Brake Drum Man Premium Drum Brake & Shoe Solutions OEM-Compliant
NewsMay.16,2025