Ago . 15, 2024 13:19 Back to list
Step-by-Step Guide to Replacing the Drum Brakes on Your Nissan Versa Vehicle
Nissan Versa Drum Brake Replacement A Step-by-Step Guide
The Nissan Versa is a reliable and fuel-efficient subcompact car that has garnered a reputation for being a practical choice for many drivers. Over time, however, the wear and tear of daily driving can lead to the need for drum brake replacement. Knowing how to handle this maintenance task can be a valuable skill for any car owner. Below is a comprehensive guide on how to replace the drum brakes on a Nissan Versa.
Understanding Drum Brakes
Drum brakes work by using friction to slow down the vehicle. When the brake pedal is pressed, hydraulic force pushes the brake shoes against the inner surface of a drum, creating friction. This system is typically found on the rear wheels of many vehicles, including the Nissan Versa. While drum brakes are often less effective than disc brakes, regular maintenance ensures they function efficiently.
Tools and Materials Needed
Before starting the replacement process, gather the necessary tools and materials - New brake drums - New brake shoes - Brake cleaner - Socket set and ratchet - Drum brake spring tool - Screwdrivers (flathead and Phillips) - Pliers - Jack and jack stands - Wheel chocks - Safety glasses and gloves
Step-by-Step Replacement Process
1. Safety First Ensure the vehicle is parked on a flat surface. Engage the parking brake and place wheel chocks around the front wheels to prevent movement.
2. Remove the Wheel Loosen the lug nuts with a wrench, then lift the back of the car using a jack. Secure it with jack stands. Once the vehicle is safely elevated, remove the lug nuts completely and take off the rear wheel.
nissan versa drum brake replacement

3. Inspect the Brake System Before replacing the drum brakes, inspect the brake components for wear. Look for any signs of damage or excessive wear on the brake shoes and drums.
4. Remove the Brake Drum Locate the drum retaining screws, which may need to be removed using a screwdriver. Gently tap the drum with a hammer if it’s stuck, but avoid excessive force. Once released, pull the drum off the hub.
5. Detach the Old Brake Shoes Take note of how the old brake shoes are installed; this will serve as a reference for installing the new ones. Use the brake spring tool to detach the springs carefully. Remove the old shoes and hardware.
6. Install New Brake Shoes Begin installing the new brake shoes by reversing the removal process. Attach the new shoes and make sure the brake hardware is securely fastened. Utilize the brake spring tool to reattach the springs.
7. Replace the Drum With the new brake shoes in place, slide the new brake drum onto the hub. Ensure it spins freely without obstruction. Reinstall the retaining screws to keep it secured.
8. Reinstall the Wheel Place the wheel back on, hand-tighten the lug nuts, and lower the car back to the ground. Once the car is secure, use a torque wrench to tighten the lug nuts to the manufacturer’s specifications.
9. Test the Brakes Before hitting the road, pump the brake pedal a few times to seat the shoes against the drum. Take the car for a short test drive to ensure everything works smoothly.
Conclusion
Replacing the drum brakes on a Nissan Versa is a straightforward task that can be accomplished by anyone with basic mechanical skills and tools. Maintaining your drum brakes not only ensures your vehicle's safety but also enhances its performance. Regular inspections and timely replacements are key to a long-lasting brake system. Should you encounter any complications or uncertainties during the process, it is always best to consult the vehicle's manual or seek professional assistance.
-
High-Quality Brake Drum MAZ – Durable Drum Brake Drum & Brake Drum and Brake Shoe Solutions
NewsJul.05,2025
-
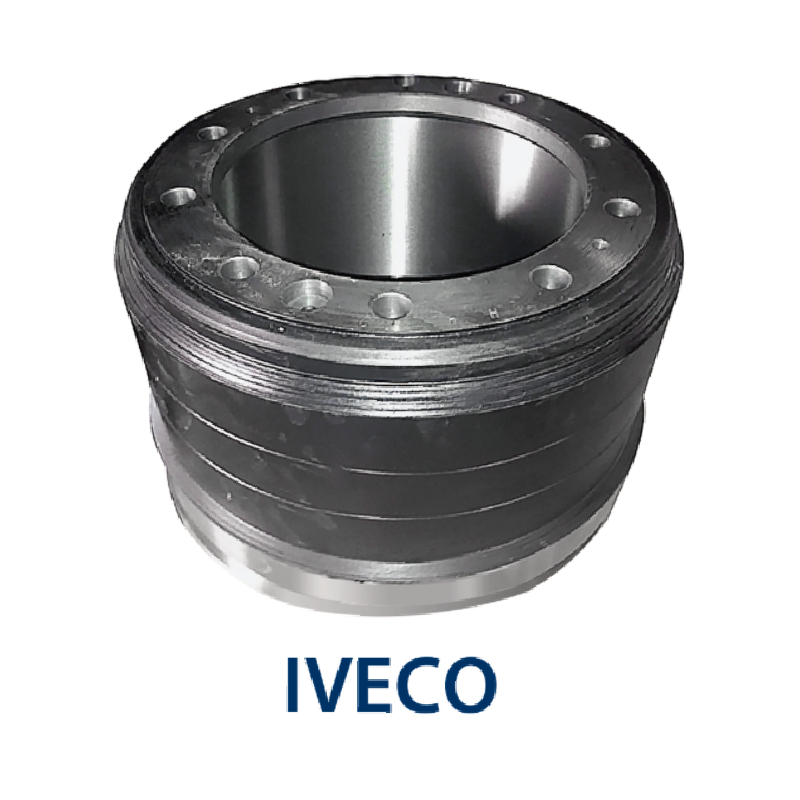
High-Quality Brake Drum Iveco - Durable Drum Brake Drum & Brake Shoe Solutions
NewsJul.05,2025
-
High-Quality Brake Drum MAZ – Durable Drum Brake Drum & Brake Drum and Brake Shoe Solutions
NewsJul.04,2025
-
Brake Drum Man - High-Quality Drum Brake Drums & Brake Shoes for Reliable Performance
NewsJun.24,2025
-
High-Quality Brake Drum Kamaz – Durable Drum Brake Drum & Brake Shoe Replacement
NewsJun.10,2025
-
High-Quality Brake Drum Liza for Drum Brake Systems - Superior Durability and Performance
NewsJun.10,2025
