Nov . 21, 2024 15:14 Back to list
how to remove a brake drum
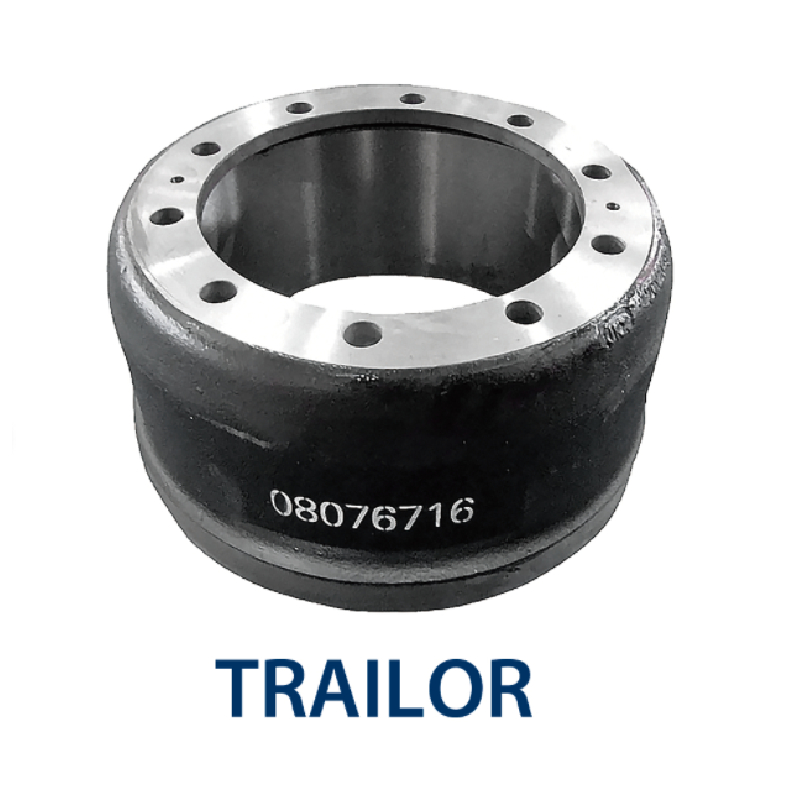
How to Remove a Brake Drum A Step-by-Step Guide
Removing a brake drum can be a straightforward task if approached with the right tools and knowledge. It's essential to remember that the brake system is a critical component of your vehicle's safety. Therefore, if you feel uncertain about any aspect of this process, it's always best to consult with a professional mechanic. This guide will help you understand how to safely and efficiently remove a brake drum.
Tools Needed
Before you start, gather the following tools and materials
- Jack and jack stands - Lug wrench - Brake drum puller (if needed) - Screwdriver (flathead) - Hammer - Brake cleaner - Clean rag - Safety glasses and gloves
Step 1 Prepare Your Vehicle
1. Find a Flat Surface Ensure that your vehicle is parked on a flat and stable surface to prevent rolling. 2. Engage the Parking Brake This will add an extra layer of security while you work.
3. Loosen Lug Nuts Before lifting the vehicle, use the lug wrench to loosen the lug nuts on the wheel that has the brake drum you want to remove. Turn them counterclockwise but do not completely remove them yet.
Step 2 Lift the Vehicle
1. Use the Jack Place the jack under the vehicle’s designated jacking point (check your owner’s manual for the correct location) and lift the vehicle until the wheel is off the ground.
2. Secure with Jack Stands Once the vehicle is elevated, place jack stands under the vehicle for added safety. Never rely solely on a jack to hold up your vehicle.
Step 3 Remove the Wheel
1. Finish Removing Lug Nuts Now that the vehicle is securely lifted, remove the lug nuts completely.
2. Take Off the Wheel Carefully remove the wheel and set it aside. This gives you direct access to the brake drum.
how to remove a brake drum

Step 4 Inspect the Brake Drum
Before attempting to remove the brake drum, inspect for any visible damage or rust. If the drum looks severely damaged, it may be necessary to replace it instead of removing it.
Step 5 Remove the Brake Drum
1. Check for Retaining Screws Some brake drums have small retaining screws holding them in place. If you see these screws, use the screwdriver to remove them first.
2. Examine the Brake Shoes If the drum is stuck, it may be due to the brake shoes being pressed against the drum. You can use a flathead screwdriver to gently pry against the shoes to relieve pressure.
3. Use a Hammer If the brake drum will not budge, using a hammer can help. Gently tap around the circumference of the drum to break any rust bonds or debris that may be holding it in place. Avoid hitting too hard, as this can damage the drum.
4. Use a Brake Drum Puller (if necessary) If the drum still doesn’t come off after tapping, a brake drum puller may be necessary. Follow the manufacturer’s instructions on how to set it up and use it to pull the drum off.
Step 6 Clean and Inspect
Once the brake drum is off, clean it with brake cleaner and a rag. Inspect both the inner surface of the drum and the brake shoes for wear. If either component appears damaged or worn down, consider replacing them before reinstalling the drum.
Step 7 Reinstallation
When reinstalling the brake drum, reverse the steps you followed for removal. Ensure that everything is clean and properly aligned. Tighten all screws and lug nuts to the manufacturer's specified torque ratings.
Conclusion
Removing a brake drum is a task that requires attention to detail and safety. By following these steps, you can successfully complete the process while ensuring your vehicle remains in good working order. Always remember to prioritize safety—wear protective equipment, work in a safe environment, and consult a professional if you encounter difficulties. With practice and care, you can perform brake drum maintenance with confidence.
-
Brake Drum Liza Durable Drum Brake Components & Replacement Parts
NewsMay.21,2025
-
Kamaz Brake Drum - Durable OEM Replacement & Heavy-Duty Performance
NewsMay.21,2025
-
Brake Drum Liza - High-Quality & Durable Braking Solutions
NewsMay.21,2025
-
IVECO Brake Drums Durable OEM Replacement & Brake Drum Components
NewsMay.20,2025
-
Brake Drum Liza Durable & High-Performance Braking Solutions
NewsMay.20,2025
-
Brake Drum Liza High-Quality Drum Brake & Shoe Kits for Vehicles
NewsMay.19,2025
