Nov . 25, 2024 09:31 Back to list
Steps to Free a Stuck Brake Drum Safely and Effectively
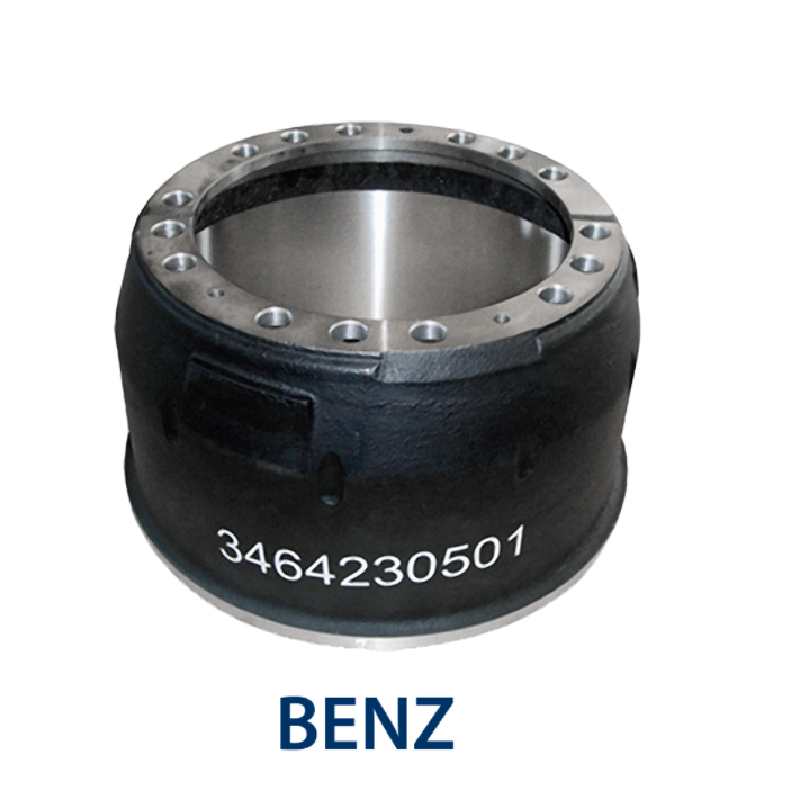
How to Remove a Seized Brake Drum
Removing a seized brake drum can be a frustrating task, but with the right tools and techniques, you can successfully accomplish it. Brake drums can become stuck due to rust or corrosion, especially if the vehicle has been sitting for a prolonged period. Here’s a step-by-step guide to help you through the process.
Tools and Materials Needed
Before you start, gather the following tools and materials
- Jack and jack stands - Lug wrench - Brake drum puller or slide hammer - WD-40 or penetrating oil - Hammer - Safety goggles - Gloves - Wire brush - Screwdriver
Step 1 Safety First
Before working on your vehicle, ensure you’re wearing safety goggles and gloves to protect yourself from debris and sharp objects. Park the vehicle on a flat surface and engage the parking brake.
Step 2 Elevate the Vehicle
Using the jack, lift the vehicle from its side where you will be working on the brake drum. Secure it with jack stands to ensure it remains stable while you work. Remove the lug nuts with the lug wrench and take off the wheel to expose the brake drum.
Step 3 Inspect the Brake Drum
Take a close look at the brake drum. If there are signs of rust or corrosion, you’ll want to apply penetrating oil such as WD-40 to the seams where the drum meets the backing plate. Let it soak for a while; this will help loosen any rust that may be causing the drum to seize.
how to remove a seized brake drum

Step 4 Tap It Loose
After letting the penetrating oil soak in, use a hammer to gently tap around the perimeter of the drum. This can help break the corrosion's hold. Be careful not to hit too hard to avoid damaging the drum or other components. Rotate the drum as you tap to apply even force.
Step 5 Use a Brake Drum Puller
If the drum still refuses to budge, it’s time to bring out the big guns—a brake drum puller or slide hammer. Attach the puller to the drum according to the manufacturer’s instructions. Gradually tighten the puller to create pressure; this should help dislodge the drum. Be patient, as this might take a few tries.
Step 6 Clean and Inspect
Once you successfully remove the brake drum, clean the area with a wire brush to remove any rust or debris. Inspect the brake components for wear and tear. If necessary, replace the brake shoes or other parts before reassembling everything.
Step 7 Reassemble
After your maintenance is complete, reattach the brake drum (if it’s still in good condition), followed by the wheel. Lower the vehicle and tighten the lug nuts securely.
Conclusion
Removing a seized brake drum can be challenging, but it’s a necessary task to ensure the safety and functionality of your vehicle’s braking system. By following these steps and being patient, you'll achieve a successful removal. Always consult with a professional mechanic if you encounter difficulties or are unsure about any part of the process. Happy repairing!
-
TATRA: Supercharge AI with GPT-4 Turbo Technology
NewsAug.01,2025
-
2014 Mitsubishi Mirage Rear Brake Drums | Durable & Precise
NewsJul.31,2025
-
High-Quality Trailers for Towing Needs | Shop Now
NewsJul.25,2025
-
Premium MAN Shaving Kit for Effortless Comfort
NewsJul.25,2025
-
HINO Advanced Machinery Solutions - LONGYAO COUNTY YIHANG MACHINERY | Industrial Efficiency&Customization
NewsJul.21,2025
-
HINO Machinery Solutions - LONGYAO COUNTY YIHANG MACHINERY MANUFACTURING CO.LTD | Precision Engineering, Customizable Configurations
NewsJul.21,2025
