Nov . 17, 2024 05:27 Back to list
how to replace brake drums
How to Replace Brake Drums A Step-by-Step Guide
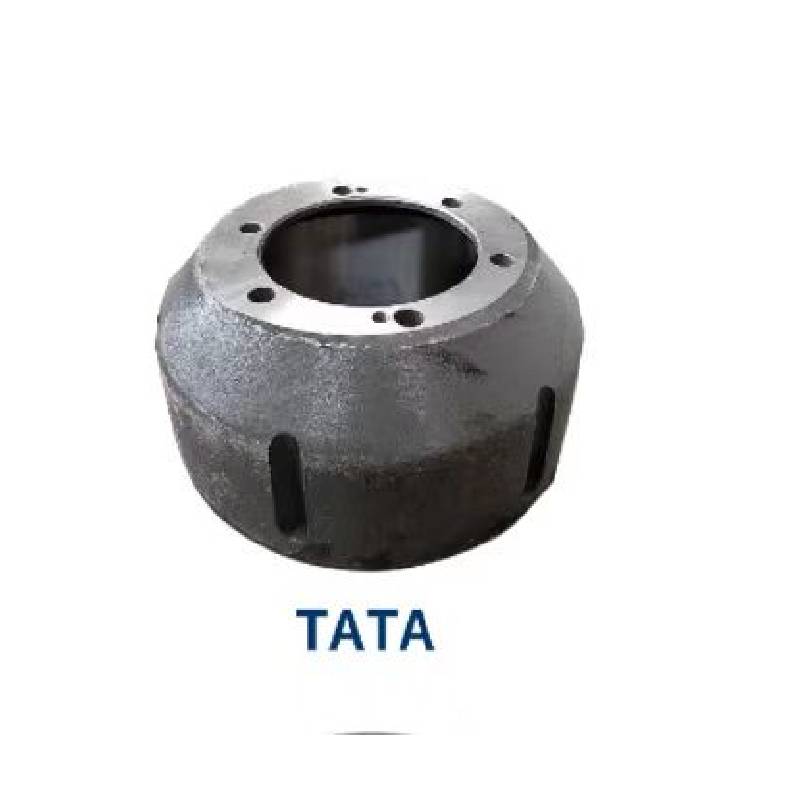
Brake drums are a crucial part of the braking system in many vehicles, particularly those with rear drum brakes. Over time, brake drums can wear out due to heat and friction, making it essential to replace them to ensure optimal braking performance and safety. This guide will walk you through the process of replacing brake drums, providing you with the necessary steps to complete this task efficiently and safely.
Tools and Materials Required
Before you begin, gather the following tools and materials - New brake drums - Brake shoes (if needed) - Brake cleaner - Jack and jack stands - Lug wrench - Socket set - Torque wrench - Screwdriver - Brake line wrench - Safety glasses and gloves
Step 1 Prepare Your Vehicle
1. Park Safely Park your vehicle on a flat surface, engage the parking brake, and turn off the engine. If you're working on a front-wheel-drive vehicle, have it in gear (or Park for automatics). 2. Loosen Lug Nuts Using a lug wrench, slightly loosen the lug nuts on the rear wheels. Do not remove them completely yet.
3. Lift the Vehicle Use a jack to lift the rear of the vehicle. Once raised, place jack stands securely under the vehicle for safety. Make sure it is stable before you start working.
Step 2 Remove the Wheel
1. Finish Removing Lug Nuts With the vehicle securely elevated, remove the lug nuts entirely and take off the wheel to expose the brake drum.
Step 3 Remove the Brake Drum
1. Inspect the Drum Before removal, check for any retaining screws or clips holding the drum in place. If present, remove them.
2. Remove the Drum If the drum does not slide off easily, it may be rusted or stuck due to the brake shoes. Gently tap around the edge of the drum with a rubber mallet. If this doesn’t help, use a brake drum puller to provide more leverage and remove the drum without damaging it.
Step 4 Inspect Brake Components
1. Inspect brake shoes Check the brake shoes for wear. If they are worn down, it’s best to replace them along with the drum.
2. Examine the Wheel Cylinder Inspect the wheel cylinder for leaks or damage. If you notice any issues, replace it as well.
how to replace brake drums

3. Clean the Area Clean the brake assembly and the spindle using brake cleaner. Remove any dust or debris to ensure smooth operation.
Step 5 Install New Brake Drums
1. Position the New Drum Place the new brake drum onto the hub. Ensure that it sits evenly and is seated correctly.
2. Secure with Retaining Screws If your drum has retaining screws or clips, secure them back in place.
Step 6 Reassemble the Brake Assembly
1. Reinstall the Wheel Align the wheel back onto the hub and hand-tighten the lug nuts.
2. Lower the Vehicle Carefully remove the jack stands and lower the vehicle back to the ground using the jack.
Step 7 Tighten Lug Nuts
1. Secure the Lug Nuts Using a torque wrench, tighten the lug nuts to the vehicle manufacturer’s specified torque setting in a criss-cross pattern. This ensures even tightening and prevents the wheel from wobbling.
Step 8 Test Brakes
1. Test the Brakes Before driving, pump the brake pedal several times to ensure the brake shoes are seated correctly against the new drum.
2. Take a Test Drive Conduct a low-speed test drive to confirm that the brakes are functioning properly. Listen for any unusual noises and feel for any irregularities in braking performance.
Conclusion
Replacing brake drums is a straightforward yet essential maintenance task that can significantly affect vehicle safety and performance. By following these steps carefully and using the right tools, you can ensure that your braking system remains efficient. Always prioritize safety, and if you feel uncertain at any point, consult a professional mechanic. Regular maintenance of your braking system will lead to better performance and peace of mind on the road.
-
Iveco Brake Drum | Premium OE Quality for Daily & Eurocargo
NewsAug.22,2025
-
Your Brake Drum Man: Quality & Performance Parts
NewsAug.21,2025
-
Explore Japan: Ultimate Travel Guide & Authentic Experiences
NewsAug.19,2025
-
Your Brake Drum Man: Premium & Reliable Brake Drums for Sale
NewsAug.18,2025
-
ROR Web Development: Build Fast, Scalable, Secure Apps
NewsAug.17,2025
-
Scania Brake Drums: OEM Quality for Optimal Safety & Durability
NewsAug.16,2025
