Iuch . 25, 2024 04:45 Back to list
Effective Techniques for Removing Rust from Brake Drums and Restoring Their Performance
How to Clean Brake Drum Rust A Step-by-Step Guide
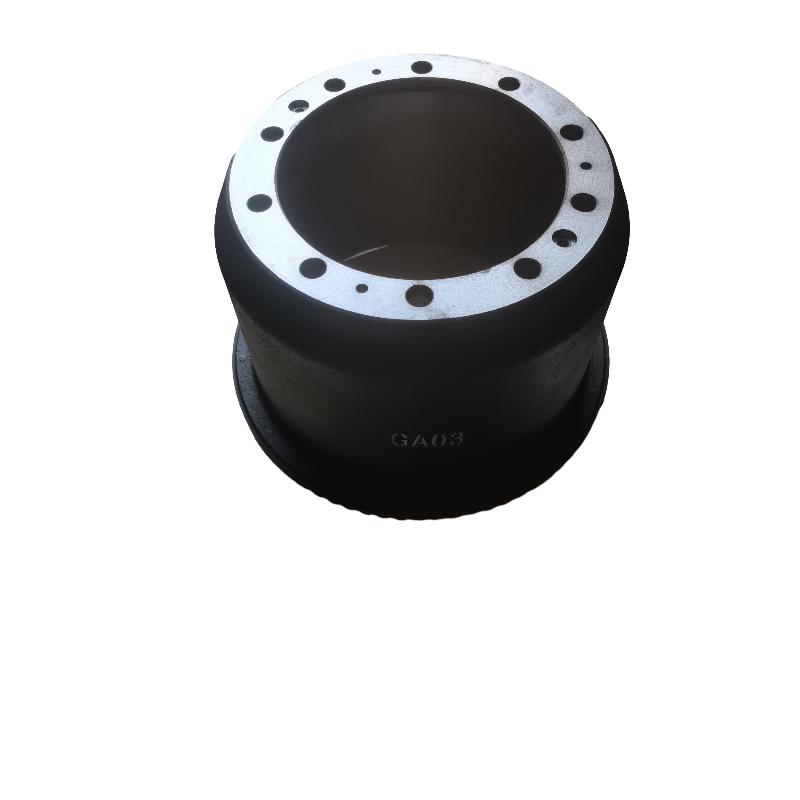
Brake drums play a crucial role in your vehicle's braking system. They are essential components that help provide the stopping power needed for safe driving. However, over time, brake drums can accumulate rust due to exposure to moisture, dirt, and road debris. Cleaning rust off your brake drums is essential to maintaining brake performance and ensuring safety. In this article, we will walk you through the steps to effectively clean rust off your brake drums.
What You Will Need
Before starting, gather the following tools and materials
- Safety goggles and gloves - Jack and jack stands - Lug wrench - Wire brush or steel wool - Sandpaper (medium and fine grit) - Brake cleaner - Rags or shop towels - Anti-corrosion spray or brake drum paint (optional)
Step 1 Prepare the Vehicle
Start by ensuring your vehicle is parked on a level surface and the ignition is off. Engage the parking brake to prevent any movement. Use a lug wrench to loosen the lug nuts on the wheel of the brake drum you intend to clean. Then, lift the vehicle using a jack and secure it with jack stands.
Step 2 Remove the Wheel
Once the vehicle is securely elevated, remove the lug nuts completely and take off the wheel. This will provide you access to the brake drum and allow you to clean it thoroughly.
Step 3 Inspect the Brake Drum
Take a moment to inspect the brake drum for any signs of excessive damage, warping, or severe rust. If you notice any deep grooves or significant wear, it may be time to consider replacing the brake drum instead of cleaning it.
how to clean brake drum rust

Step 4 Clean the Surface
Using a wire brush or steel wool, begin scrubbing the rusty areas of the brake drum. Apply firm pressure to remove the rust effectively. After using the wire brush, switch to sandpaper, starting with medium grit to smooth out any rough spots. Follow up with fine grit sandpaper to achieve a smoother finish.
Step 5 Apply Brake Cleaner
Once the rust is removed, use brake cleaner to wipe down the brake drum. This helps eliminate any remaining particles or residue from the cleaning process. Spray the cleaner generously on the surface and use a rag or shop towel to wipe it clean. Ensure that the drum is completely dry before reassembling.
Step 6 Optional Anti-Corrosion Treatment
To help prevent future rust buildup, consider applying an anti-corrosion spray or brake drum paint. This step is optional, but it can add an extra layer of protection against moisture and road debris that contribute to rust formation.
Step 7 Reassemble and Test
After the drum is clean and dry, reattach the wheel and hand-tighten the lug nuts. Lower the vehicle back to the ground, and then use the lug wrench to securely tighten the lug nuts in a star pattern to ensure even pressure. Finally, take the vehicle for a short test drive to see if the brakes function properly and quietly.
Conclusion
Cleaning rust off your brake drums is an essential maintenance task that can prolong their lifespan and improve braking performance. By following these steps, you can ensure that your brakes remain in optimal condition, contributing to your safety on the road. Regular inspection and maintenance are key to preventing rust and other brake-related issues. If you are uncomfortable performing this task yourself, don't hesitate to consult a professional mechanic. Safe driving starts with well-maintained brakes!
-
Brake Drum Man - High-Quality Drum Brake Drums & Brake Shoes for Reliable Performance
NewsJun.24,2025
-
High-Quality Brake Drum Kamaz – Durable Drum Brake Drum & Brake Shoe Replacement
NewsJun.10,2025
-
High-Quality Brake Drum Liza for Drum Brake Systems - Superior Durability and Performance
NewsJun.10,2025
-
High-Quality Brake Drum Kamaz – Durable Drum Brake Drum & Brake Shoe Solutions
NewsJun.10,2025
-
Durable Kamaz Brake Drums High-Performance Truck Parts
NewsJun.09,2025
-
Premium Brake Drum Maz Kit with Shoes Enhanced Braking
NewsJun.09,2025
