Dùbh . 15, 2024 08:52 Back to list
Steps to Effectively Remove a Brake Drum Safely and Easily
How to Remove a Brake Drum A Step-by-Step Guide
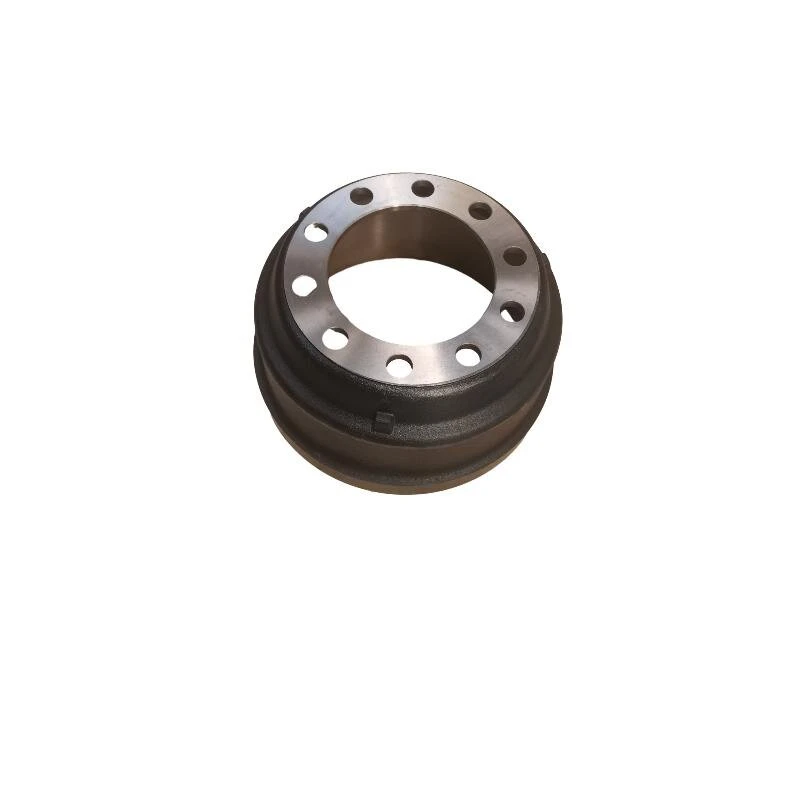
Removing a brake drum is an essential skill for anyone who wants to maintain their vehicle's braking system or complete a brake replacement. Whether you're a seasoned DIY mechanic or a novice looking to tackle this task, it's crucial to approach it with the right knowledge and tools. In this guide, we will outline the steps to safely remove a brake drum from a vehicle.
Tools and Equipment Needed
Before you begin, ensure you have the following tools and equipment ready
1. Jack and Jack Stands To lift and secure the vehicle. 2. Lug Wrench To remove the wheel. 3. Brake Drum Puller (optional) If the drum is stuck, a puller may be necessary. 4. Hammer For tapping the drum if it's stubborn. 5. Socket Set To access the bolts and screws. 6. Dust Mask and Safety Glasses To protect yourself from dust and debris. 7. Brake Cleaner To clean the components once the drum is removed.
Step-by-Step Instructions
Step 1 Ensure Safety First
Park your vehicle on a level surface, engage the parking brake, and turn off the ignition. Make sure to wear safety glasses and a dust mask to protect yourself.
Step 2 Loosen the Lug Nuts
Using a lug wrench, slightly loosen the lug nuts on the wheel that covers the brake drum you want to remove. Do this while the vehicle is still on the ground to prevent the wheel from spinning.
Step 3 Jack Up the Vehicle
Using a jack, lift the vehicle off the ground. After raising it, securely place jack stands under the vehicle frame to ensure it is stable. Never work under a vehicle supported only by a jack.
Step 4 Remove the Wheel
Once the vehicle is secure, fully remove the loosened lug nuts and take off the wheel. Set it aside in a safe spot.
Step 5 Inspect the Brake Drum
how to remove a brake drum

Before removing the brake drum, take a moment to inspect its condition. Look for signs of wear or damage, and note the positioning of any retaining clips or screws.
Step 6 Remove Retaining Clips or Screws
If your brake drum is held in place by retaining clips or screws, carefully remove them using a socket set or appropriate tool. Keep these parts in a small container to prevent losing them.
Step 7 Check for Adjusters
Some brake drums have adjusters that may need to be retracted. Locate the adjuster wheel, usually accessible through a hole in the backing plate, and turn it to retract the brake shoes slightly. This will help free the drum from the shoes.
Step 8 Attempt to Slide off the Drum
With the clips and adjusters out of the way, try to slide the brake drum off the wheel hub. If it doesn’t come off easily, it may be stuck due to rust or debris.
Step 9 Tap the Drum if Necessary
If the drum is stubborn, use a hammer to gently tap around the edges. Be cautious not to damage the drum. If you have a brake drum puller, this is the time to use it to apply even pressure and pull the drum off.
Step 10 Remove the Brake Drum
Once the brake drum is free, carefully remove it from the wheel hub. Set it aside and take note of how it was installed, as you will need to replicate this during reinstallation.
Step 11 Clean the Area
Before making any repairs or replacing parts, use brake cleaner to clean the hub and surrounding areas. This will prevent dust and debris from contaminating the new brake components.
Conclusion
Removing a brake drum may seem daunting, but with the right tools and approach, it can be accomplished effectively. Always prioritize safety and take your time through each step. Whether you're replacing brake components or simply inspecting the system, being knowledgeable about brake drum removal will serve you well in your automotive endeavors. If at any point you feel unsure, don’t hesitate to consult a professional mechanic or refer to your vehicle's service manual for specific instructions. Happy repairing!
-
Iveco Brake Drum | Premium OE Quality for Daily & Eurocargo
NewsAug.22,2025
-
Your Brake Drum Man: Quality & Performance Parts
NewsAug.21,2025
-
Explore Japan: Ultimate Travel Guide & Authentic Experiences
NewsAug.19,2025
-
Your Brake Drum Man: Premium & Reliable Brake Drums for Sale
NewsAug.18,2025
-
ROR Web Development: Build Fast, Scalable, Secure Apps
NewsAug.17,2025
-
Scania Brake Drums: OEM Quality for Optimal Safety & Durability
NewsAug.16,2025
