Dùbh . 23, 2024 06:56 Back to list
how to take brake drums off
How to Take Brake Drums Off A Step-by-Step Guide
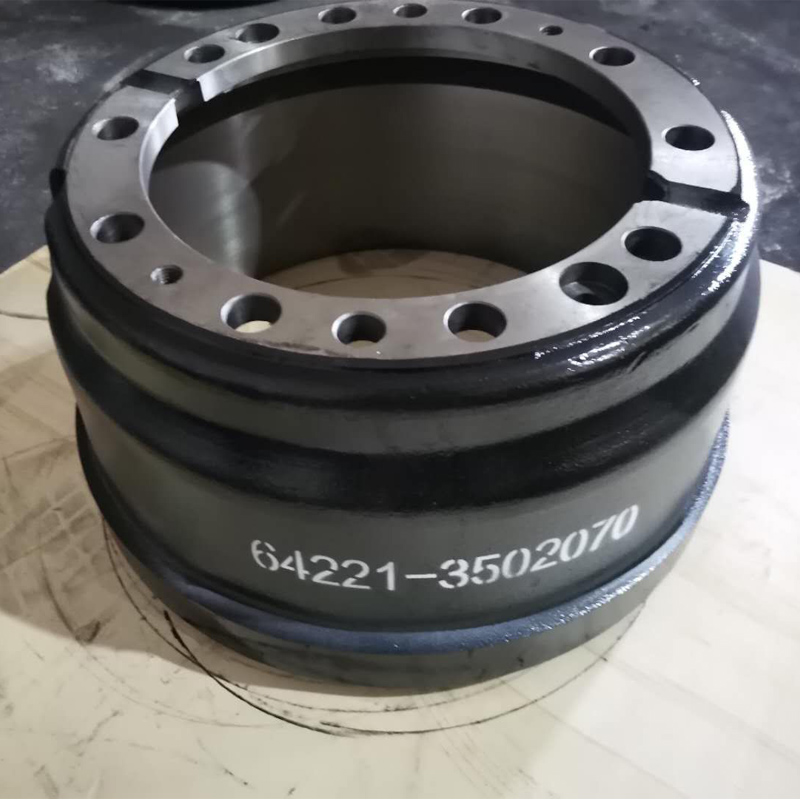
Brake drums are an important component of drum brake systems, offering the necessary friction to halt your vehicle effectively. Removing brake drums can be a daunting task, especially for those who haven't undertaken such a project before. However, with the right tools and a little instruction, you can easily remove and reinstall brake drums at home. This step-by-step guide will walk you through the process.
Tools and Materials Needed 1. Jack and jack stands 2. Lug wrench 3. Brake drum puller (optional but recommended) 4. Screwdriver (flathead and Phillips) 5. Gasket scraper (if needed) 6. Clean rags 7. Brake cleaner 8. Safety glasses and gloves
Step 1 Safety First Before starting, ensure you're working in a well-ventilated area, preferably outdoors. Safety goggles and gloves should be worn to protect your eyes and hands from debris and chemicals.
Step 2 Prepare the Vehicle 1. Loosen the Lug Nuts Begin by slightly loosening the lug nuts on the wheel where you will be removing the brake drum. You can do this while the tire is still on the ground to prevent it from spinning. 2. Jack Up the Vehicle Use the jack to lift the vehicle off the ground, then securely place jack stands underneath for added safety. Make sure the car is stable before proceeding.
3. Remove the Wheel Take off the lug nuts completely and remove the wheel to expose the brake drum.
Step 3 Inspect the Brake Drum Before removing the drum, inspect it for any visible signs of wear or damage. Look for cracks, deep grooves, or glazing, which indicates that it may need replacement rather than just removal.
how to take brake drums off

Step 4 Remove the Brake Drum 1. Check for Retaining Screws Some brake drums are secured with retaining screws. If your drum has these, use a screwdriver to remove them before attempting to pull the drum off.
2. Use a Brake Drum Puller If the drum is stuck due to rust or corrosion, utilizing a brake drum puller can be beneficial. Position the puller on the drum and tighten it gradually. This will apply even pressure, allowing the drum to come off without damaging it.
3. Manual Removal If you don't have a puller and the drum is not stuck, gently tap around the perimeter of the drum with a rubber mallet to loosen it. Avoid using a metal hammer, as this can cause damage.
Step 5 Cleaning and Inspection Once the drum is removed, take this opportunity to clean it with brake cleaner and a clean rag. Inspect the brake shoes and other components for wear or damage. If any parts look worn, consider replacing them to ensure optimal braking performance.
Step 6 Reinstallation Reinstalling the brake drum is simply the reverse of removal. Line up the drum on the hub and ensure it fits snugly. If you removed any retaining screws, be sure to reinstall them securely.
Step 7 Reattach the Wheel Put the wheel back on and hand-tighten the lug nuts. Lower the vehicle to the ground and fully tighten the lug nuts in a crisscross pattern to ensure an even fit.
Conclusion Removing brake drums doesn't have to be a stressful task. With the right tools and following these steps, you can efficiently complete the job, leading to a better understanding of your vehicle's braking system. If you encounter any issues or have doubts, always consider seeking professional help to maintain safety on the road.
-
Explore Japan: Ultimate Travel Guide & Authentic Experiences
NewsAug.19,2025
-
Your Brake Drum Man: Premium & Reliable Brake Drums for Sale
NewsAug.18,2025
-
ROR Web Development: Build Fast, Scalable, Secure Apps
NewsAug.17,2025
-
Scania Brake Drums: OEM Quality for Optimal Safety & Durability
NewsAug.16,2025
-
R.V.I: Advanced Remote Visual Inspection for Precision
NewsAug.15,2025
-
Discover HYUNDA: Innovative Vehicles, Equipment & Solutions
NewsAug.14,2025
