
જુલાઈ . 28, 2024 19:25 Back to list
Steps to Replace Brake Drums with Rotors for Improved Vehicle Performance and Safety
How to Change Brake Drums to Rotors A Step-by-Step Guide
Upgrading your vehicle’s braking system from drums to rotors can significantly enhance braking performance and improve overall safety. While this task might seem daunting, with the right tools and a bit of knowledge, you can accomplish this upgrade at home. In this guide, we will walk you through the steps to change brake drums to rotors.
Understanding the Basics
Before diving into the upgrade, it is essential to understand the differences between drum brakes and disc brakes (rotors). Drum brakes consist of a round drum that rotates with the wheel, while disc brakes utilize a rotor that is clamped by brake pads. Disc brakes generally provide better heat dissipation, shorter stopping distances, and improved performance in wet conditions.
Tools and Materials Needed
To successfully convert brake drums to rotors, gather the following tools and materials
- Lug wrench - Jack and jack stands - Socket set - Brake cleaner - Brake pads - Disc brake rotors - Anti-seize lubricant - Torque wrench - Safety glasses and gloves
Step 1 Safety First
Before you begin, ensure that the vehicle is on a flat and stable surface. Wear safety glasses and gloves to protect yourself during the process.
Step 2 Lift the Vehicle
Using a jack, lift the vehicle and secure it with jack stands. Remove the rear wheels using the lug wrench and set them aside in a safe place.
Step 3 Remove the Old Brake Drums
With the wheels removed, access the brake drums. Locate the retaining screws or bolts holding the drum in place and remove them. Slide the brake drum off. If it is stuck, gently tap it with a rubber mallet. Be cautious of any brake components inside the drum that may fall out during removal.
Step 4 Inspect and Prepare
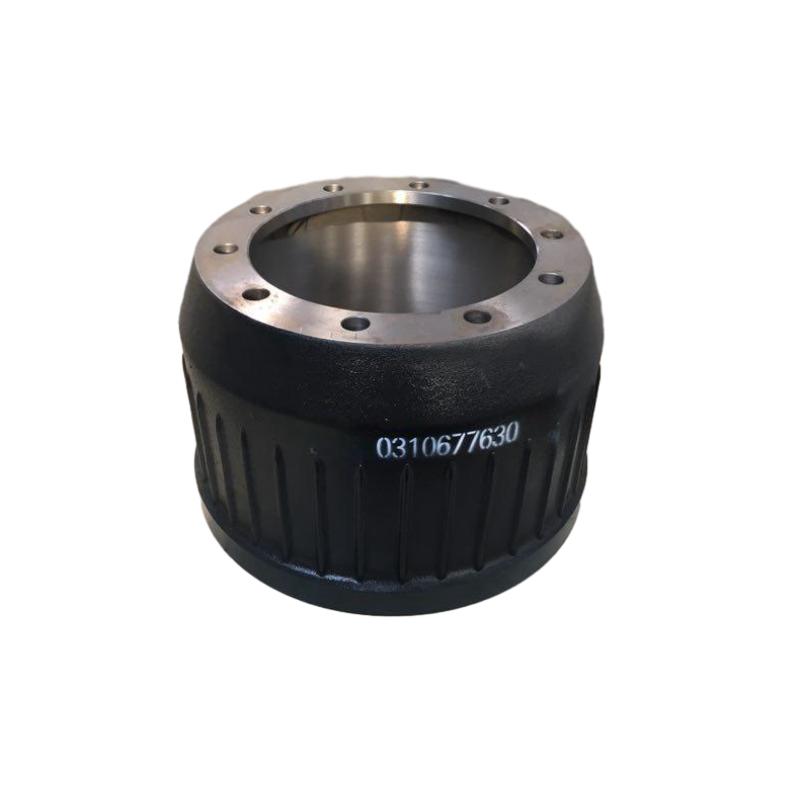
how to change brake drums to rotors
Inspect the brake assembly for any wear or damage. Remove the old brake shoes, springs, and other components carefully to prevent damage. Use brake cleaner to clean the entire assembly and rotor mounting surface.
Step 5 Install the New Rotor
Once the old components are removed, it is time to install the new rotors. Align the rotor with the hub and slide it onto the axle. Make sure it sits flush against the hub.
Step 6 Install Brake Pads
Next, install new brake pads onto the caliper bracket. Some caliper brackets may need to be adjusted to accommodate the new pads properly. Use anti-seize lubricant on the back of the pads to minimize noise and ensure smooth operation.
Step 7 Reassemble and Secure
Reattach the caliper onto the rotor and tighten the bolts using a torque wrench to the manufacturer’s specifications. Recheck the positioning of the brake pads to ensure they are seated correctly against the rotor.
Step 8 Reinstall the Wheels
With the rotors and pads in place, it’s time to reinstall the wheels. Place the wheels back onto the hub and hand-tighten the lug nuts. Once the vehicle is on the ground, use the torque wrench to tighten the lug nuts in a crisscross pattern to ensure even distribution.
Step 9 Test the Brakes
Before taking your vehicle on a full test drive, pump the brake pedal several times to ensure the brake pads are seated against the rotors. Test the brakes at low speed to ensure they are functioning correctly. Check for any unusual noises or vibrations during the initial test.
Conclusion
Transitioning from brake drums to rotors can provide a noticeable improvement in braking performance. As long as you follow these steps carefully and take your time, this upgrade can be accomplished safely at home. If at any point you feel uncertain, don’t hesitate to consult a professional mechanic for assistance. Happy driving!
-
IVEKO High-Performance Brake Drums Durable & Precision-Engineered
NewsMay.17,2025
-
Brake Drum Man High-Quality Drum Brake & Shoe Solutions
NewsMay.17,2025
-
Brake Drum Man Premium Drum Brake & Shoe Solutions OEM-Compliant
NewsMay.16,2025
-
Brake Drum Man High-Quality Drum Brake & Shoe Kits for Vehicles
NewsMay.16,2025
-
Brake Drum Man High-Quality Drum Brake Parts & Expert Solutions
NewsMay.16,2025
-
Brake Drum Man High-Quality Drum Brake & Shoe Solutions
NewsMay.15,2025