Dec . 17, 2024 01:21 Back to list
Steps to Remove a Brake Drum Safely and Effectively
How to Take a Brake Drum Off
Removing a brake drum from a vehicle might seem like an intimidating task, especially for those who are not seasoned mechanics. However, with the right tools and a bit of patience, it can be managed successfully. This article will guide you through the steps needed to take a brake drum off safely and efficiently.
Tools You Will Need
Before starting, gather the necessary tools to ensure a smooth process. You will typically need the following
- Jack and jack stands - Lug wrench - Brake drum removal tool (if necessary) - Screwdrivers (flathead and Phillips) - Hammer - Brake cleaner - Safety goggles and gloves
Safety First
Always prioritize safety when working on your vehicle. Park the car on a flat surface, engage the parking brake, and wear safety goggles and gloves. Before raising the vehicle, ensure it is turned off and cooled down, as brake components can retain heat.
Step-by-Step Guide to Removing the Brake Drum
1. Loosen the Wheel Lug Nuts - Start by using the lug wrench to slightly loosen the lug nuts on the wheel covering the brake drum. Do not remove them entirely yet; just break the initial torque.
2. Elevate the Vehicle - Use a jack to lift the vehicle off the ground, then securely place jack stands underneath to prevent any hazards while you work.
3. Remove the Wheel - Fully unscrew and remove the lug nuts, then take off the wheel. This will provide full access to the brake drum.
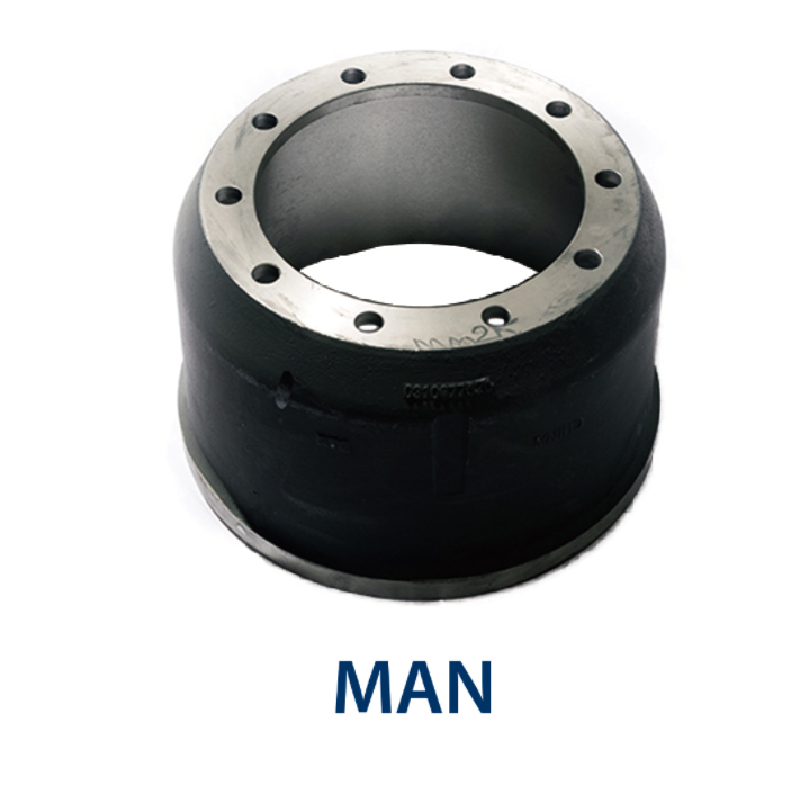
how to take a brake drum off

4. Inspect the Brake Drum - Before removal, inspect the brake drum for any visible damage or abnormalities. If it appears cracked or excessively worn, it may require replacement rather than simple removal.
5. Check for Retaining Screws - Some brake drums are equipped with retaining screws that secure the drum to the wheel hub. If your drum has these screws, use the appropriate screwdriver to remove them before proceeding.
6. Remove Brake Drum - Gently try to pull the brake drum straight off. If it’s stuck due to rust or debris, lightly tapping around the drum's edge with a hammer can help loosen it. Avoid hitting it too hard, as this could damage the components.
7. Use a Brake Drum Puller if Necessary - If the drum still won’t budge, use a brake drum removal tool. Center the tool on the hub and tighten it until the drum comes free. These tools are specially designed to apply even pressure, making the removal process easier and preventing damage.
8. Inspect the Brake Components - Once the drum is removed, take the opportunity to inspect the brake shoes, springs, and any other visible components for wear and damage. Clean any dust or debris with brake cleaner to maintain a safe working environment.
9. Reassembly or Replacement - If you’re replacing the brake shoes or servicing the brakes, proceed with the installation of new components. If you are simply removing the drum for inspection, ensure all parts are clean before reinstalling the drum using the reverse process.
10. Final Steps - After reinstalling the brake drum, replace the wheel and finger-tighten the lug nuts. Lower the vehicle back to the ground and then fully tighten the lug nuts in a crisscross pattern to ensure even pressure.
11. Test Before Driving - Before driving, pump the brake pedal a few times to ensure proper connection and functionality of the brake system. This step is crucial, as it ensures that everything is seated correctly.
Conclusion
Removing a brake drum is a task that any DIY enthusiast can tackle with the right tools and safety precautions in mind. By following the steps outlined above, you can successfully complete this job and maintain your vehicle’s braking system effectively. Always remember, if you feel uncertain at any stage, it is best to consult a professional mechanic to avoid any risk of improper installation or safety hazards.
-
Iveco Brake Drum | Premium OE Quality for Daily & Eurocargo
NewsAug.22,2025
-
Your Brake Drum Man: Quality & Performance Parts
NewsAug.21,2025
-
Explore Japan: Ultimate Travel Guide & Authentic Experiences
NewsAug.19,2025
-
Your Brake Drum Man: Premium & Reliable Brake Drums for Sale
NewsAug.18,2025
-
ROR Web Development: Build Fast, Scalable, Secure Apps
NewsAug.17,2025
-
Scania Brake Drums: OEM Quality for Optimal Safety & Durability
NewsAug.16,2025
