Jul . 28, 2024 05:19 Back to list
Steps to Safely Remove a Brake Drum for Vehicle Maintenance and Inspection
Removing Brake Drum A Step-by-Step Guide
Removing a brake drum is a necessary procedure that many car owners might need to undertake at some point, especially when dealing with issues related to brake failure or excessive noise. Understanding how to remove a brake drum can save you time and money by allowing you to perform routine maintenance or repairs on your own. This article will provide a comprehensive guide to safely and effectively remove a brake drum.
Tools and Materials Needed
Before starting, ensure you have the following tools and materials
- Jack and jack stands - Lug wrench - Brake cleaner - Screwdriver (flathead and Phillips) - Hammer or percussion tool - Safety goggles and gloves - Torque wrench (for reinstallation)
Safety First
Safety should always be your top priority. Before working on your vehicle, park it on a flat surface and engage the parking brake. Wear safety goggles and gloves to protect yourself from dust and debris.
Step 1 Loosen the Lug Nuts
Begin by loosening the lug nuts on the wheel that you will be working on. It’s best to do this while the wheel is still on the ground, as it will prevent the wheel from spinning. Use a lug wrench to turn the nuts counterclockwise. Once they are loose, do not remove them completely yet.
Step 2 Lift the Vehicle
Using a jack, lift the vehicle until the wheel is off the ground. Place jack stands under the vehicle at the proper lift points to ensure stability while you work. Never rely on the jack alone to hold up the vehicle.
Step 3 Remove the Wheel
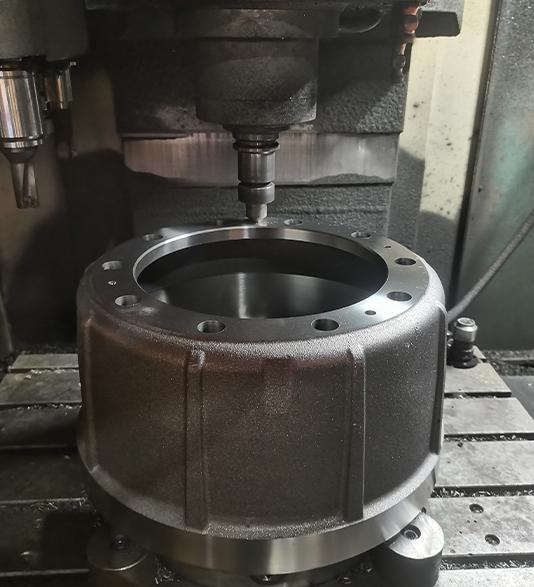
removing brake drum

Now that the vehicle is securely lifted, you can remove the lug nuts completely and take off the wheel. Set the wheel aside and ensure you keep the lug nuts in a safe location, as you will need them later.
Step 4 Inspect the Brake Drum
Before removing the brake drum, visually inspect it for signs of damage or excessive wear. You should also check the brake shoes and other components for wear and tear.
Step 5 Remove the Brake Drum
Brake drums can sometimes be quite stubborn due to rust or buildup of brake dust. To start, look for any retaining screws that may need to be removed. Use a screwdriver to take these out, if present. If the drum doesn’t slide off easily, you can gently tap around the edge with a hammer to break any rust seal. Be careful not to damage the drum in the process. In some cases, you might find a small adjustment hole on the backing plate that allows you to retract the brake shoes slightly, making it easier to remove the drum.
Step 6 Clean and Inspect
After removing the drum, clean it with brake cleaner to remove dust and debris. Inspect both the drum and the brake shoes for wear. If either shows significant signs of damage, it may be time for replacement.
Step 7 Reinstallation
To reinstall the brake drum, first check that the brake components are in good condition. Slide the drum back onto the hub, and if necessary, replace any retaining screws. Reattach the wheel, hand-tightening the lug nuts before lowering the vehicle. Once it is back on the ground, use a torque wrench to tighten the lug nuts to the manufacturer’s specifications.
Conclusion
Removing a brake drum is a manageable task for those willing to put in the time and effort. With the right tools, safety precautions, and a systematic approach, you can perform this important maintenance task yourself. Regular checks and servicing of your brake system not only extends the life of your vehicle’s components but also ensures your safety on the road. Whether a seasoned mechanic or a novice, understanding how to maintain your brakes is a valuable skill for any car owner.
-
High-Quality Brake Drum MAZ – Durable Drum Brake Drum & Brake Drum and Brake Shoe Solutions
NewsJul.05,2025
-
High-Quality Brake Drum Iveco - Durable Drum Brake Drum & Brake Shoe Solutions
NewsJul.05,2025
-
High-Quality Brake Drum MAZ – Durable Drum Brake Drum & Brake Drum and Brake Shoe Solutions
NewsJul.04,2025
-
Brake Drum Man - High-Quality Drum Brake Drums & Brake Shoes for Reliable Performance
NewsJun.24,2025
-
High-Quality Brake Drum Kamaz – Durable Drum Brake Drum & Brake Shoe Replacement
NewsJun.10,2025
-
High-Quality Brake Drum Liza for Drum Brake Systems - Superior Durability and Performance
NewsJun.10,2025
