
Oct . 31, 2024 04:23 Back to list
removing brake drums
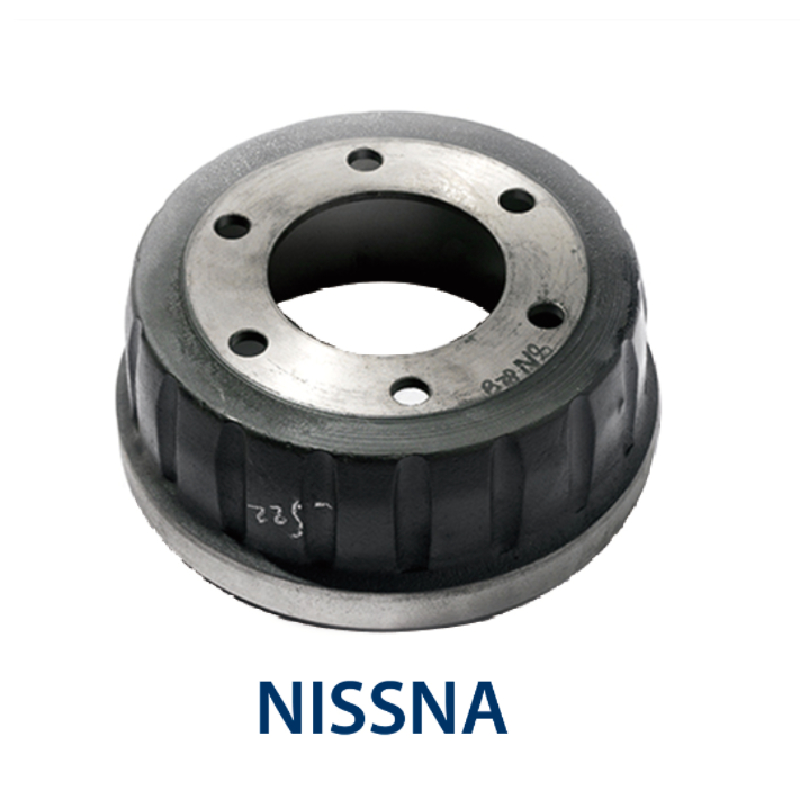
Removing Brake Drums A Step-by-Step Guide
Brake drums are a crucial component of many vehicles, particularly those equipped with drum brake systems. Over time, brake drums can wear out or become damaged, necessitating their removal for maintenance or replacement. This guide will provide you with a concise, step-by-step process to safely and effectively remove brake drums.
Step 1 Gather Your Tools
Before you begin, ensure you have the necessary tools and equipment ready. You will typically need
- A jack and jack stands - Lug wrench - Brake drum puller (if necessary) - Socket set - Screwdriver - Brake cleaner - Rags or paper towels
Step 2 Prepare Your Vehicle
Safety is paramount when working on your vehicle. Start by parking your vehicle on a flat surface and engaging the parking brake. To prevent any accidental movement, it is advisable to place wheel chocks behind the wheels that will remain on the ground.
Once you’ve taken these precautions, loosen the lug nuts on the wheel associated with the brakes you wish to work on. It’s best to loosen them a bit while the wheel is still on the ground, as this prevents the wheel from spinning.
Step 3 Lift the Vehicle
Using the jack, lift the vehicle and secure it with jack stands. Make sure that the vehicle is stable before going under or working near it. After ensuring stability, remove the lug nuts completely and take off the wheel to expose the brake assembly.
removing brake drums
Step 4 Remove the Brake Drum
With the wheel off, inspect the brake drum. If it seems stuck, you may need to tap it lightly with a hammer to loosen it. Sometimes, brake drums can stick due to rust or debris. If the drum does not budge, a brake drum puller can be helpful. Attach the puller to the drum and apply even pressure until it pops off. Be cautious during this step to avoid damaging any surrounding components.
Step 5 Inspect Components
Once the drum is removed, take a moment to inspect the interior brake components. Look for wear and tear on the brake shoes, springs, and hardware. It’s advisable to clean the drum with brake cleaner and a rag to remove dust and debris. If the shoes are worn out or the drum is scored, consider replacing them.
Step 6 Reinstallation
To reinstall the brake drum, reverse the removal process. First, position the drum back onto the hub. If you replaced any components, ensure they are correctly installed. Then, put the wheel back on, hand-tighten the lug nuts, and lower the vehicle back to the ground.
Step 7 Final Checks
Once the vehicle is back on the ground, use the lug wrench to tighten the lug nuts fully in a crisscross pattern for even tightness. Finally, check the brake pedal and ensure that everything is functioning properly before taking the vehicle for a test drive.
Conclusion
Removing brake drums may seem daunting, but with the right tools and careful attention to detail, it can be accomplished successfully. Always prioritize safety and do not hesitate to consult a professional mechanic if you encounter any issues. Regular maintenance of your brake system is essential for safe driving and optimal vehicle performance.
-
IVEKO High-Performance Brake Drums Durable & Precision-Engineered
NewsMay.17,2025
-
Brake Drum Man High-Quality Drum Brake & Shoe Solutions
NewsMay.17,2025
-
Brake Drum Man Premium Drum Brake & Shoe Solutions OEM-Compliant
NewsMay.16,2025
-
Brake Drum Man High-Quality Drum Brake & Shoe Kits for Vehicles
NewsMay.16,2025
-
Brake Drum Man High-Quality Drum Brake Parts & Expert Solutions
NewsMay.16,2025
-
Brake Drum Man High-Quality Drum Brake & Shoe Solutions
NewsMay.15,2025