
Set . 15, 2024 17:20 Back to list
how to remove a trailer brake drum
How to Remove a Trailer Brake Drum A Step-by-Step Guide
Removing a trailer brake drum can seem daunting, but with the right tools and a little guidance, it can be a straightforward process. This article will walk you through the steps necessary to safely and efficiently remove a trailer brake drum.
Tools Required
Before you begin, gather the following tools 1. Brake drum puller 2. Wrench set 3. Screwdrivers (flathead and Phillips) 4. Pliers 5. Brake cleaner 6. Safety glasses 7. Gloves
Step 1 Prepare the Trailer
Begin by parking your trailer on a flat, stable surface. Ensure it is securely chocked to prevent movement. It’s also best to disconnect the trailer from the towing vehicle for added safety. Once this is done, activate the parking brake if your trailer has one.
Step 2 Remove the Wheel
Using a wrench, loosen the lug nuts on the wheel that covers the brake drum. It's usually easier to do this while the wheel is still on the ground. Once loosened, jack up the trailer until the wheel is off the ground and securely support it with jack stands. Complete removing the lug nuts and take off the wheel to expose the brake drum.
Step 3 Inspect the Brake Assembly
With the wheel removed, take a moment to inspect the brake assembly. Look for any signs of damage or wear, such as cracked brake shoes or leaking brake fluid. This inspection will help you identify any additional repairs that may be needed.
Step 4 Detach the Brake Drum
how to remove a trailer brake drum
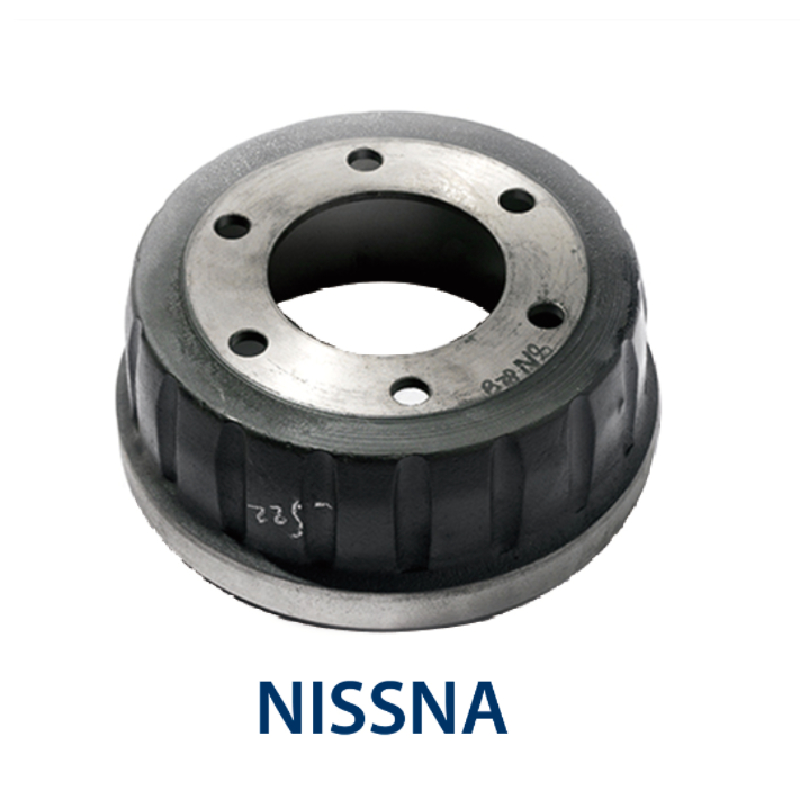
To remove the brake drum, check for retaining screws or bolts that may be holding it in place. If present, remove these using the appropriate screwdriver or wrench. In some cases, the drum may be stuck due to rust or residue buildup, making it difficult to remove. If this is the case, use the brake drum puller. Position the puller on the drum and tighten the center bolt to apply pressure evenly until the drum releases from the hub.
Step 5 Clean the Brake Components
Once the drum is removed, take the opportunity to clean the brake components. Use brake cleaner to eliminate any dust or grime from the brake shoes and drum assembly. Ensure proper ventilation while cleaning and wear gloves for protection.
Step 6 Replace or Repair as Needed
If the brake shoes and drum are worn or damaged, now is the time to replace them. Ensure you have replacement parts that are compatible with your trailer’s make and model.
Step 7 Reassemble the Brake Assembly
Once repairs are complete, reattach the brake drum and secure it with any screws or bolts you previously removed. Finally, mount the wheel back onto the hub, tightening the lug nuts in a star pattern to ensure even distribution.
Step 8 Safety Check
After everything is reassembled, perform a safety check. Make sure all components are secure and there are no leaks.
In conclusion, removing a trailer brake drum requires some basic tools and careful attention to detail. Following these steps will help ensure that your trailer brakes are properly maintained, ensuring safe travels. Always consult your trailer's manual for specifics unique to your model and consider seeking professional help if you feel uncertain about any part of the process.
-
Brake Drum Liza Durable Drum Brake Components & Replacement Parts
NewsMay.21,2025
-
Kamaz Brake Drum - Durable OEM Replacement & Heavy-Duty Performance
NewsMay.21,2025
-
Brake Drum Liza - High-Quality & Durable Braking Solutions
NewsMay.21,2025
-
IVECO Brake Drums Durable OEM Replacement & Brake Drum Components
NewsMay.20,2025
-
Brake Drum Liza Durable & High-Performance Braking Solutions
NewsMay.20,2025
-
Brake Drum Liza High-Quality Drum Brake & Shoe Kits for Vehicles
NewsMay.19,2025