Jul . 27, 2024 14:41 Back to list
Step-by-Step Guide to Replacing Your Trailer Brake Drum for Optimal Performance and Safety
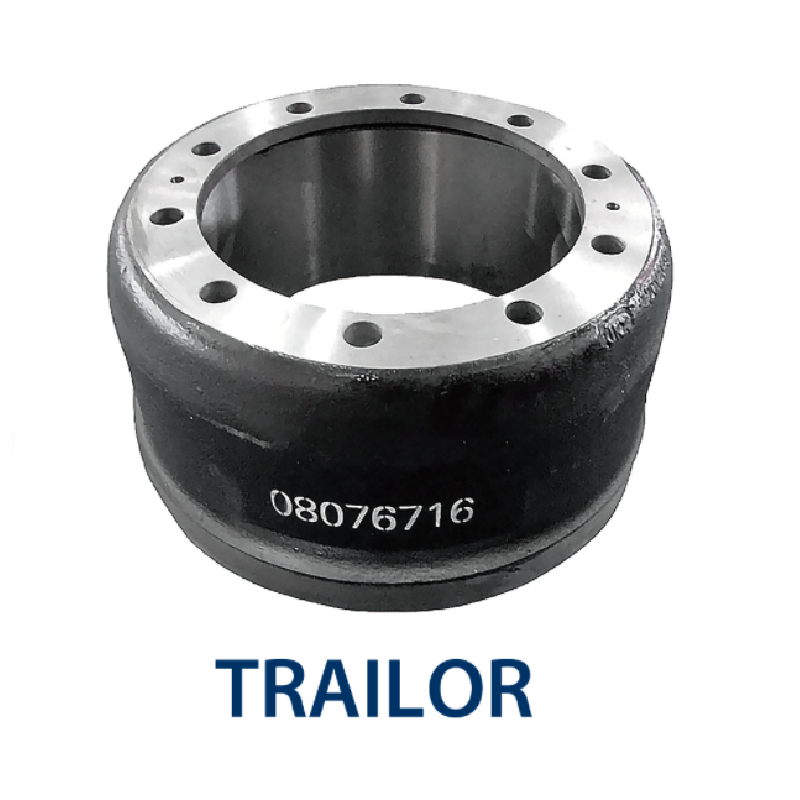
Trailer Brake Drum Replacement A Comprehensive Guide
When it comes to trailer maintenance, one of the most critical components to keep an eye on is the brake system. The brake drum, in particular, plays a vital role in ensuring the safety and efficiency of your trailer. Over time, these drums can wear down due to heat, friction, and general use, necessitating replacement. Understanding when and how to replace trailer brake drums can save you from more significant issues down the road, both in terms of safety and financial costs.
When to Replace Brake Drums
Identifying when to replace your trailer’s brake drums involves a combination of visual inspection and paying attention to performance. Signs that your brake drums may need replacement include
1. Cracks or Damage Inspect for any visible cracks or uneven surfaces. Any damage can significantly impair braking efficiency. 2. Excessive Wear Brake drums have a specified wear limit, typically indicated in your owner’s manual. If your brake drum is worn beyond this limit, it should be replaced. 3. Increased Stopping Distance If you notice that your trailer is taking longer to stop, this can be a red flag that the brakes (including the drums) are failing. 4. Noise Grinding or screeching noises while braking are often signs that the brake shoes may be worn and that the brake drum is wearing unevenly.
Regular maintenance checks can help identify these symptoms early, allowing you to address issues before they escalate.
Tools and Materials Needed
Before starting the replacement process, it’s essential to have the right tools and materials on hand. Common tools include
- A jack and jack stands - A lug wrench - A brake drum puller (if necessary) - New brake drums - New brake shoes (recommended) - A torque wrench - Brake cleaner - Gloves and safety glasses
Step-by-Step Replacement Process
trailer brake drum replacement

1. Prepare the Trailer Start by parking your trailer on a flat surface. Ensure it’s secured and supported with jack stands after lifting it with a jack. 2. Remove the Wheel Use the lug wrench to remove the wheel that houses the brake drum. It's best to do this on one side at a time.
3. Access the Brake Drum After removing the wheel, you’ll have direct access to the brake drum. Inspect it to determine if it needs replacing.
4. Remove the Brake Drum If the drum is stuck due to rust or debris, a brake drum puller might be necessary. Otherwise, gently pull it off to expose the brake shoes.
5. Replace Brake Shoes (if necessary) It’s often a good idea to replace the brake shoes simultaneously to ensure optimal performance. Follow the manufacturer’s guidelines for installation.
6. Install the New Brake Drum Once the old drum is removed (and brake shoes replaced, if applicable), install the new brake drum by sliding it over the axle.
7. Reattach the Wheel Place the wheel back on and hand-tighten the lug nuts. Once it’s secure, lower the trailer and use a torque wrench to tighten the lug nuts to the manufacturer’s specifications.
8. Test the Brakes After replacing the drums and reassembling everything, test the brakes in a safe environment to ensure they are functioning correctly.
Conclusion
Replacing your trailer's brake drums may seem like a daunting task, but with the right tools and a careful approach, it becomes manageable. Regular maintenance not only prolongs the life of your trailer but also ensures safe towing and braking. When in doubt, consulting with a professional is always a wise choice, particularly when it involves critical components like brakes. Keeping your trailer in excellent condition will ensure secure travel and peace of mind on the road.
-
Brake Drum Man - High-Quality Drum Brake Drums & Brake Shoes for Reliable Performance
NewsJun.24,2025
-
High-Quality Brake Drum Kamaz – Durable Drum Brake Drum & Brake Shoe Replacement
NewsJun.10,2025
-
High-Quality Brake Drum Liza for Drum Brake Systems - Superior Durability and Performance
NewsJun.10,2025
-
High-Quality Brake Drum Kamaz – Durable Drum Brake Drum & Brake Shoe Solutions
NewsJun.10,2025
-
Durable Kamaz Brake Drums High-Performance Truck Parts
NewsJun.09,2025
-
Premium Brake Drum Maz Kit with Shoes Enhanced Braking
NewsJun.09,2025
