სექ . 22, 2024 12:20 Back to list
removing stuck brake drum
Removing Stuck Brake Drum A Step-by-Step Guide
Removing a stuck brake drum can be a daunting task for both novice and experienced DIYers. This article outlines the necessary steps to safely and effectively remove a stubborn brake drum from a vehicle.
Understanding the Problem
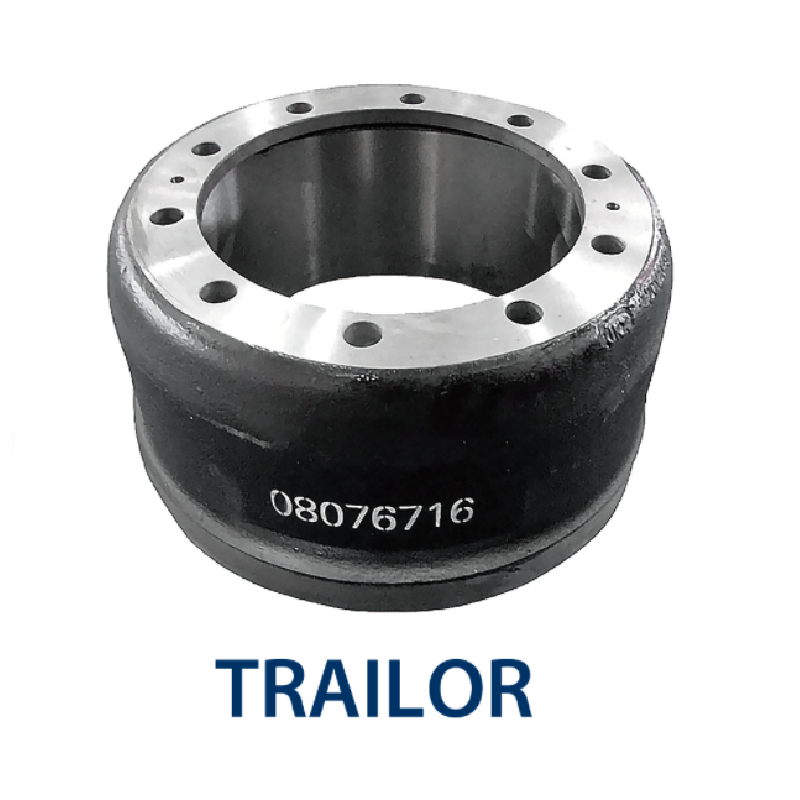
Brake drums can become stuck due to rust, corrosion, or even a malfunctioning parking brake, which can cause the shoes to adhere to the drum. Before you start the removal process, it's essential to diagnose the problem correctly. If the brakes are not releasing properly, it could result in severe wear and impede overall vehicle performance.
Safety First
Before working on any part of your vehicle, ensure you wear safety glasses and gloves. Additionally, always work on a flat surface and use wheel chocks to prevent the vehicle from rolling.
Tools Required
To remove a stuck brake drum, you’ll need several tools - A lug wrench - A brake drum puller (if necessary) - A hammer - Penetrating oil - Safety glasses - A jack and jack stands
Step-by-Step Process
removing stuck brake drum

1. Prepare the Vehicle Begin by loosening the lug nuts on the wheel that houses the brake drum, but don't remove them completely just yet. Using a jack, lift the vehicle and securely place it on jack stands. Remove the lug nuts and take off the wheel.
2. Inspect the Brake Components With the wheel removed, check the brake components. Look for any signs of damage or excessive wear. If the shoes are severely worn or damaged, consider replacing them.
3. Apply Penetrating Oil Spray penetrating oil around the edge of the brake drum where it meets the backing plate. Allow it to soak for several minutes. This helps loosen any rust or debris that may be holding the drum in place.
4. Utilize the Hammer Gently tap around the edge of the brake drum with a hammer. This method can often help break the bond between the drum and the shoes. Make sure to work your way around the drum to avoid bending it.
5. Use a Brake Drum Puller If the drum remains stuck, a brake drum puller may be necessary. Attach the puller to the drum according to the manufacturer’s instructions. Gradually tighten the puller, which will leverage the drum off of the hub.
6. Inspect and Clean Once the drum is removed, inspect it for signs of wear and damage. Clean off any rust or debris from both the drum and the shoes. This will help prevent future sticking issues.
7. Reassemble If you're replacing components, follow the installation instructions for new shoes or drums. Otherwise, simply reverse the disassembly process. Reattach the wheel, lower the vehicle, and make sure to torque the lug nuts to the proper specification.
Conclusion
Removing a stuck brake drum doesn’t have to be a frustrating experience. By following these steps methodically, you can successfully detach the drum and perform any necessary maintenance. Regular inspections and maintenance are key to ensuring your braking system operates smoothly, promoting safety on the road. If you encounter persistent issues or feel uncomfortable performing the task, consider consulting a professional mechanic.
-
Brake Drum Man - High-Quality Drum Brake Drums & Brake Shoes for Reliable Performance
NewsJun.24,2025
-
High-Quality Brake Drum Kamaz – Durable Drum Brake Drum & Brake Shoe Replacement
NewsJun.10,2025
-
High-Quality Brake Drum Liza for Drum Brake Systems - Superior Durability and Performance
NewsJun.10,2025
-
High-Quality Brake Drum Kamaz – Durable Drum Brake Drum & Brake Shoe Solutions
NewsJun.10,2025
-
Durable Kamaz Brake Drums High-Performance Truck Parts
NewsJun.09,2025
-
Premium Brake Drum Maz Kit with Shoes Enhanced Braking
NewsJun.09,2025
