ធ្នូ . 19, 2024 15:48 Back to list
how to install brake drums
How to Install Brake Drums A Step-by-Step Guide
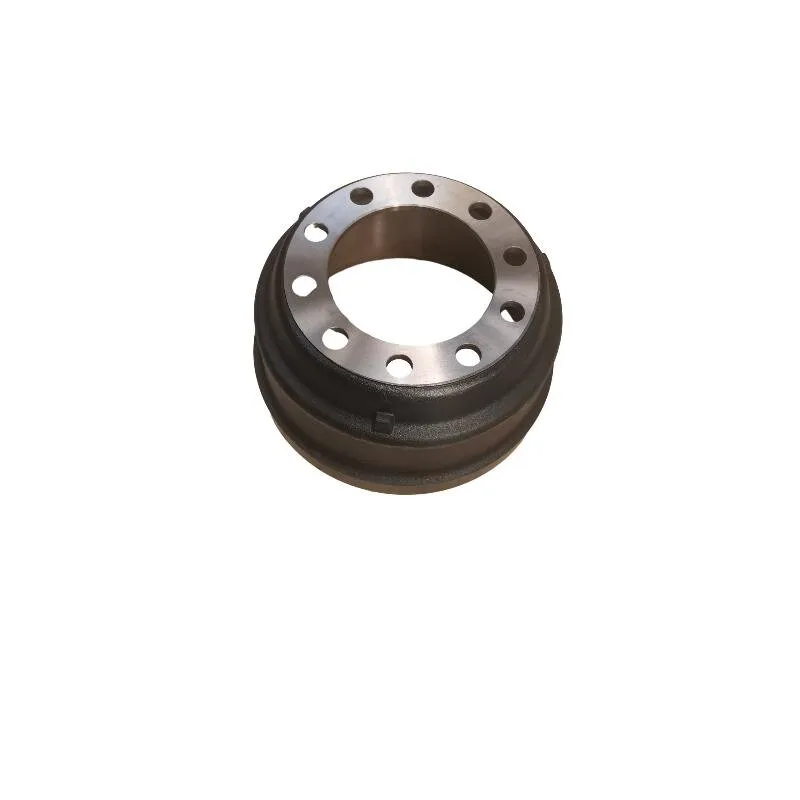
Installing brake drums can be a critical part of maintaining your vehicle's braking system. Brake drums are crucial components in many vehicles, particularly those with rear drum brake systems. If you’re looking to replace old or worn-out brake drums, follow this step-by-step guide to ensure proper installation and safe driving.
Tools and Materials Needed
Before you begin, it is essential to gather all necessary tools and materials. You will typically need
- New brake drums - Brake shoes (if replacing) - Brake cleaner - Wrench set - Socket set - Screwdriver - Brake spring tool - Torque wrench - Safety goggles - Gloves
Steps for Installing Brake Drums
1. Safety First Make sure you're working in a safe environment. Park the vehicle on a level surface, engage the parking brake, and use wheel chocks under the front wheels.
2. Lift the Vehicle Using a jack, lift the rear of the vehicle. Secure it with jack stands to ensure safety while you’re working. Never rely solely on the jack for support.
3. Remove the Wheel Using a wrench or socket, loosen the lug nuts and remove the wheel. This will give you access to the brake assembly components.
4. Inspect the Brake Assembly Before installing new brake drums, inspect the brake shoes, springs, and hardware. If the brake shoes show signs of wear or damage, replace them as well.
5. Remove the Old Brake Drum Typically, brake drums are secured by a couple of screws. Use a screwdriver to remove these screws. If the drum is stuck, gently tap it with a rubber mallet or use a drum puller to remove it without damaging surrounding components.
how to install brake drums

6. Clean the Brake Assembly Use brake cleaner to wipe down the brake assembly. Remove any dust, grease, or debris, as these can impair the functionality of the new drum and shoes.
7. Install New Brake Shoes (if applicable) If you are replacing the brake shoes, now is the time. Use a brake spring tool to carefully attach the new brake shoes, following the manufacturer’s instructions. Pay attention to the positioning of the shoes and ensure the return springs are correctly installed.
8. Install the New Brake Drum Slide the new drum over the brake shoes, ensuring it fits snugly and seats properly. If the drum does not fit easily, check the shoe adjustment mechanism. You may need to adjust it to allow the drum to fit.
9. Secure the Drum If applicable, insert and tighten the screws that hold the drum in place. Make sure they are secured but do not overtighten.
10. Reinstall the Wheel Place the wheel back onto the hub. Hand-tighten the lug nuts into place to secure it temporarily.
11. Lower the Vehicle Carefully raise the vehicle back up and remove the jack stands. Lower the vehicle back to the ground.
12. Torque the Lug Nuts Using a torque wrench, tighten the lug nuts to the manufacturer’s specifications. This is important to ensure that the wheel is securely fastened.
13. Test the Brakes Before driving, pump the brake pedal several times to adjust the brake shoes to the drum. Check for any unusual noises or issues.
14. Final Inspection Take a moment to inspect your work. Ensure that everything looks correct and that no tools have been left in the wheel well.
Conclusion
Installing brake drums may seem daunting, but with the right tools and following these steps, you can successfully complete the task. Always prioritize safety and double-check your work to ensure the integrity of your vehicle's braking system. If at any point you feel uncertain, do not hesitate to consult a professional mechanic for assistance. Regular maintenance and timely replacements will ensure your vehicle remains safe and reliable on the road.
-
Your Brake Drum Man: Quality & Performance Parts
NewsAug.21,2025
-
Explore Japan: Ultimate Travel Guide & Authentic Experiences
NewsAug.19,2025
-
Your Brake Drum Man: Premium & Reliable Brake Drums for Sale
NewsAug.18,2025
-
ROR Web Development: Build Fast, Scalable, Secure Apps
NewsAug.17,2025
-
Scania Brake Drums: OEM Quality for Optimal Safety & Durability
NewsAug.16,2025
-
R.V.I: Advanced Remote Visual Inspection for Precision
NewsAug.15,2025
