វិច្ឆិកា . 20, 2024 22:26 Back to list
rear brake drum removal
How to Remove Rear Brake Drum A Step-by-Step Guide
Removing the rear brake drum is an essential maintenance task that can help ensure your vehicle's braking system functions efficiently. Whether you're replacing worn-out brake shoes, inspecting the drum for wear, or simply performing routine maintenance, knowing how to remove the rear brake drum is crucial. This article will provide a comprehensive, step-by-step guide to help you navigate this process safely and effectively.
Tools and Materials Needed
Before starting, ensure you have the following tools and materials on hand
- Jack and jack stands - Tire iron or lug wrench - Brake drum puller (if necessary) - Screwdrivers (flathead and Phillips) - Pliers - Brake cleaner - Rags - Replacement brake shoes (if applicable) - Torque wrench (for reinstallation)
Step 1 Safety First
Begin by parking your vehicle on a flat, stable surface. Engage the parking brake to prevent any movement. Depending on your vehicle, you may want to chock the front wheels as an additional safety measure.
Step 2 Raise the Vehicle
Using a jack, lift the rear of the vehicle until it is high enough for you to work comfortably. Secure the vehicle with jack stands to ensure it remains stable during the process.
Step 3 Remove the Rear Wheels
Next, take your tire iron or lug wrench and remove the lug nuts from the rear wheels. Once the nuts are off, carefully take the wheels off the vehicle and set them aside.
Step 4 Inspect the Brake Assembly
With the wheels removed, you can now see the brake drum assembly. Inspect the area for any visible signs of wear or damage. If you notice significant rust, pitting, or other damage, it might be time to replace the drum.
Step 5 Remove the Brake Drum
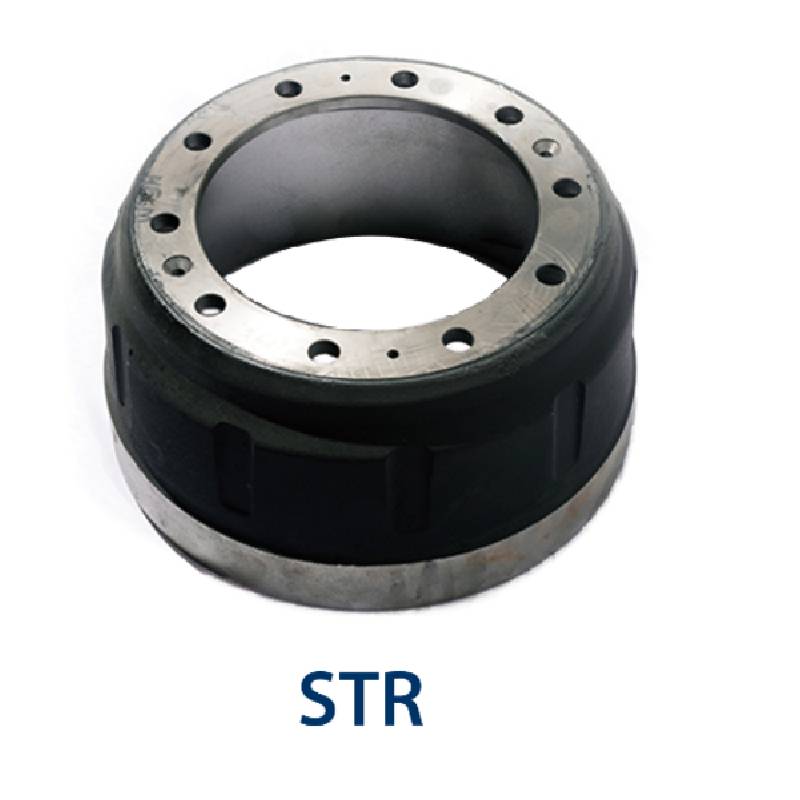
rear brake drum removal

In many cases, the brake drum will simply slide off the wheel hub
. However, if you encounter resistance, follow these additional steps1. Locate the Adjuster Between the brake shoes, there will be an adjuster mechanism that controls the spacing between the shoes and the drum. Use a flathead screwdriver to turn the adjuster, retracting the brake shoes slightly. This will help in loosening the fit of the drum.
2. Check for Retaining Screws Some drums may have retaining screws that hold them in place. If your brake drum has these screws, use the appropriate screwdriver to remove them.
3. Use a Drum Puller If the drum still does not come off, you may need a brake drum puller. Place it over the drum and tighten it until the drum loosens and comes off.
Step 6 Inspect the Brake Shoes and Components
Once the drum is removed, inspect the brake shoes, springs, and other components for wear and tear. If you notice that the shoes are thin or unevenly worn, consider replacing them. Take note of the orientation and layout of the components for easier reassembly.
Step 7 Clean and Reassemble
Before reassembling, clean the brake drum and any components with brake cleaner. Remove any dust and debris to ensure optimal performance. If you've replaced the brake shoes or other components, now is the time to install them.
Reinstall the brake drum by simply sliding it back onto the hub. Make sure it rotates freely without any obstruction.
Step 8 Replace Wheels and Lower the Vehicle
Once the drum is in place, reattach the wheels and secure the lug nuts finger-tight. Lower the vehicle off the jack stands and then use the torque wrench to tighten the lug nuts to the manufacturer's specifications.
Conclusion
Removing and reinstalling the rear brake drum can be a manageable DIY project with the right tools and knowledge. Regular maintenance will not only prolong the life of your vehicle but also contribute to its overall safety on the road. If you feel uncertain at any point during the process, don't hesitate to seek professional assistance. Your safety always comes first!
-
Brake Drum Man - High-Quality Drum Brake Drums & Brake Shoes for Reliable Performance
NewsJun.24,2025
-
High-Quality Brake Drum Kamaz – Durable Drum Brake Drum & Brake Shoe Replacement
NewsJun.10,2025
-
High-Quality Brake Drum Liza for Drum Brake Systems - Superior Durability and Performance
NewsJun.10,2025
-
High-Quality Brake Drum Kamaz – Durable Drum Brake Drum & Brake Shoe Solutions
NewsJun.10,2025
-
Durable Kamaz Brake Drums High-Performance Truck Parts
NewsJun.09,2025
-
Premium Brake Drum Maz Kit with Shoes Enhanced Braking
NewsJun.09,2025
