វិច្ឆិកា . 27, 2024 14:19 Back to list
Guide to Replacing Rear Drum Brakes for Optimal Vehicle Performance and Safety
Understanding Rear Drum Brakes Replacement A Comprehensive Guide
When it comes to your vehicle's braking system, rear drum brakes often don’t get the attention they deserve. However, maintaining these brakes is essential for your safety and the overall performance of your car. This article will delve into the importance of rear drum brakes, the signs that indicate it's time for a replacement, and a step-by-step guide on how to replace them.
What Are Rear Drum Brakes?
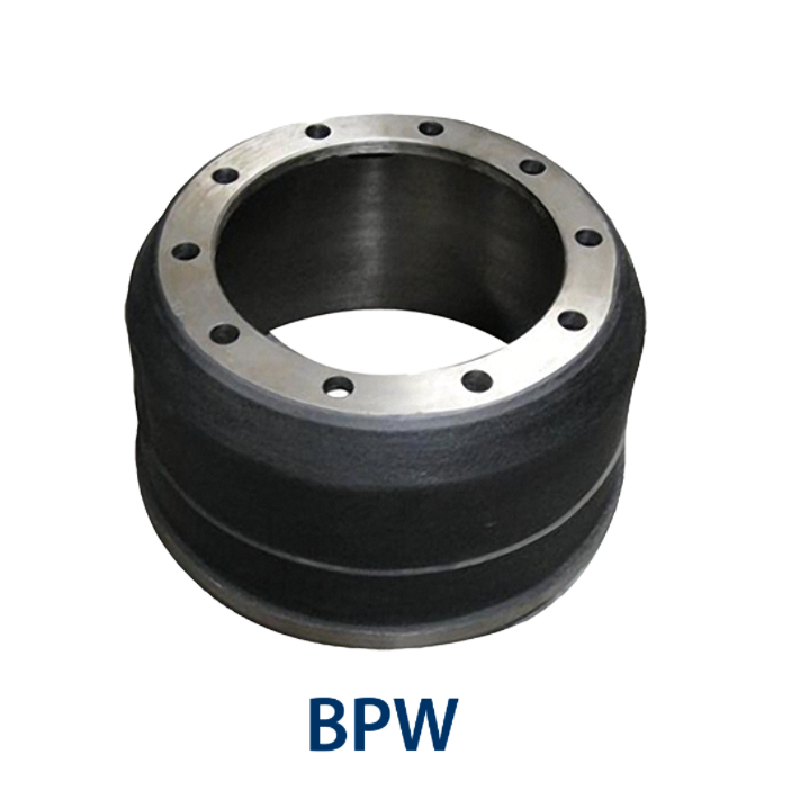
Rear drum brakes are a type of braking system commonly found in older vehicles and some low-end models. They consist of a drum mounted on the wheel, brake shoes that press against the drum to create friction, and a hydraulic system that applies the force necessary to activate the brakes. Unlike disc brakes, which provide a direct stopping power, drum brakes can experience brake fade under heavy use, which is an essential factor to consider when evaluating their performance.
Why Replace Rear Drum Brakes?
Regular maintenance of your rear drum brakes is necessary for several reasons
1. Safety The primary function of brakes is to stop your vehicle safely. Worn-out drum brakes can lead to longer stopping distances, compromising your safety and that of others on the road.
2. Performance If your rear drum brakes are not in optimal condition, it can affect the overall handling and efficiency of your vehicle, leading to poor driving experience.
3. Cost-Effectiveness Replacing worn-out brakes at the right time can prevent more extensive damage to your vehicle, which could lead to expensive repairs in the future.
Signs You Need to Replace Your Rear Drum Brakes
Before jumping into the replacement process, it’s essential to recognize the signs that indicate your rear drum brakes may need replacement
- Squeaking or Grinding Noises If you hear unusual noises when you apply the brakes, it might mean your brake pads or shoes are worn out. - Vibration or Pulsation If you feel vibrations in the brake pedal or the steering wheel while braking, it may indicate that the drum is warped or unevenly worn.
- Warning Lights Modern vehicles often have warning lights that indicate issues with the braking system. If a warning light appears on your dashboard, have your brakes checked immediately.
- Poor Braking Performance If you notice a decrease in the responsiveness of your brakes, or if the braking distance has increased, it might be time to replace your rear drum brakes.
How to Replace Rear Drum Brakes
rear drum brakes replacement

If you are comfortable with basic automotive repairs, replacing your rear drum brakes can be a manageable DIY task. Here’s a step-by-step guide
Tools and Materials Needed - Jack and jack stands - Lug wrench - Drum brake replacement kit - Brake cleaner - C-Clamp - Screwdrivers (flat and Phillips) - Pliers - Torque wrench
Step-by-Step Guide
1. Prepare the Vehicle Park your vehicle on a level surface, turn off the engine, and engage the parking brake. Loosen the lug nuts on the rear wheels before lifting the vehicle.
2. Lift the Vehicle Use a jack to lift the rear of the vehicle. Once elevated, secure it with jack stands.
3. Remove the Rear Wheels Take off the wheels by fully unscrewing the lug nuts.
4. Access the Drum Depending on your vehicle, you may need to remove a retaining clip or bolts securing the brake drum. Gently pull the drum off to reveal the brake shoes.
5. Inspect and Remove Old Parts Check the condition of the brake shoes and the drum. If they are worn, use pliers to disconnect the springs and remove the shoes.
6. Install New Parts Clean the drum and install the new brake shoes, ensuring all springs and clips are correctly positioned. It may be useful to apply a bit of brake grease to the backing plates to prevent squeaking.
7. Reassemble Reattach the brake drum and securely fasten any retaining clips or bolts. Reinstall the wheel and tighten the lug nuts.
8. Lower the Vehicle Carefully lower your vehicle back to the ground and torque the lug nuts to the manufacturer's specification.
9. Test Drive Once everything is in place, do a short test drive to ensure the brakes are functioning correctly and make any necessary adjustments.
Conclusion
Replacing rear drum brakes may seem daunting, but with careful attention and the right tools, it can be a straightforward process. Regular maintenance and timely replacement of your braking components ensure your safety and enhance your vehicle’s performance. If you’re uncertain about any step, don’t hesitate to consult a certified mechanic. Safe driving!
-
HINO Industrial Solutions - ¡Ң���ຽ��е��������˾ | Advanced Efficiency&Customization
NewsJul.13,2025
-
HINO Industrial Efficiency Solutions - ¡Ң���ຽ��е��������˾
NewsJul.13,2025
-
HINO Industrial Solutions - ¡Ң���ຽ��е��������˾ | Advanced Technology&Reliability
NewsJul.13,2025
-
HINO Industrial Efficiency-Jiangsu Hino Industrial|Productivity Optimization&Cost Reduction
NewsJul.12,2025
-
HINO-¡Ң���ຽ��е��������˾|Advanced Industrial Solutions&Energy Efficiency
NewsJul.12,2025
-
Premium Brake Drum Iveco – Durable Drum Brake Drum & Brake Shoe Solutions
NewsJul.08,2025
