
កុម្ភៈ . 13, 2025 21:48 Back to list
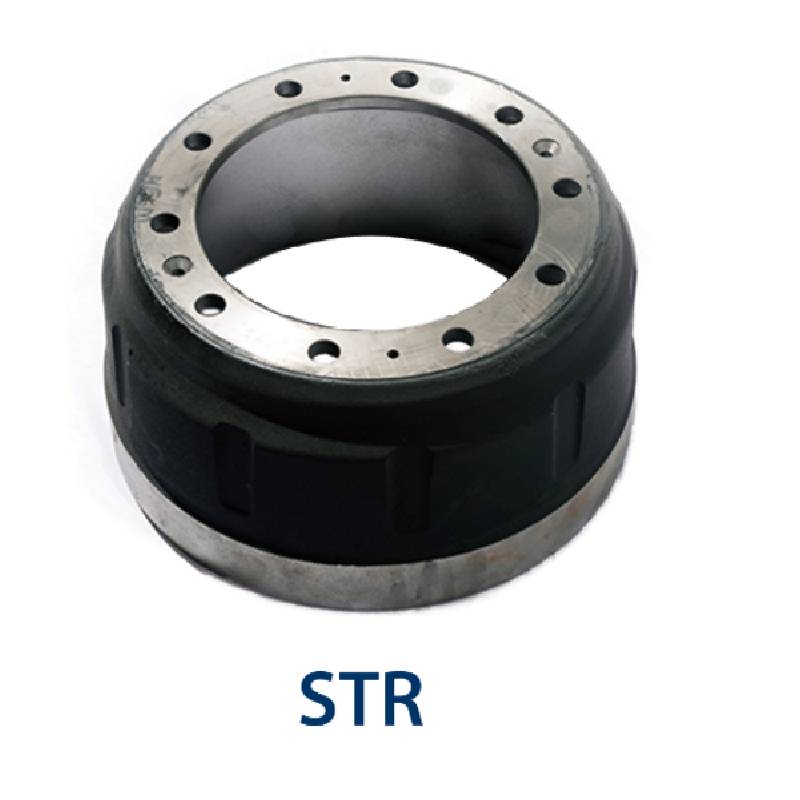
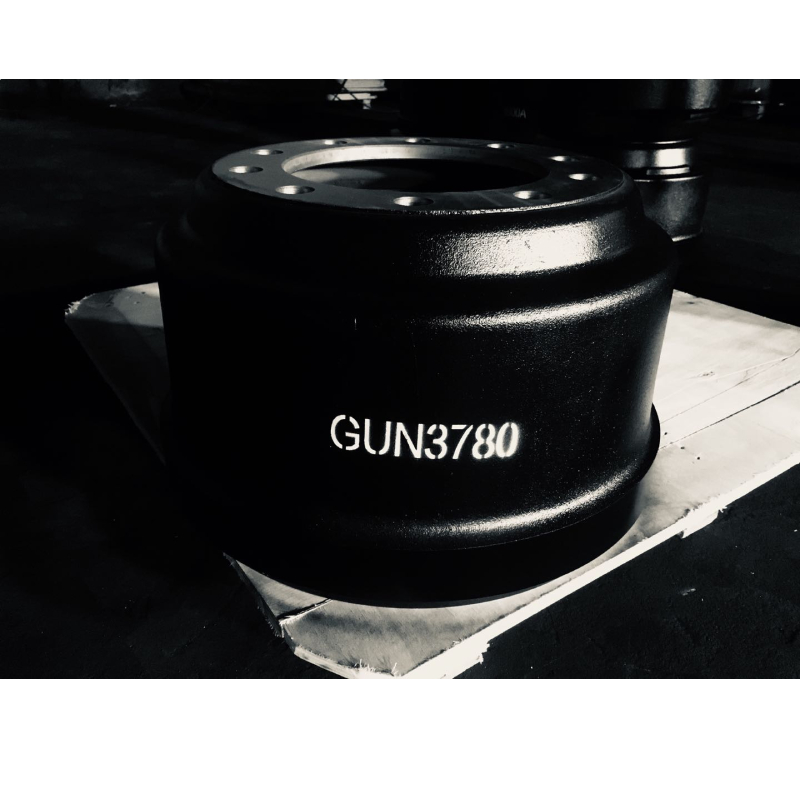
removing a stuck brake drum
Removing a stuck brake drum can be quite challenging, but with the right tools and techniques, it becomes a manageable task. The process requires patience, precision, and a good understanding of brake system mechanics to ensure that the components are not damaged during the removal.
Throughout this process, periodic inspections are crucial to ensuring that no interior components are damaged. If the drum shows signs of heat damage or warping, it should be replaced to guarantee optimal vehicle performance. Once removed, take the opportunity to clean the hub and drum thoroughly with brake cleaner to remove rust and debris, which will aid in future maintenance and prevent reoccurrence. In some cases, seeking professional help is prudent, particularly if the vehicle is notably old or if previous attempts at removal seem to exacerbate the problem. Professionals possess specialized tools and extensive knowledge that can prevent costly damage. When successfully removed, always inspect the brake components such as linings, springs, and cylinders for wear. This ensures that when reassembled, the braking system operates smoothly and safely. Regular maintenance, including cleaning and inspection of the braking system, prevents the hassles of dealing with stuck brake drums in the future. Applying anti-seize lubricant around the hub before reinstalling the drum can help minimize the risk of it binding again. Effectively addressing a stuck brake drum enhances vehicle safety, extends the life of your vehicle’s braking system, and reinforces reliability on the road. With these expert tips and careful practices, your vehicle maintenance tasks can be handled efficiently, securing the trust in your vehicle's performance every time you hit the road.
Throughout this process, periodic inspections are crucial to ensuring that no interior components are damaged. If the drum shows signs of heat damage or warping, it should be replaced to guarantee optimal vehicle performance. Once removed, take the opportunity to clean the hub and drum thoroughly with brake cleaner to remove rust and debris, which will aid in future maintenance and prevent reoccurrence. In some cases, seeking professional help is prudent, particularly if the vehicle is notably old or if previous attempts at removal seem to exacerbate the problem. Professionals possess specialized tools and extensive knowledge that can prevent costly damage. When successfully removed, always inspect the brake components such as linings, springs, and cylinders for wear. This ensures that when reassembled, the braking system operates smoothly and safely. Regular maintenance, including cleaning and inspection of the braking system, prevents the hassles of dealing with stuck brake drums in the future. Applying anti-seize lubricant around the hub before reinstalling the drum can help minimize the risk of it binding again. Effectively addressing a stuck brake drum enhances vehicle safety, extends the life of your vehicle’s braking system, and reinforces reliability on the road. With these expert tips and careful practices, your vehicle maintenance tasks can be handled efficiently, securing the trust in your vehicle's performance every time you hit the road.
Next:
Latest news
-
High-Quality Trailers for Towing Needs | Shop Now
NewsJul.25,2025
-
Premium MAN Shaving Kit for Effortless Comfort
NewsJul.25,2025
-
HINO Advanced Machinery Solutions - LONGYAO COUNTY YIHANG MACHINERY | Industrial Efficiency&Customization
NewsJul.21,2025
-
HINO Machinery Solutions - LONGYAO COUNTY YIHANG MACHINERY MANUFACTURING CO.LTD | Precision Engineering, Customizable Configurations
NewsJul.21,2025
-
HINO Machinery Solutions - LONGYAO COUNTY YIHANG MACHINERY MANUFACTURING CO.LTD | Precision Engineering, Customizable Configurations
NewsJul.21,2025
-
HINO Machinery Solutions - LONGYAO COUNTY YIHANG MACHINERY MANUFACTURING CO.LTD | Precision Engineering, Customizable Configurations
NewsJul.21,2025