
ಆಕ್ಟೋ . 07, 2024 06:48 Back to list
trailer brake drum replacement
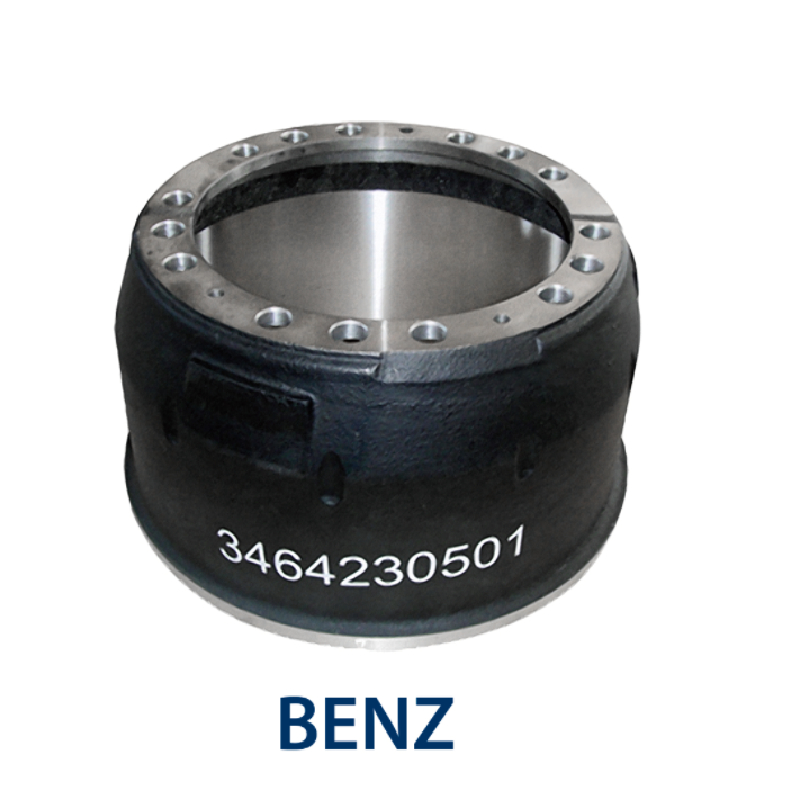
Trailer Brake Drum Replacement A Comprehensive Guide
Maintaining your trailer is crucial for safe towing and travel, and one of the components that require regular attention is the brake drum. The brake drum plays a vital role in the braking system, converting the hydraulic pressure into mechanical force, which allows the trailer to stop efficiently. Over time, wear and damage can occur, necessitating its replacement. This article provides a comprehensive guide on trailer brake drum replacement.
Understanding Brake Drums
Brake drums are typically used in drum brake systems, where brake shoes press against the inner surface of the drum to slow down or stop the trailer. The friction generated between the shoes and the drum is essential for safe braking. However, factors such as heat, moisture, and debris can lead to wear, warping, or cracking of the drum, which compromises the braking system’s effectiveness.
Signs of a Failing Brake Drum
It’s essential to be vigilant about the condition of your brake drums. Common signs that indicate a need for replacement include 1. Unusual Noises Grinding or squeaking sounds when braking may suggest that the brake shoes are worn down and the drum is damaged. 2. Vibrations If you feel vibrations in the trailer when applying the brakes, it may indicate that the drum is warped. 3. Decreased Braking Performance If it takes longer to stop or if you need to push harder on the brake pedal, the drum might not be functioning properly.
Replacement Process
When it’s time to replace your trailer's brake drums, follow these steps
1. Gather Materials You’ll need new brake drums, brake shoes, a lug wrench, a jack, and safety stands. 2. Safety First Park the trailer on a level surface, set the parking brake, and use wheel chocks for additional safety.
trailer brake drum replacement
3. Jack Up the Trailer Use a jack to lift the trailer and place safety stands to secure it.
4. Remove the Wheel Take off the tire using a lug wrench to access the brake assembly.
5. Detach the Brake Assembly Remove any retaining clips or bolts securing the brake drum. Gently pull the drum off the wheel hub.
6. Inspect Components Check the brake shoes and related hardware. If they show signs of wear, it’s wise to replace them simultaneously.
7. Install the New Drum Position the new drum onto the wheel hub, ensuring it fits snugly. Reattach any hardware you removed.
8. Reassemble Put the brake assembly back together, then replace the wheel and lug nuts. Lower the trailer back to the ground and tighten the lug nuts fully.
9. Test the Brakes Before hitting the road, test the braking system by applying pressure to ensure everything functions correctly.
Conclusion
Replacing the brake drum on your trailer is a straightforward process that can significantly enhance safety and performance. Regular inspections and timely replacement are key to ensuring that your trailer remains roadworthy. Always consult your owner’s manual for specific instructions, and when in doubt, don’t hesitate to seek professional assistance. Safe travels!
-
Brake Drum Liza Durable & High-Performance Brake Solutions
NewsMay.29,2025
-
Brake Drum Liza Durable Drum Brake & Shoe Replacement Solutions
NewsMay.29,2025
-
Brake Drum Liza High-Quality Drum Brake & Shoe Solutions
NewsMay.29,2025
-
Brake Drum Liza Durable Drum Brake & Shoe Solutions for Vehicles
NewsMay.29,2025
-
Brake Drum Liza Premium Drum Brake Components & Shoes
NewsMay.29,2025
-
Brake Drum Man Durable Drum Brake Drums & Shoes Supplier
NewsMay.28,2025