ئاب . 13, 2024 06:26 Back to list
Step-by-Step Guide to Safely Remove Rear Brake Drum from Isuzu Truck
How to Remove the Rear Brake Drum on an Isuzu Truck
Removing the rear brake drum on an Isuzu truck is a crucial skill for any mechanic or DIY enthusiast, especially for those looking to perform maintenance on their vehicle’s braking system. This task may seem daunting at first, but with the right tools and guidance, it can be carried out efficiently and safely. In this article, we will walk you through the steps necessary to remove the rear brake drum from an Isuzu truck.
Tools Required
Before beginning the process, ensure you have the following tools on hand
- Jack and jack stands - Lug wrench - Brake cleaner - A rubber mallet - A screwdriver - Pliers - A torque wrench - Safety glasses and gloves
Step-by-Step Guide
1. Preparation and Safety First Ensure that you are working in a well-ventilated area. Begin by parking the truck on a level surface and engaging the parking brake. It is essential to wear safety glasses and gloves to protect yourself from dust and debris.
2. Loosen the Lug Nuts Using a lug wrench, loosen the lug nuts on the rear wheels slightly while the truck is still on the ground. This will make it easier to remove the wheels once the truck is elevated.
3. Raise the Truck Using a jack, lift the rear of the truck and securely place jack stands under the vehicle to prevent it from rolling or falling. Ensure that the truck is stable before proceeding.
4. Remove the Wheels Now, take off the lug nuts completely and remove the rear wheels. Set them aside safely as you will need to reinstall them later.
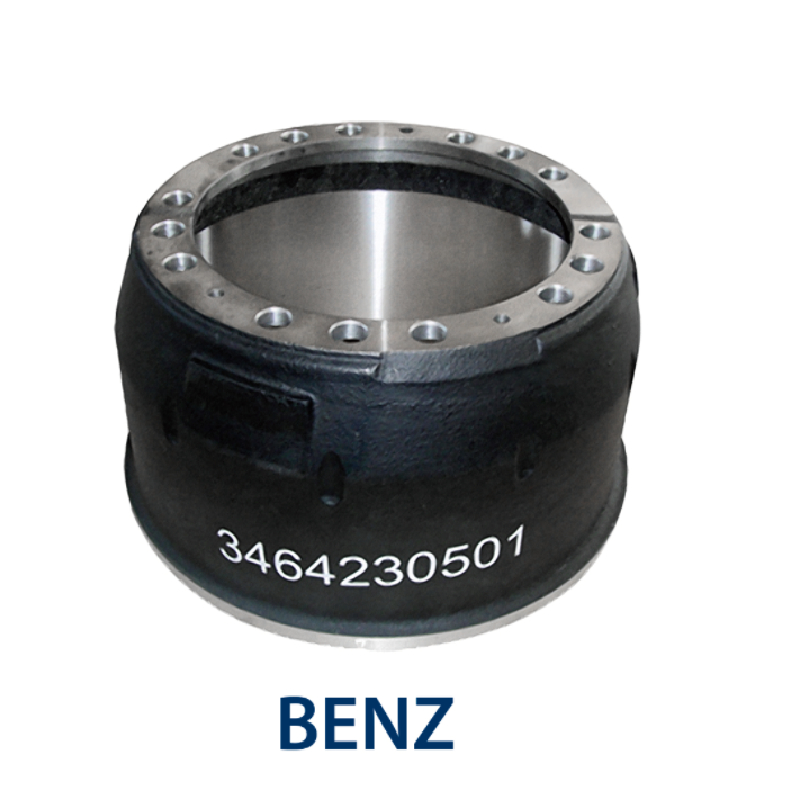
isuzu truck rear brake drum removal

5. Inspect the Brake Assembly With the wheels removed, take a moment to inspect the brake assembly for any visible damage or wear. Look for leaks or cracked components to determine if additional maintenance is necessary.
6. Remove the Brake Drum The brake drum may be held in place by several retaining screws or clips. If so, carefully remove these using a screwdriver or pliers. Once the retaining hardware is removed, the drum should slide off. If the drum is stuck due to rust or debris, gently tap it with a rubber mallet to loosen it. Be careful not to damage the drum or surrounding components.
7. Clean the Components With the drum removed, take this opportunity to clean the brake components using brake cleaner. Remove any dust and debris from the braking surface to ensure optimal performance when you reinstall the drum.
8. Inspect for Wear Look at the brake shoes and other components for wear. If the shoes are worn down or if the drum shows signs of significant wear, consider replacing them at this point.
9. Reassembly To install the brake drum, simply reverse the removal process. Slide the drum back onto the hub and secure it with any retaining screws or clips. Make sure everything is tightened according to the manufacturer’s specifications.
10. Reattach the Wheels Place the wheels back on the truck and hand-tighten the lug nuts. Lower the truck from the jack stands and use a torque wrench to tighten the lug nuts to the specified torque setting.
11. Final Checks Before concluding, pump the brake pedal several times to ensure proper contact between the shoes and the drum. Check the brake fluid level and top it off if necessary.
Conclusion
Removing the rear brake drum on an Isuzu truck is a manageable task that can be completed with basic mechanical skills and the right tools. Remember that safety is paramount, so always use protective gear and ensure the truck is properly secured. With the brake system properly maintained, you can ensure safer driving and prolong the lifespan of your vehicle. Happy wrenching!
-
High-Quality Brake Drum MAZ – Durable Drum Brake Drum & Brake Drum and Brake Shoe Solutions
NewsJul.05,2025
-
High-Quality Brake Drum Iveco - Durable Drum Brake Drum & Brake Shoe Solutions
NewsJul.05,2025
-
High-Quality Brake Drum MAZ – Durable Drum Brake Drum & Brake Drum and Brake Shoe Solutions
NewsJul.04,2025
-
Brake Drum Man - High-Quality Drum Brake Drums & Brake Shoes for Reliable Performance
NewsJun.24,2025
-
High-Quality Brake Drum Kamaz – Durable Drum Brake Drum & Brake Shoe Replacement
NewsJun.10,2025
-
High-Quality Brake Drum Liza for Drum Brake Systems - Superior Durability and Performance
NewsJun.10,2025
