Oct . 11, 2024 12:24 Back to list
Steps for Removing Rear Brake Drum on Your Vehicle
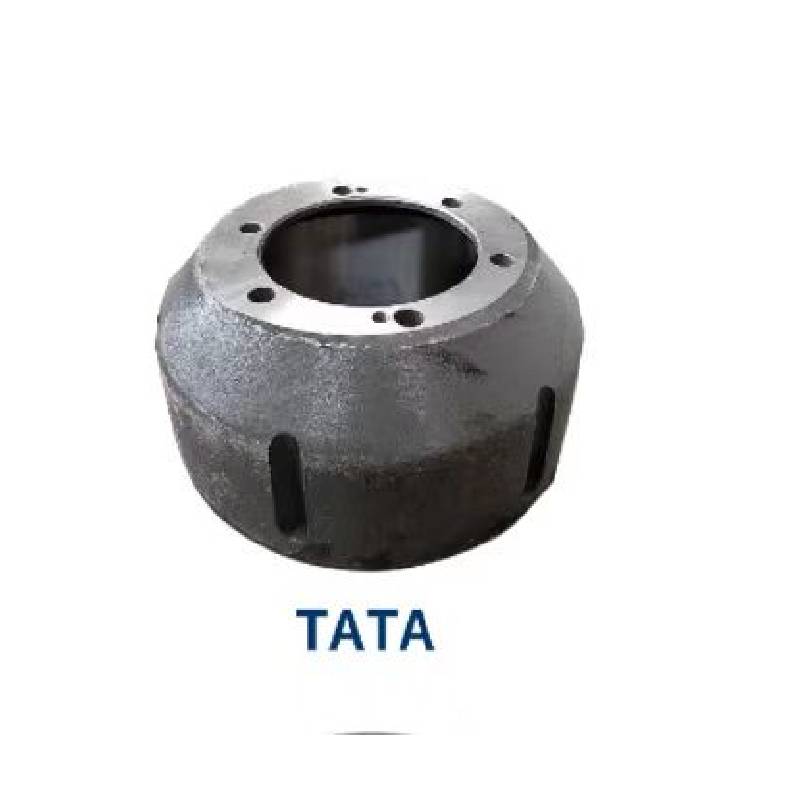
Removing Rear Brake Drum A Step-by-Step Guide
Removing the rear brake drum is an essential maintenance task for vehicle owners who want to ensure their braking system functions effectively and safely. Over time, brakes can wear down, and the drum can accumulate debris or rust, leading to decreased performance. In this guide, we will walk you through the steps needed to remove the rear brake drum safely and efficiently.
Tools and Materials Needed
Before you begin, gather the necessary tools - A jack and jack stands - Lug wrench - Brake drum puller (optional but recommended if the drum is stuck) - Screwdriver - Wrench set - Clean cloth - Brake cleaner
Step 1 Prepare the Vehicle
1. Safety First Park the vehicle on a level surface and engage the parking brake. This will prevent the vehicle from rolling during the process. 2. Loosen Lug Nuts Using the lug wrench, slightly loosen the lug nuts on the rear wheel without removing them completely. This will make it easier to remove the wheel later.
Step 2 Lift the Vehicle
1. Jack Up the Car Use the jack to lift the rear of the vehicle. Ensure that you place the jack in the designated lifting points specified in your owner’s manual.
2. Secure with Jack Stands Once elevated, place jack stands under the vehicle to provide additional safety and stability. Never work under a vehicle supported only by a jack.
Step 3 Remove the Wheel
1. Remove Lug Nuts Finish removing the loosened lug nuts and take off the wheel. Place the wheel aside for later reinstallation.
Step 4 Remove the Brake Drum
1. Inspect the Brake Assembly With the wheel removed, visually inspect the brake assembly. Look for any signs of damage or excessive wear.
removing rear brake drum

2. Remove Any Retaining Screws Some brake drums are held in place by retaining screws. If your drum has these, remove them gently using a screwdriver.
3. Check for Rust and Debris If the drum is stuck, it might be due to rust or debris. Use a brake cleaner and a clean cloth to wipe away any buildup around the drum's edges.
4. Use a Brake Drum Puller (if necessary) If the drum does not come off easily, a brake drum puller can help. Attach the puller to the drum and turn the handle to apply pressure gradually. This should loosen it without damaging the drum.
5. Remove the Drum Once free, pull the brake drum straight off the wheel hub. Be cautious, as there may be springs or components that could come loose.
Step 5 Inspect and Clean
1. Inspect the Brake Components Once the drum is removed, check the brake shoes, spring assembly, and other components for wear or damage. This is a great time to replace any worn parts.
2. Clean the Brake Drum If the drum is in usable condition, clean it thoroughly with brake cleaner. This will help remove dust and debris, ensuring optimal performance once reinstalled.
Step 6 Reinstall or Replace
1. Reinstall the Brake Drum If the drum is in good condition, carefully slide it back onto the wheel hub. Reinstall retaining screws if applicable.
2. Reattach the Wheel Place the wheel back onto the hub, hand-tighten the lug nuts, and lower the vehicle.
3. Tighten Lug Nuts Once on the ground, use the lug wrench to fully tighten the lug nuts in a star pattern to ensure even pressure.
Conclusion
Removing the rear brake drum is a straightforward task that can help you maintain your vehicle's braking system effectively. Regular maintenance ensures safety while driving and prolongs the life of your brake components. Remember, if you are ever uncertain about the process or the condition of your brakes, consulting a professional mechanic is always a wise decision. Safety should always come first!
-
Premium Brake Drum Iveco – Durable Drum Brake Drum & Brake Shoe Solutions
NewsJul.08,2025
-
High-Performance Brake Drum Liza for Enhanced Safety Reliable Drum Brake Drum & Brake Shoe Solutions
NewsJul.08,2025
-
High-Quality Brake Drum MAZ – Durable Drum Brake Drum & Brake Drum and Brake Shoe for Optimal Performance
NewsJul.07,2025
-
High-Quality Brake Drum Kamaz for Reliable Performance Durable Drum Brake Drum & Brake Shoes
NewsJul.07,2025
-
High-Quality Brake Drum Kamaz for Reliable Performance Durable Drum Brake Drum & Brake Shoe Replacement
NewsJul.07,2025
-
Brake Drum Man - High-Quality Drum Brake Drum & Brake Drum and Brake Shoe Solutions
NewsJul.06,2025
