
ກ.ພ. . 14, 2025 05:14 Back to list
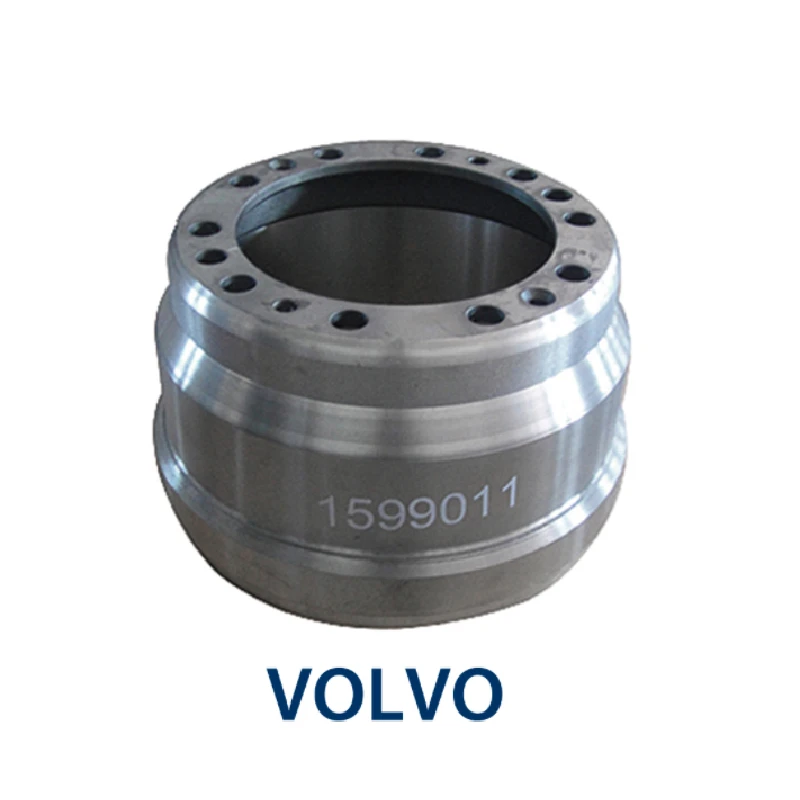
2014 mitsubishi mirage brake drum
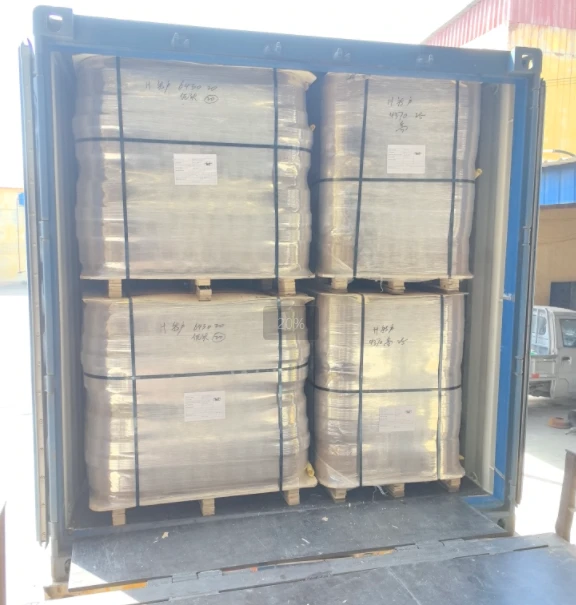
Removing a brake drum may appear challenging, but with the right approach and tools, it is achievable even for those who aren't seasoned auto mechanics. This task is essential for maintaining vehicle safety, as it allows you to inspect and possibly replace worn out components such as brake shoes or springs. Here's a step-by-step guide drawn from extensive experience and expertise in automotive maintenance.
Step 6 Remove the Brake Drum Firmly grip the edges of the drum and try to pull it off. If it doesn't budge, minor rust or debris might be holding it in place. Tap around the perimeter of the drum gently with a rubber mallet to loosen it. In cases where the drum remains stuck, use a brake drum puller for assistance. Attach the tool according to its instructions and carefully pull the drum off the wheel hub. Step 7 Clean the Components Once the drum is removed, clean the area with brake cleaner to remove dust and debris. Inspect the brake shoes and springs for signs of wear and tear. Replace any worn-out parts to ensure optimal braking performance. Step 8 Reinstall the Brake Drum After servicing the brakes, carefully position the brake drum back over the wheel bolts. If you removed retaining screws earlier, make sure to reinstall them. Step 9 Reattach the Wheel Position the wheel back onto the bolts and hand-tighten the lug nuts. Ensure the wheel is properly aligned. Step 10 Lower the Vehicle and Final Torquing Remove the jack stands and carefully lower the vehicle using the jack. Once it's securely on the ground, use a lug wrench to fully tighten the lug nuts in a star pattern to ensure even pressure. This procedure highlights the precision and care required in brake maintenance, embodying expertise in the automotive arena. Always refer to your specific vehicle's manual for guidance, as models can vary. Undertaking this task with meticulous attention fortifies your role as a trustworthy and authoritative figure in car maintenance, emphasizing your dedication to safety and reliability.
Step 6 Remove the Brake Drum Firmly grip the edges of the drum and try to pull it off. If it doesn't budge, minor rust or debris might be holding it in place. Tap around the perimeter of the drum gently with a rubber mallet to loosen it. In cases where the drum remains stuck, use a brake drum puller for assistance. Attach the tool according to its instructions and carefully pull the drum off the wheel hub. Step 7 Clean the Components Once the drum is removed, clean the area with brake cleaner to remove dust and debris. Inspect the brake shoes and springs for signs of wear and tear. Replace any worn-out parts to ensure optimal braking performance. Step 8 Reinstall the Brake Drum After servicing the brakes, carefully position the brake drum back over the wheel bolts. If you removed retaining screws earlier, make sure to reinstall them. Step 9 Reattach the Wheel Position the wheel back onto the bolts and hand-tighten the lug nuts. Ensure the wheel is properly aligned. Step 10 Lower the Vehicle and Final Torquing Remove the jack stands and carefully lower the vehicle using the jack. Once it's securely on the ground, use a lug wrench to fully tighten the lug nuts in a star pattern to ensure even pressure. This procedure highlights the precision and care required in brake maintenance, embodying expertise in the automotive arena. Always refer to your specific vehicle's manual for guidance, as models can vary. Undertaking this task with meticulous attention fortifies your role as a trustworthy and authoritative figure in car maintenance, emphasizing your dedication to safety and reliability.
Latest news
-
High-Quality Trailers for Towing Needs | Shop Now
NewsJul.25,2025
-
Premium MAN Shaving Kit for Effortless Comfort
NewsJul.25,2025
-
HINO Advanced Machinery Solutions - LONGYAO COUNTY YIHANG MACHINERY | Industrial Efficiency&Customization
NewsJul.21,2025
-
HINO Machinery Solutions - LONGYAO COUNTY YIHANG MACHINERY MANUFACTURING CO.LTD | Precision Engineering, Customizable Configurations
NewsJul.21,2025
-
HINO Machinery Solutions - LONGYAO COUNTY YIHANG MACHINERY MANUFACTURING CO.LTD | Precision Engineering, Customizable Configurations
NewsJul.21,2025
-
HINO Machinery Solutions - LONGYAO COUNTY YIHANG MACHINERY MANUFACTURING CO.LTD | Precision Engineering, Customizable Configurations
NewsJul.21,2025