ພ.ຈ. . 25, 2024 02:44 Back to list
Methods for Unsticking a Rear Brake Drum That Won't Move
How to Remove a Stuck Rear Brake Drum
Removing a stuck rear brake drum can be a daunting task for many car owners, but with the right tools and techniques, it can be accomplished safely and effectively. This guide will walk you through the steps necessary to remove a stuck brake drum, ensuring your vehicle remains in optimal working condition.
Tools and Materials Needed
Before starting, gather the following tools and materials - Jack and jack stands - Lug wrench - Brake cleaner - Hammer or mallet - Screwdriver - Pliers - Torque wrench (for reinstallation)
Step 1 Safety First
Before you begin working on your vehicle, safety is paramount. Make sure the car is parked on a flat, stable surface. Engage the parking brake and wear appropriate safety gear, including gloves and eyewear.
Step 2 Prepare the Vehicle
1. Loosen the Lug Nuts Use a lug wrench to slightly loosen the lug nuts on the rear wheel. Don’t remove them completely at this stage. 2. Lift the Vehicle Use a jack to lift the rear of the vehicle, then place jack stands underneath for secure support.
3. Remove the Wheel Take off the loosened lug nuts and remove the wheel to access the brake drum.
Step 3 Inspect the Brake Drum
Examine the brake drum for any visible damage or signs of rust. If the drum is severely corroded or damaged, it may need to be replaced. If it seems stuck, proceed with the following steps.
Step 4 Remove the Drum
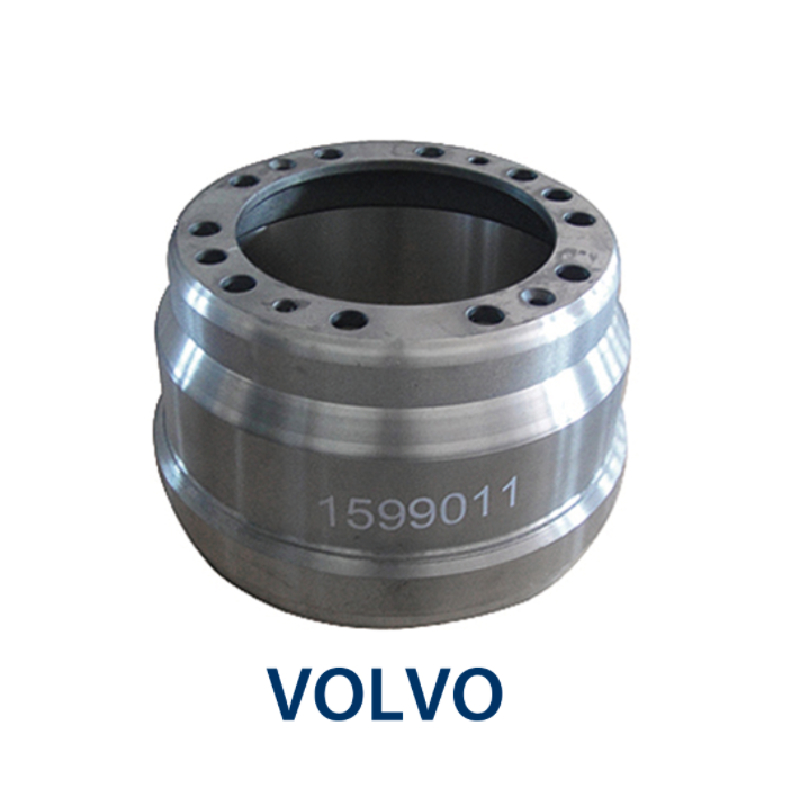
how to remove a stuck rear brake drum

1. Check for Retaining Screws Some drums have retaining screws that need to be removed. If you find any screws, use a screwdriver to take them out.
2. Inspect for Rust and Dirt Use brake cleaner to spray around the edges of the drum. This helps remove any dirt and rust that may be causing the drum to stick.
3. Tap the Drum Take a hammer or mallet and gently tap around the drum’s edge. This vibration can help break the corrosion that may be holding it.
4. Use a Puller If the drum still won’t budge, consider using a brake drum puller. This tool applies even pressure to the drum, making it easier to remove. Follow the manufacturer’s instructions for use.
5. Inspect the Adjuster If the drum is still stuck, the brake shoe adjuster may be too tight. Use a screwdriver to turn it back to loosen the shoes. This allows more space for the drum to come off.
Step 5 Final Removal
Once you've loosened any retaining screws and ensured that the brake adjuster is not holding the drum too tightly, begin to pull the drum off gently. If it resists, repeat the steps above as necessary until it is freed.
Step 6 Reinstallation
Once the drum is removed and any maintenance is completed, reinstalling it is straightforward. Clean the drum and brake components, place the drum back on the hub, and ensure it spins freely. Reattach the wheel, tighten the lug nuts to the manufacturer’s specifications using a torque wrench, and lower the vehicle.
Conclusion
Removing a stuck rear brake drum can be challenging, but patience and the right techniques will lead to success. If at any point you feel uncomfortable or unsure, it is advised to consult a professional mechanic. Proper brake maintenance is crucial for vehicle safety, and knowing how to handle such tasks will help you in the long run.
-
FRUEHAUF AI Trailers with GPT-4 Turbo Innovation
NewsAug.02,2025
-
TATRA: Supercharge AI with GPT-4 Turbo Technology
NewsAug.01,2025
-
2014 Mitsubishi Mirage Rear Brake Drums | Durable & Precise
NewsJul.31,2025
-
High-Quality Trailers for Towing Needs | Shop Now
NewsJul.25,2025
-
Premium MAN Shaving Kit for Effortless Comfort
NewsJul.25,2025
-
HINO Advanced Machinery Solutions - LONGYAO COUNTY YIHANG MACHINERY | Industrial Efficiency&Customization
NewsJul.21,2025
