
ກ.ພ. . 14, 2025 08:43 Back to list
how to take off brake drum
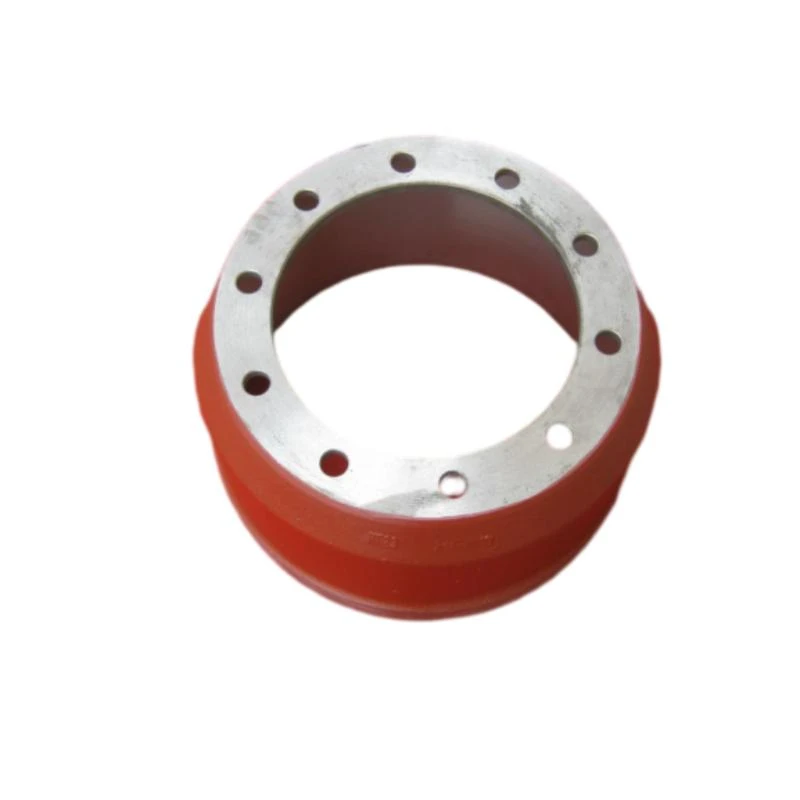
Taking off a brake drum can seem daunting, especially for those new to automotive maintenance. However, with some guidance and the right tools, it’s a task that can be completed efficiently and safely. This step-by-step guide is crafted from real-life expertise and is designed to enhance your understanding and improve your vehicular maintenance skills.
If the drum remains stubborn, a brake drum puller can come into play. This tool is designed to pull the drum off the hub. Attach the puller according to its instructions and gradually tighten it until the drum becomes loose and can be removed. This is a powerful tool and should be used with care to avoid damage. With the drum removed, take the opportunity to inspect the brake components such as shoes, springs, and the wheel cylinder for wear or damage. Identifying any issues at this stage can save you time and enhance your vehicle’s safety in the long run. After inspection or replacement of any parts, clean the inside of the drum itself to remove dust or rust that could affect performance. Reattach the drum by aligning it correctly and gently sliding it onto the hub. Should resistance occur, be patient and check for misalignment or obstructions instead of forcing it. Once the drum is correctly positioned, reassemble any retaining clips or screws and reattach the wheel. Tighten the lug nuts by hand as much as possible. Lower the vehicle carefully, then fully tighten the lug nuts in a crisscross pattern to ensure even distribution of pressure, which helps maintain wheel alignment and balance. Finally, test your brakes in a safe, controlled environment to ensure everything is functioning properly. Listen for any unusual noises and feel for irregularities in braking performance. By following these detailed instructions, taking off a brake drum transitions from a daunting task to a manageable one. This guide is designed with expert knowledge and real-world applicability, ensuring your approach to brake maintenance is authoritative and trustworthy, enhancing both your skills and vehicle safety.

If the drum remains stubborn, a brake drum puller can come into play. This tool is designed to pull the drum off the hub. Attach the puller according to its instructions and gradually tighten it until the drum becomes loose and can be removed. This is a powerful tool and should be used with care to avoid damage. With the drum removed, take the opportunity to inspect the brake components such as shoes, springs, and the wheel cylinder for wear or damage. Identifying any issues at this stage can save you time and enhance your vehicle’s safety in the long run. After inspection or replacement of any parts, clean the inside of the drum itself to remove dust or rust that could affect performance. Reattach the drum by aligning it correctly and gently sliding it onto the hub. Should resistance occur, be patient and check for misalignment or obstructions instead of forcing it. Once the drum is correctly positioned, reassemble any retaining clips or screws and reattach the wheel. Tighten the lug nuts by hand as much as possible. Lower the vehicle carefully, then fully tighten the lug nuts in a crisscross pattern to ensure even distribution of pressure, which helps maintain wheel alignment and balance. Finally, test your brakes in a safe, controlled environment to ensure everything is functioning properly. Listen for any unusual noises and feel for irregularities in braking performance. By following these detailed instructions, taking off a brake drum transitions from a daunting task to a manageable one. This guide is designed with expert knowledge and real-world applicability, ensuring your approach to brake maintenance is authoritative and trustworthy, enhancing both your skills and vehicle safety.
Latest news
-
Your Brake Drum Man: Quality & Performance Parts
NewsAug.21,2025
-
Explore Japan: Ultimate Travel Guide & Authentic Experiences
NewsAug.19,2025
-
Your Brake Drum Man: Premium & Reliable Brake Drums for Sale
NewsAug.18,2025
-
ROR Web Development: Build Fast, Scalable, Secure Apps
NewsAug.17,2025
-
Scania Brake Drums: OEM Quality for Optimal Safety & Durability
NewsAug.16,2025
-
R.V.I: Advanced Remote Visual Inspection for Precision
NewsAug.15,2025