Aug . 19, 2024 11:59 Back to list
Steps for Safely Removing Brake Drum from Your Trailer
How to Remove Brake Drum from a Trailer
Removing the brake drum from a trailer can seem like a daunting task, but with the right tools and a clear understanding of the process, it can be done efficiently and safely. Brake drums are an integral part of a trailer’s braking system, and regular maintenance is crucial for safe operation. Here’s a step-by-step guide to help you remove the brake drum from your trailer.
Tools and Materials Needed
Before you start, gather the necessary tools and materials 1. Jack – For lifting the trailer. 2. Jack Stands – To securely support the trailer once it’s lifted. 3. Lug Wrench – To remove the wheel nuts. 4. Pry Bar – Helpful for loosening the drum if it’s stuck. 5. Brake Cleaner – For cleaning parts once removed. 6. Replacement Parts – If you’re planning to replace the brakes or other components.
Step-by-Step Process
1. Safety First Ensure you are in a safe environment. Park the trailer on a flat surface and engage the parking brake. Always wear safety glasses and gloves to protect yourself.
2. Loosen the Wheel Nuts Before raising the trailer, use the lug wrench to loosen the wheel nuts on the wheel that you are working on. Turn them counterclockwise but do not fully remove them yet.
3. Lift the Trailer Use the jack to lift the trailer from the axle. Once lifted, place jack stands under the trailer’s frame for additional support. This ensures that the trailer does not fall when you are working underneath it.
4. Remove the Wheel Now that the trailer is securely lifted, remove the loosened nuts completely and take off the wheel. Set the wheel aside in a safe location.
how to remove brake drum from trailer

5. Inspect the Brake Assembly Before removing the brake drum, take a moment to inspect the brake assembly. Look for any visible damage, wear, or missing components.
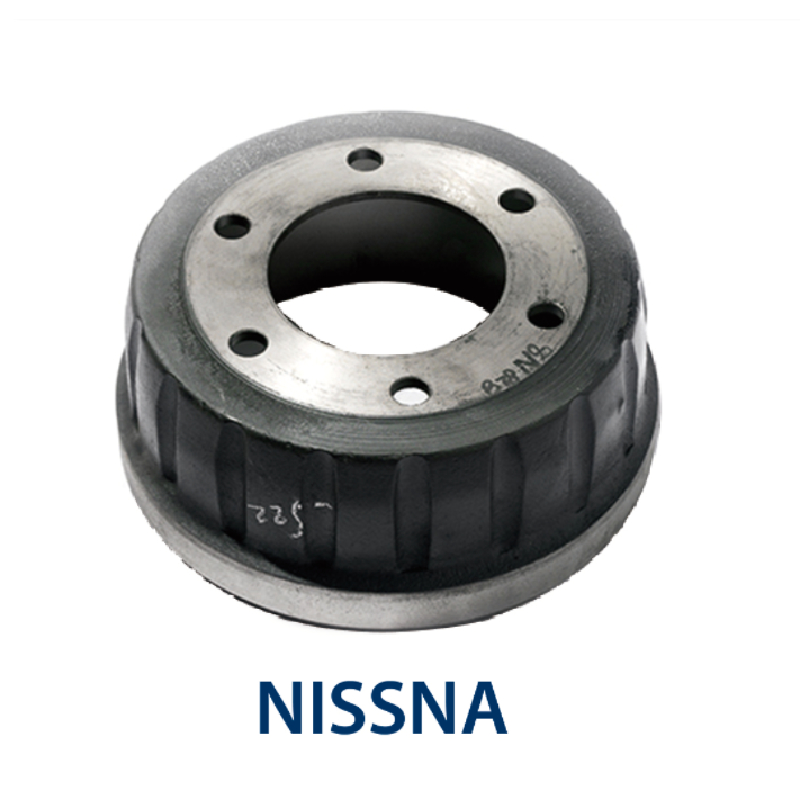
6. Remove the Brake Drum The brake drum is usually held in place by the wheel studs and possibly a retaining clip. If the drum does not come off easily, it may be due to rust or debris. Use a pry bar to gently pry the drum off, applying even pressure around the edges. If the drum still does not budge, tapping it gently with a hammer can help. Be careful not to damage the drum or other brake components.
7. Clean and Inspect Once the drum is removed, clean it with brake cleaner to remove dust and debris. Inspect the brake shoes, springs, and other components for wear. If any parts are worn or damaged, replace them before reinstalling the drum.
8. Reinstall the Brake Drum If everything looks good, place the brake drum back onto the hub. Ensure it sits evenly and flush against the brake assembly.
9. Reattach the Wheel Place the wheel back onto the hub and hand-tighten the lug nuts. Once they are secure, lower the trailer from the jack stands. After the trailer is back on the ground, torque the lug nuts to the manufacturer’s specifications.
10. Final Inspection Finally, do a thorough inspection of your work to make sure everything is in place and secure. Check the brakes for any signs of malfunction before hitting the road.
Conclusion
Removing the brake drum from a trailer is a manageable task that can enhance your trailer's braking performance and ensure safety on the road. Regular maintenance can prevent larger issues down the line, saving you time and money. Always follow safety precautions and consult your trailer’s manual for specific instructions related to your model. If you feel uncertain at any point, it’s advisable to seek professional assistance.
-
Brake Drum Man - High-Quality Drum Brake Drums & Brake Shoes for Reliable Performance
NewsJun.24,2025
-
High-Quality Brake Drum Kamaz – Durable Drum Brake Drum & Brake Shoe Replacement
NewsJun.10,2025
-
High-Quality Brake Drum Liza for Drum Brake Systems - Superior Durability and Performance
NewsJun.10,2025
-
High-Quality Brake Drum Kamaz – Durable Drum Brake Drum & Brake Shoe Solutions
NewsJun.10,2025
-
Durable Kamaz Brake Drums High-Performance Truck Parts
NewsJun.09,2025
-
Premium Brake Drum Maz Kit with Shoes Enhanced Braking
NewsJun.09,2025
