
ഫെബ്രു . 13, 2025 17:05 Back to list
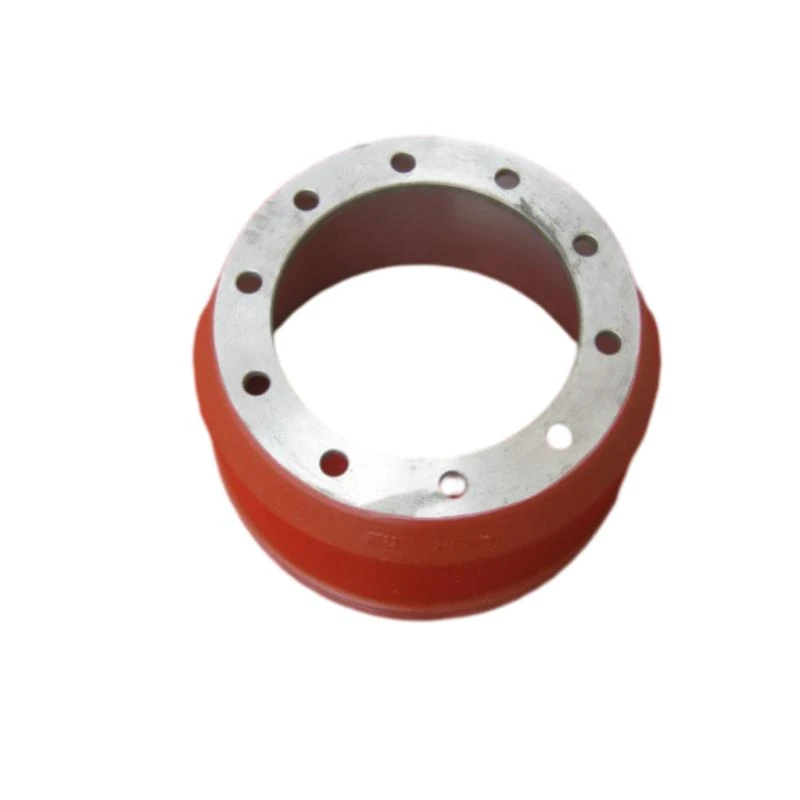
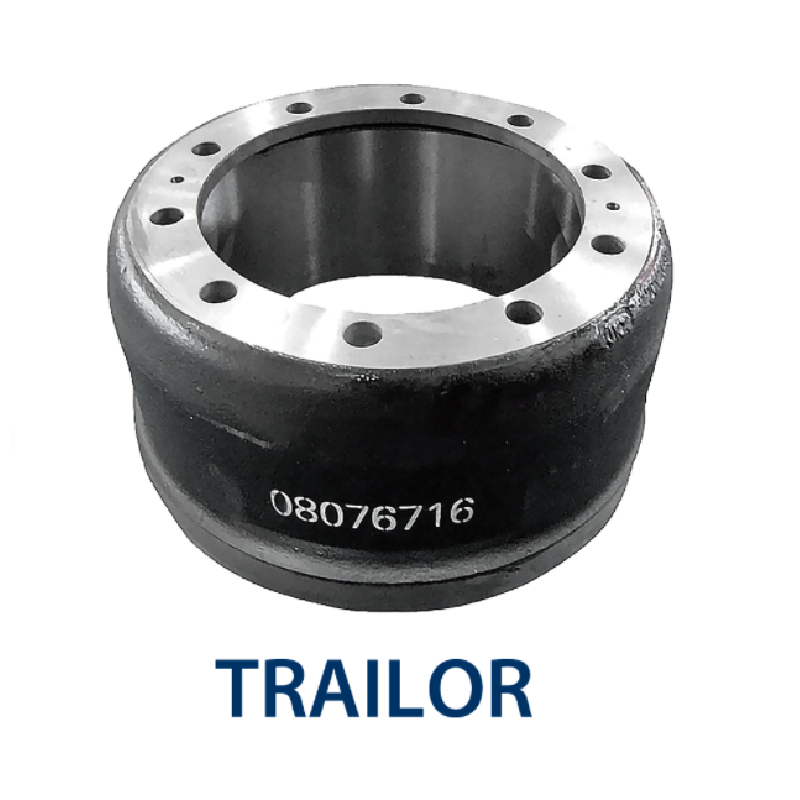
Saf Axle Hub Nut Torque Drum Brakes
Converting brake drums to disc brakes is a popular upgrade for many vehicle enthusiasts seeking enhanced performance, safety, and reliability. While drum brakes have served vehicles for decades, disc brakes offer superior stopping power, better heat dissipation, and easier maintenance. This comprehensive guide outlines the step-by-step process of conversion, ensuring a seamless transition and maximizing your vehicle’s braking capabilities.
5. Connecting the Brake Line The brake line conversion is a critical step requiring precision. Attach the new flexible brake line from the caliper to the existing hard brake line. Ensure that the connection is tight to prevent any leaks. It may be necessary to bend or modify the existing lines slightly to ensure a perfect fit. 6. Bleeding the Brakes Once the new components are installed, the braking system needs to be bled to remove any air bubbles, which can compromise braking efficiency. Open the bleeder valve on the caliper and have an assistant press the brake pedal several times until the air is purged, and only brake fluid flows through. Repeat this process for each wheel to ensure the system is air-free. 7. Testing and Adjustments With the installation complete, lower the vehicle and test the new disc brakes in a safe, controlled environment. Check for any signs of leaks, unusual noises, or irregular braking patterns. Make any necessary adjustments to the brake pads or calipers to ensure optimal performance. 8. Final Thoughts Converting drum brakes to disc brakes is a rewarding upgrade that can significantly enhance your vehicle's performance and safety. While the process requires a certain level of mechanical aptitude, patience, and attention to detail, the result is a more reliable and efficient braking system. It’s recommended to consult with or hire a professional mechanic if you’re unsure about any step of the process. Regular maintenance and checks should be conducted to ensure the longevity and proper functioning of your new disc brakes. With this upgrade, you can enjoy improved braking in various driving conditions, adding both value and safety to your vehicle.
5. Connecting the Brake Line The brake line conversion is a critical step requiring precision. Attach the new flexible brake line from the caliper to the existing hard brake line. Ensure that the connection is tight to prevent any leaks. It may be necessary to bend or modify the existing lines slightly to ensure a perfect fit. 6. Bleeding the Brakes Once the new components are installed, the braking system needs to be bled to remove any air bubbles, which can compromise braking efficiency. Open the bleeder valve on the caliper and have an assistant press the brake pedal several times until the air is purged, and only brake fluid flows through. Repeat this process for each wheel to ensure the system is air-free. 7. Testing and Adjustments With the installation complete, lower the vehicle and test the new disc brakes in a safe, controlled environment. Check for any signs of leaks, unusual noises, or irregular braking patterns. Make any necessary adjustments to the brake pads or calipers to ensure optimal performance. 8. Final Thoughts Converting drum brakes to disc brakes is a rewarding upgrade that can significantly enhance your vehicle's performance and safety. While the process requires a certain level of mechanical aptitude, patience, and attention to detail, the result is a more reliable and efficient braking system. It’s recommended to consult with or hire a professional mechanic if you’re unsure about any step of the process. Regular maintenance and checks should be conducted to ensure the longevity and proper functioning of your new disc brakes. With this upgrade, you can enjoy improved braking in various driving conditions, adding both value and safety to your vehicle.
Latest news
-
Your Brake Drum Man: Quality & Performance Parts
NewsAug.21,2025
-
Explore Japan: Ultimate Travel Guide & Authentic Experiences
NewsAug.19,2025
-
Your Brake Drum Man: Premium & Reliable Brake Drums for Sale
NewsAug.18,2025
-
ROR Web Development: Build Fast, Scalable, Secure Apps
NewsAug.17,2025
-
Scania Brake Drums: OEM Quality for Optimal Safety & Durability
NewsAug.16,2025
-
R.V.I: Advanced Remote Visual Inspection for Precision
NewsAug.15,2025