നവം . 25, 2024 02:02 Back to list
remove rear brake drum
How to Remove a Rear Brake Drum A Step-by-Step Guide
Removing a rear brake drum is a crucial task for any DIY mechanic or car enthusiast. Whether you're replacing worn-out brake shoes or inspecting the brake components, this task requires attention to detail and safety precautions. Here’s a comprehensive guide on how to effectively remove a rear brake drum from your vehicle.
Tools and Materials Needed
Before starting, gather the following tools and materials
- Jack and jack stands - Socket and ratchet set - Brake drum removal tool (if necessary) - Screwdriver - Pliers - Clean rag - Brake cleaner - Safety goggles and gloves
Step 1 Safety First
Before you begin, ensure your car is parked on a flat surface. Engage the parking brake to prevent any movement. Put on your safety goggles and gloves to protect against debris during the removal process.
Step 2 Loosen the Lug Nuts
Using the appropriate socket, loosen the lug nuts on the rear wheels. Do not fully remove them yet; just break the initial resistance. This will make it easier to remove the wheel once the car is lifted.
Step 3 Lift the Vehicle
Using the jack, lift the rear side of the vehicle until the wheel is off the ground. Securely place jack stands under the vehicle to ensure stability. Never rely solely on the jack for support while working under the car.
Step 4 Remove the Wheel
Now, finish removing the lug nuts and take off the wheel
. Set it aside in a safe location where it won’t be damaged.Step 5 Inspect the Brake Drum
remove rear brake drum

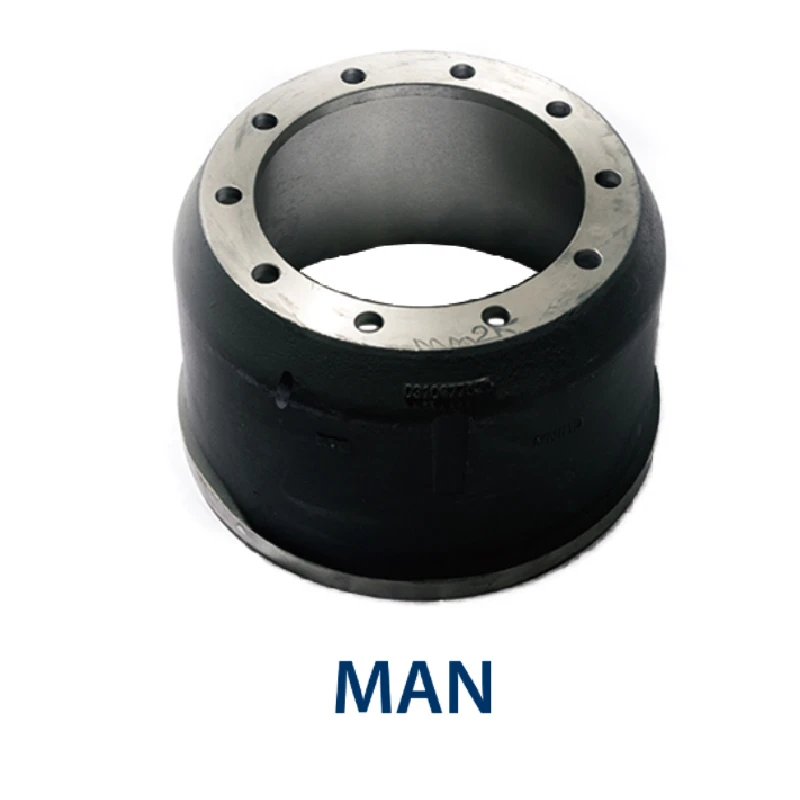
Take a close look at the brake drum before removal. Some drums may have screws holding them in place, while others might require a little more effort to detach due to rust or corrosion.
Step 6 Remove Any Retaining Screws
If your brake drum has retaining screws, use a screwdriver to remove them. Keep these screws in a safe place as you will need them to secure the new drum or put the old one back.
Step 7 Try Tapping the Drum
Sometimes the drum may be seized due to rust. In such cases, gently tap the edge of the drum with a rubber mallet or hammer. Be cautious not to damage the drum surface. If it’s still stuck, applying some penetrating oil around the edges may help.
Step 8 Use the Brake Drum Removal Tool
If the drum is still resistant, consider using a brake drum removal tool. This tool applies even pressure to the drum, helping release it without causing damage. Follow the manufacturer's instructions for proper use.
Step 9 Remove the Drum
Once the drum is free, gently pull it off the wheel hub. If the brake shoes are worn out, they may slightly stick to the drum—just wiggle the drum back and forth to free it.
Step 10 Inspect and Clean
After removal, inspect the brake drum and shoes for wear and damage. Use brake cleaner and a rag to clean the drum's interior and the brake assembly, removing dust and debris.
Conclusion
Removing a rear brake drum may seem daunting, but with the right preparation and tools, it can be accomplished with relative ease. Always remember to prioritize safety and take your time during the process. Whether you’re replacing parts or just checking the condition of your brakes, proper maintenance will ensure reliable performance and extend the life of your braking system. Happy wrenching!
-
Brake Drum Man - High-Quality Drum Brake Drums & Brake Shoes for Reliable Performance
NewsJun.24,2025
-
High-Quality Brake Drum Kamaz – Durable Drum Brake Drum & Brake Shoe Replacement
NewsJun.10,2025
-
High-Quality Brake Drum Liza for Drum Brake Systems - Superior Durability and Performance
NewsJun.10,2025
-
High-Quality Brake Drum Kamaz – Durable Drum Brake Drum & Brake Shoe Solutions
NewsJun.10,2025
-
Durable Kamaz Brake Drums High-Performance Truck Parts
NewsJun.09,2025
-
Premium Brake Drum Maz Kit with Shoes Enhanced Braking
NewsJun.09,2025
