
अक्ट . 22, 2024 05:16 Back to list
Effective Methods for Removing Rust from Brake Drums and Restoring Performance
Effective Strategies for Brake Drum Rust Removal
Rust on brake drums is not just an aesthetic issue; it can significantly affect the performance and safety of your vehicle. Rust can cause brake components to wear unevenly, lead to reduced braking efficiency, and possibly even pose safety hazards. Therefore, dealing with the rust on brake drums is crucial for any vehicle owner. Here, we will explore effective strategies for brake drum rust removal and maintenance.
Understanding Rust Formation
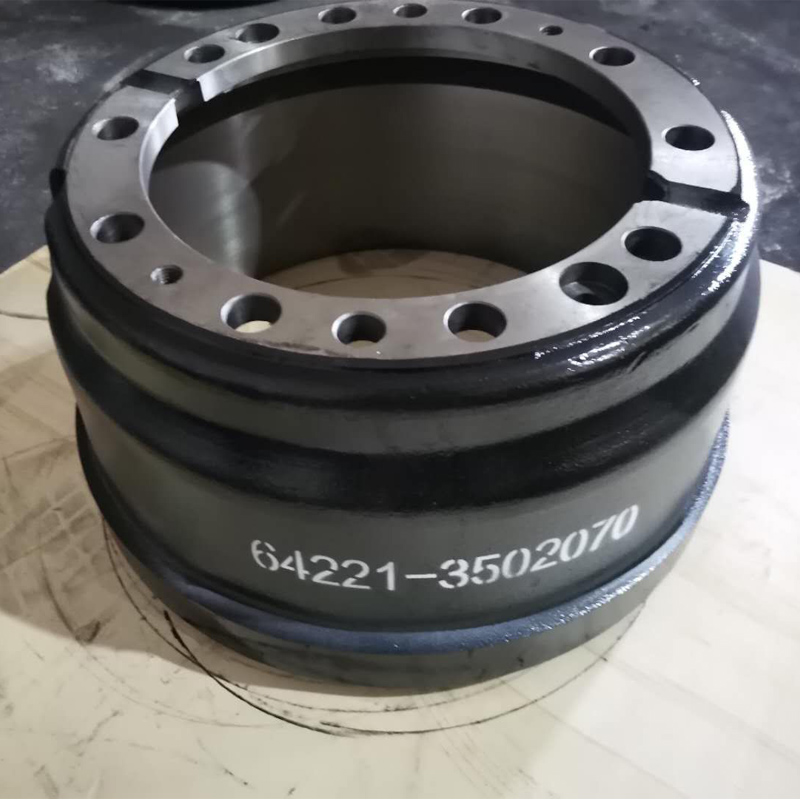
Brake drums, typically made of iron or steel, are prone to rust due to exposure to moisture, road salt, and other harsh environmental conditions. Rust forms when iron reacts with oxygen and moisture, causing metal degradation over time. Regular inspection of brake components, especially those subjected to harsh conditions, is essential to catch rust formation early.
Tools and Materials Needed
To effectively remove rust from brake drums, you will need a few tools and materials, including
1. Safety Gear Gloves, goggles, and a dust mask are essential to protect yourself from debris and rust particles. 2. Wire Brush or Sandpaper A wire brush or sandpaper can help remove surface rust. 3. Rust Remover Commercial rust removers can be effective, or you can use vinegar or baking soda as natural alternatives. 4. Paint or Rust Inhibitor After removing rust, a protective coating can help prevent further rust formation.
Step-by-Step Rust Removal Process
1. Safety First Before starting the process, ensure the vehicle is parked on a flat surface, and the wheels are secured. Use jack stands to lift the vehicle safely if necessary.
brake drum rust removal
2. Remove the Brake Drum Detach the brake drum from the wheel assembly. This may require removing the wheel first, then unscrewing bolts that secure the drum.
3. Inspect the Drum Examine the brake drum for any deep pitting or structural damage. If the damage is extensive, it may be more prudent to replace the drum rather than attempt to repair it.
4. Clean the Surface Use the wire brush or sandpaper to scrub away the rust. This step requires patience; ensure you remove all visible rust. For tough spots, applying a rust remover can help break down the rust. After applying, follow the instructions on the product for optimal results.
5. Rinse and Dry After the rust is removed, rinse the drum with water and dry it thoroughly to prevent new rust from forming.
6. Apply Protective Coating Once the brake drum is clean and dry, apply a rust inhibitor or a coat of high-temperature paint to protect the drum. This step is crucial in preventing future rust development.
7. Reassemble and Test Reattach the brake drum to the assembly, ensuring all bolts are tightened to the manufacturer’s specifications. After reassembling, test the brakes to ensure everything is functioning correctly.
Regular Maintenance
Preventing rust is always better than dealing with it afterward. Regularly inspect your brakes and wash your vehicle, especially during winter when road salt is prevalent. Consider applying a protective coating to your brake components as part of your vehicle maintenance routine.
In conclusion, brake drum rust removal is a manageable task that enhances your vehicle's safety and performance. With the right tools and steps, you can effectively combat rust issues and maintain your brake system in optimal condition. Remember, a little prevention goes a long way in ensuring your brakes perform reliably when you need them.
-
Brake Drum Liza Durable & High-Performance Brake Solutions
NewsMay.29,2025
-
Brake Drum Liza Durable Drum Brake & Shoe Replacement Solutions
NewsMay.29,2025
-
Brake Drum Liza High-Quality Drum Brake & Shoe Solutions
NewsMay.29,2025
-
Brake Drum Liza Durable Drum Brake & Shoe Solutions for Vehicles
NewsMay.29,2025
-
Brake Drum Liza Premium Drum Brake Components & Shoes
NewsMay.29,2025
-
Brake Drum Man Durable Drum Brake Drums & Shoes Supplier
NewsMay.28,2025