
फेब . 12, 2025 02:21 Back to list
2014 mitsubishi mirage brake drum
Removing a brake drum from a trailer is a task that requires a balance of know-how, precision, and the right tools. Understanding the process not only helps maintain the durability and functionality of your trailer but also ensures safety on the road. This guide will walk you through each step, providing expert insights and ensuring the procedure is as smooth and safe as possible.
6. Removing the Brake Drum Start by pulling the drum outward. If it resists, a few gentle taps with a rubber mallet around the edges can help loosen it. Avoid using excessive force as this can damage the drum. In some cases, corrosion or rust might be binding the drum to the hub, requiring additional effort. 7. Dealing with Stubborn Drums If the drum is proving difficult to remove, brake adjusters can be used. Locate the access hole at the back, behind the hub, and use a brake spoon to turn the adjuster wheel and retract the brake shoes. This often alleviates tension and allows the drum to slide off smoothly. 8. Cleaning and Assessment Once removed, clean the drum and surrounding components with brake cleaner. Check for any signs of wear, cracks, or glazing that could impair brake performance. Replace parts as necessary to maintain optimal braking efficiency. 9. Reinstallation If all components are in good condition, position the brake drum back onto the hub. Ensure it sits evenly and spins freely without interference. Refit the wheel and hand-tighten the lug nuts. 10. Lowering the Trailer Carefully remove the jack stands and lower the trailer back to the ground. Once settled, fully tighten the lug nuts in a star pattern to ensure even pressure. 11. Final Checks Re-engage the trailer brake system and conduct a brief test to ensure everything functions smoothly. This includes verifying there are no unusual noises or vibrations that might suggest improper installation. Engaging regularly in maintenance tasks such as brake drum removal not only prolongs the life of your trailer but also enhances your expertise and confidence in handling automotive tasks. Remember, regular inspections and timely interventions prevent costly repairs and ensure your trailer remains safe and reliable for all your transport needs. Trust in this process as it merges professional advice with practical experience for optimal maintenance.
6. Removing the Brake Drum Start by pulling the drum outward. If it resists, a few gentle taps with a rubber mallet around the edges can help loosen it. Avoid using excessive force as this can damage the drum. In some cases, corrosion or rust might be binding the drum to the hub, requiring additional effort. 7. Dealing with Stubborn Drums If the drum is proving difficult to remove, brake adjusters can be used. Locate the access hole at the back, behind the hub, and use a brake spoon to turn the adjuster wheel and retract the brake shoes. This often alleviates tension and allows the drum to slide off smoothly. 8. Cleaning and Assessment Once removed, clean the drum and surrounding components with brake cleaner. Check for any signs of wear, cracks, or glazing that could impair brake performance. Replace parts as necessary to maintain optimal braking efficiency. 9. Reinstallation If all components are in good condition, position the brake drum back onto the hub. Ensure it sits evenly and spins freely without interference. Refit the wheel and hand-tighten the lug nuts. 10. Lowering the Trailer Carefully remove the jack stands and lower the trailer back to the ground. Once settled, fully tighten the lug nuts in a star pattern to ensure even pressure. 11. Final Checks Re-engage the trailer brake system and conduct a brief test to ensure everything functions smoothly. This includes verifying there are no unusual noises or vibrations that might suggest improper installation. Engaging regularly in maintenance tasks such as brake drum removal not only prolongs the life of your trailer but also enhances your expertise and confidence in handling automotive tasks. Remember, regular inspections and timely interventions prevent costly repairs and ensure your trailer remains safe and reliable for all your transport needs. Trust in this process as it merges professional advice with practical experience for optimal maintenance.
Latest news
-
High-Quality Trailers for Towing Needs | Shop Now
NewsJul.25,2025
-
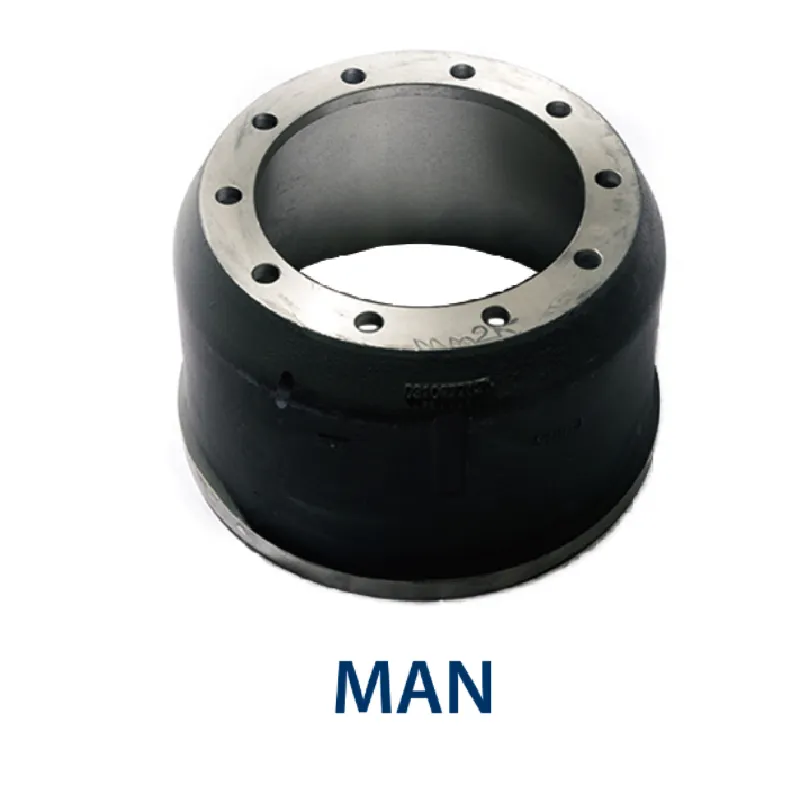
Premium MAN Shaving Kit for Effortless Comfort
NewsJul.25,2025
-
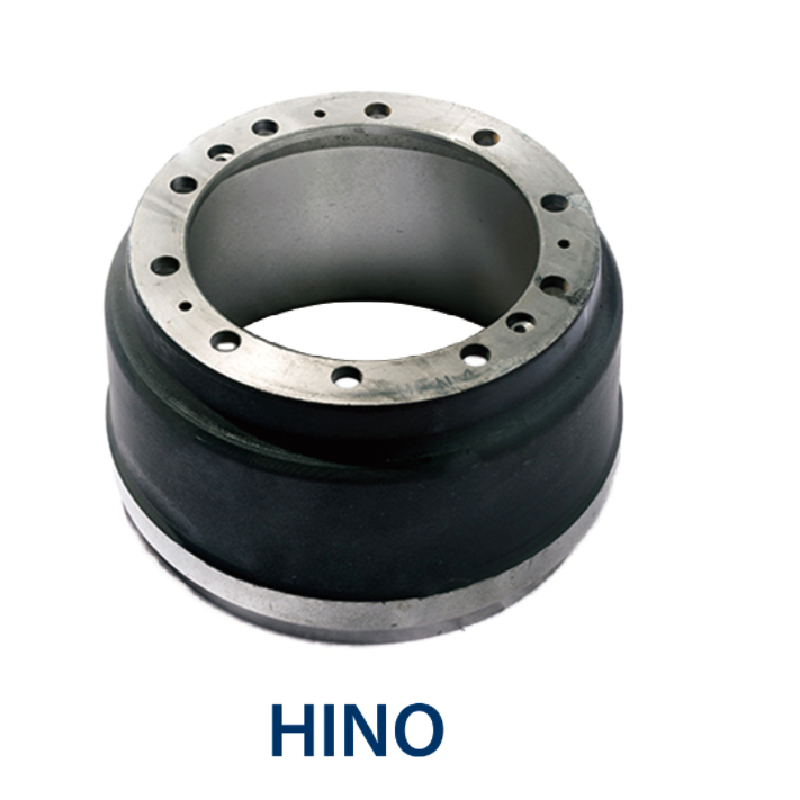
HINO Advanced Machinery Solutions - LONGYAO COUNTY YIHANG MACHINERY | Industrial Efficiency&Customization
NewsJul.21,2025
-
HINO Machinery Solutions - LONGYAO COUNTY YIHANG MACHINERY MANUFACTURING CO.LTD | Precision Engineering, Customizable Configurations
NewsJul.21,2025
-
HINO Machinery Solutions - LONGYAO COUNTY YIHANG MACHINERY MANUFACTURING CO.LTD | Precision Engineering, Customizable Configurations
NewsJul.21,2025
-
HINO Machinery Solutions - LONGYAO COUNTY YIHANG MACHINERY MANUFACTURING CO.LTD | Precision Engineering, Customizable Configurations
NewsJul.21,2025