Aug . 09, 2024 17:00 Back to list
A Comprehensive Guide to Accurately Measuring the Thickness of Your Brake Drum
How to Measure Brake Drum Thickness
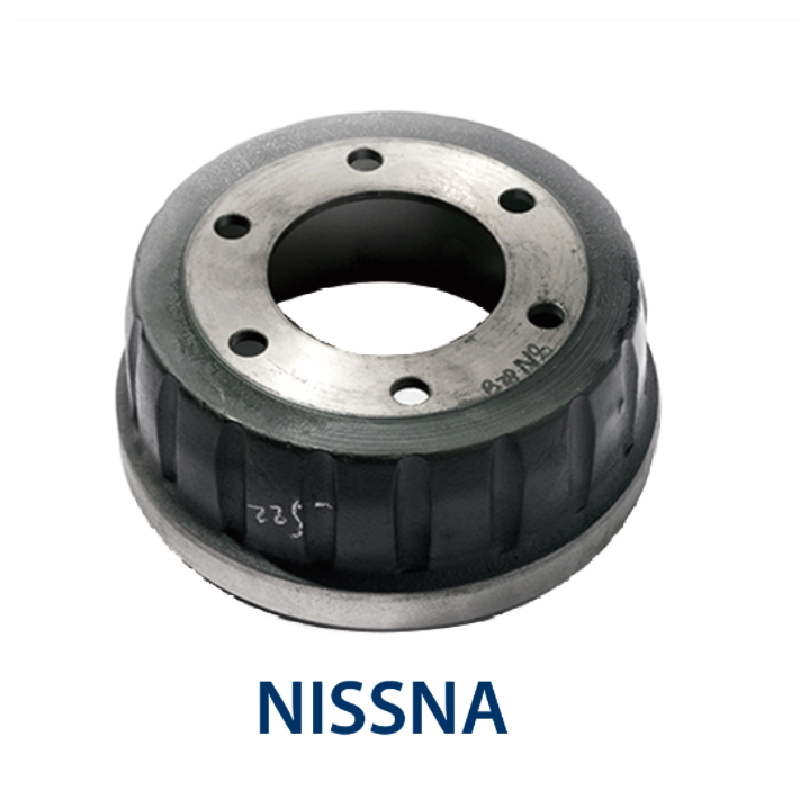
Brake drums are critical components of a vehicle's braking system, particularly in drum brake systems. They play a significant role in the vehicle's ability to stop safely and effectively. Regular maintenance of brake drums not only ensures safety but also prolongs the lifespan of other brake components. One essential aspect of maintaining brake drums is measuring their thickness. This article will guide you through the process of measuring brake drum thickness, highlighting the necessary tools, procedures, and safety precautions.
Tools Needed
Before you begin, gather the following tools and materials 1. Vernier Calipers or Micrometer These tools allow for precise measurements of the brake drum's inner and outer diameter. 2. Brake Drum Gauge Specifically designed for measuring brake drums, this tool can help ensure accuracy. 3. Ruler or Measuring Tape A standard ruler can suffice for rough measurements but may not provide the precision needed. 4. Clean Cloth To wipe away any debris or dirt from the drum surface. 5. Safety Gear Gloves and safety glasses are essential to protect yourself while working.
Procedure
1. Safety First Before you start, ensure that the vehicle is parked on a flat surface. Engage the parking brake and, if necessary, use wheel chocks to prevent the vehicle from rolling. Wear gloves to protect your hands and safety glasses to shield your eyes.
2. Remove the Wheel Use a lug wrench to loosen the lug nuts before lifting the vehicle with a jack. Once the vehicle is elevated, remove the lug nuts and take off the wheel to access the brake drum.
how to measure brake drum thickness

3. Inspect the Brake Drum Before measuring, inspect the drum for any visible signs of wear or damage, such as cracks, deep grooves, or discoloration. Any significant damage might necessitate a replacement rather than just measurement.
4. Clean the Brake Drum Use a clean cloth to wipe the surface of the brake drum. Removing dirt and debris ensures that your measurements are accurate.
5. Measure the Drum Thickness - Inner Diameter Use the vernier calipers or micrometer to measure the inner diameter of the drum where the brake shoes make contact. Position the tool snugly against the drum's inner surface and read the measurement. - Outer Diameter Similarly, measure the outer diameter of the brake drum. Again, ensure that the measurements are taken at several points around the drum to account for any irregularities.
6. Check Manufacturer Specifications Refer to the vehicle's service manual or manufacturer specifications to determine the minimum allowable thickness for your brake drums. Each vehicle has specific tolerances, and it’s crucial to adhere to these guidelines.
7. Evaluate the Measurements If the measured thickness is below the minimum specification, the brake drum should be replaced. If it’s within the acceptable range, you may consider resurfacing the drum, but be cautious—repeated resurfacing can reduce the thickness to a point where the drum must be replaced.
Conclusion
Measuring brake drum thickness is a vital maintenance task that can significantly impact your vehicle's performance and safety. By following these steps and using the appropriate tools, you can effectively assess your brake drums' condition. Remember that maintaining the braking system is not just about replacing parts; it’s about ensuring that your vehicle performs safely on the road. Regular checks and timely measurements can extend the life of your brake components and keep your vehicle in optimal condition.
-
Scania Brake Drums: OEM Quality for Optimal Safety & Durability
NewsAug.16,2025
-
R.V.I: Advanced Remote Visual Inspection for Precision
NewsAug.15,2025
-
Discover HYUNDA: Innovative Vehicles, Equipment & Solutions
NewsAug.14,2025
-
R.V.I: Unlock Advanced Insights & Real-time Performance
NewsAug.13,2025
-
Kamaz Brake Drum: Durable & Reliable for Heavy Duty Trucks
NewsAug.12,2025
-
Heavy Duty Iveco Brake Drum - Premium Quality & Safety
NewsAug.11,2025
