Sep . 24, 2024 05:20 Back to list
Tips for Properly Adjusting Your Vehicle's Brake Drums and Ensuring Safety
Adjusting Brake Drums Ensuring Safety and Performance
When it comes to vehicle maintenance, safety is paramount, and one of the critical components of a safe vehicle is the braking system. In many automobiles, especially older or heavy-duty vehicles, drum brakes are still utilized. While disc brakes are becoming more common, understanding how to properly adjust brake drums can significantly enhance both safety and performance.
Understanding Brake Drums
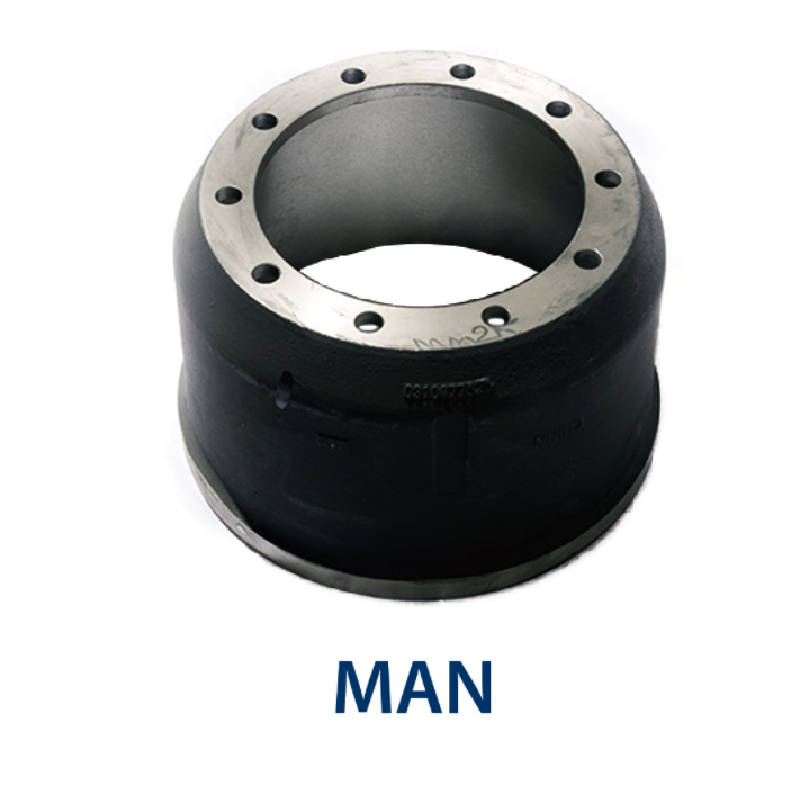
Brake drums are cylindrical components that work in conjunction with brake shoes to slow down or stop a vehicle. When the brake pedal is pressed, hydraulic force pushes the brake shoes against the inner surface of the drum, creating friction that slows the wheel's rotation. Over time, wear and tear can lead to the necessity for adjustments to maintain optimal performance and safety.
Signs Adjustment Is Needed
Several signs indicate that it may be time to adjust brake drums. One common symptom is a decrease in braking efficiency, where the vehicle takes longer to stop. This can also manifest as a pulling to one side when braking, which can be particularly dangerous. Additionally, strange noises such as grinding or squealing may suggest that the brake shoes are not making proper contact with the drum. If you notice any of these symptoms, it's essential to check your brake system and consider making adjustments.
The Adjustment Process
Adjusting brake drums is a critical task that can be performed with some basic tools. Here’s a step-by-step guide to help you through the adjustment process
adjusting brake drums

1. Safety First Ensure that the vehicle is parked on a level surface, and engage the parking brake. Use wheel chocks to prevent any movement.
2. Remove the Wheel Use a jack to lift the vehicle and secure it with jack stands. Remove the wheel to access the brake drum.
3. Inspect the Brake Components Before making adjustments, inspect the brake shoes and drums for wear. If the components are excessively worn, they may need replacement before adjustment.
4. Adjust the Brake Shoes Locate the adjusting mechanism, usually found at the bottom of the brake assembly. Rotate the adjuster to expand the brake shoes until they just make contact with the drum, ensuring they are not too tight.
5. Check the Drum Movement After adjusting, turn the brake drum manually. It should rotate freely with a slight drag. If it’s too tight, back off the adjustment slightly.
6. Reassemble and Test Once the adjustment is complete, reattach the wheel and lower the vehicle. Test the brakes at low speed to ensure they function correctly.
Conclusion
Regularly checking and adjusting brake drums is an essential part of vehicle maintenance that can significantly impact safety. If you are unsure about the process or if adjustments do not resolve braking issues, it’s crucial to consult a professional mechanic. In the end, taking the time to care for your brake system not only enhances vehicle performance but also ensures the safety of you, your passengers, and others on the road. Remember, good brakes can be the difference between a near miss and a serious accident; don’t neglect them!
-
Scania Brake Drums: OEM Quality for Optimal Safety & Durability
NewsAug.16,2025
-
R.V.I: Advanced Remote Visual Inspection for Precision
NewsAug.15,2025
-
Discover HYUNDA: Innovative Vehicles, Equipment & Solutions
NewsAug.14,2025
-
R.V.I: Unlock Advanced Insights & Real-time Performance
NewsAug.13,2025
-
Kamaz Brake Drum: Durable & Reliable for Heavy Duty Trucks
NewsAug.12,2025
-
Heavy Duty Iveco Brake Drum - Premium Quality & Safety
NewsAug.11,2025
