Dec . 13, 2024 06:59 Back to list
Guide to Removing ATV Brake Drums Safely and Efficiently
ATV Brake Drum Removal A Step-by-Step Guide
All-terrain vehicles (ATVs) are an exciting way to explore the outdoors, but like any vehicle, they require regular maintenance to function at their best. One essential maintenance task is the removal and inspection of the brake drums. Whether you're performing a brake overhaul, replacing worn brake components, or simply cleaning the drums, knowing how to remove them properly is crucial for your ATV's safety and performance. This guide will walk you through the process of removing the brake drum from your ATV, ensuring that you can tackle this task with confidence.
Tools and Materials Needed
Before you begin, gather the following tools and materials
1. Basic Hand Tools A socket set, wrenches, and screwdrivers. 2. Brake Drum Puller This is optional but may be necessary for stubborn drums. 3. Safety Gear Gloves and goggles to protect yourself from debris. 4. Cleaning Supplies Brake cleaner, rags, and a wire brush. 5. Replacement Parts Brake shoes, springs, or drums if you're planning on replacing them.
Step 1 Safety First
Ensure your ATV is parked on a flat surface and has the engine off. Engage the parking brake (if applicable) and allow the vehicle to cool down before starting any work. It’s also a good idea to disconnect the battery to prevent any electrical issues while working.
Step 2 Remove the Wheel
To access the brake drum, you’ll need to remove the wheel. Loosen the wheel nuts using a socket and wrench, then lift the ATV using a jack or jack stands. Once elevated, completely remove the nuts and the wheel itself to expose the brake components.
Step 3 Inspect the Brake Assembly
With the wheel removed, take a moment to inspect the brake assembly. Look for signs of wear and tear, such as corrosion, cracks, or damage to the brake shoes or hardware. This is also a good time to clean the entire area with brake cleaner and a rag, which can help in identifying any issues and ensuring a smooth reassembly.
Step 4 Remove the Brake Drum
Now it’s time to remove the brake drum. In many cases, the drum can be pulled straight off the hub. However, if the drum is stuck due to rust or debris, you may need to use a brake drum puller. Position the puller evenly on the drum and tighten it until the drum loosens and can be removed.
If there are retaining screws securing the drum, unscrew them first. Once removed, gently slide the drum off. Be careful, as brake shoes may be attached to the inside of the drum, and parts may shift unexpectedly.
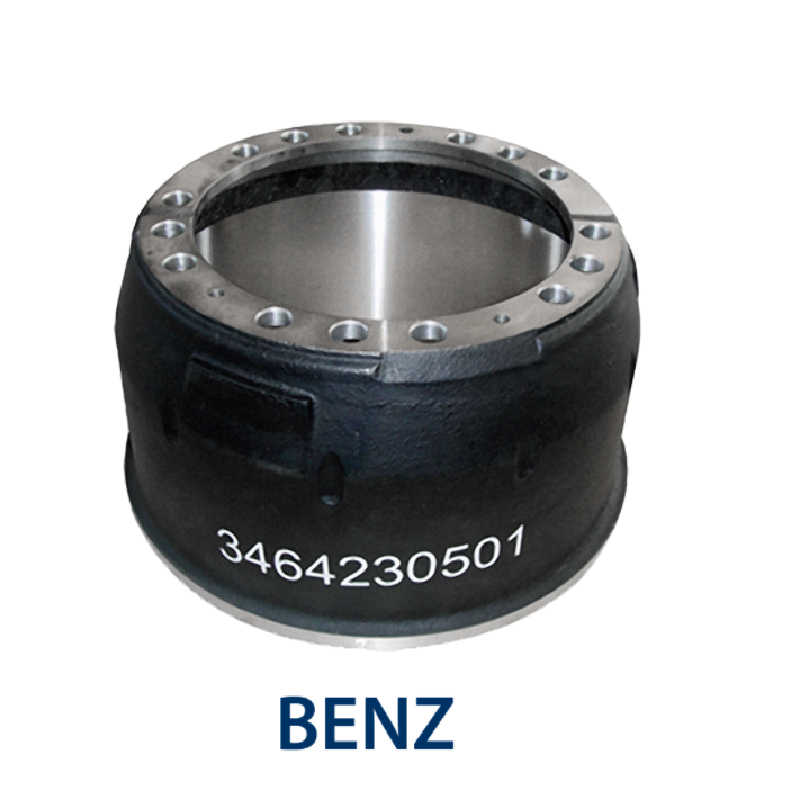
atv brake drum removal

Step 5 Inspect and Clean the Brake Drum
After removing the drum, inspect it for cracks, warping, or excessive wear. Measure the drum’s inside diameter with a caliper to ensure it's still within the manufacturer’s specifications. If the drum is damaged beyond repair, replace it with a new one.
Clean the inside of the drum with a brake cleaner and a wire brush to remove dust and grime. This is important for ensuring proper braking performance and longevity of the new brake components.
Step 6 Replace Brake Shoes (if necessary)
If you’re replacing the brake shoes, now is the time to do so. Remove the old shoes by detaching them from their mounting points and installing the new ones according to the manufacturer’s guidance. Ensure that any springs or retainers are correctly positioned.
Step 7 Reassemble Everything
Once the drum is cleaned or replaced and the brake shoes are installed, it’s time to reassemble everything. Slide the brake drum back onto the hub, ensuring there is no obstruction in the process. Secure it with any screws or locking mechanisms and tighten them properly.
Step 8 Reinstall the Wheel
After confirming everything is in place, put the wheel back on. Hand-tighten the nuts before lowering the ATV back to the ground. Once the vehicle is stable, use a torque wrench to tighten the wheel nuts to the manufacturer’s specifications.
Step 9 Test the Brakes
Before returning your ATV to regular use, conduct a brake test in a safe area. This ensures that everything is functioning correctly and that you’re ready for your next adventure.
Conclusion
Removing and inspecting the brake drum on your ATV is a straightforward process that can greatly enhance your vehicle's performance and safety. By following these steps and performing regular maintenance, you ensure that your ATV remains in top condition, ready for any off-road challenge you may encounter. Whether you're a seasoned rider or a new enthusiast, understanding the intricacies of your ATV will lead to a more enjoyable and safe riding experience.
-
HINO Industrial Solutions - ¡Ң���ຽ��е��������˾ | Advanced Efficiency&Customization
NewsJul.13,2025
-
HINO Industrial Efficiency Solutions - ¡Ң���ຽ��е��������˾
NewsJul.13,2025
-
HINO Industrial Solutions - ¡Ң���ຽ��е��������˾ | Advanced Technology&Reliability
NewsJul.13,2025
-
HINO Industrial Efficiency-Jiangsu Hino Industrial|Productivity Optimization&Cost Reduction
NewsJul.12,2025
-
HINO-¡Ң���ຽ��е��������˾|Advanced Industrial Solutions&Energy Efficiency
NewsJul.12,2025
-
Premium Brake Drum Iveco – Durable Drum Brake Drum & Brake Shoe Solutions
NewsJul.08,2025
