Oct . 19, 2024 04:35 Back to list
atv brake drum removal
ATV Brake Drum Removal A Step-by-Step Guide
All-terrain vehicles (ATVs) are designed to handle tough terrains, and their brake systems are crucial for safety and performance. Over time, brake drums can wear out or become damaged, necessitating their removal and replacement. This guide provides a detailed overview of how to safely and effectively remove brake drums from an ATV.
Tools and Materials Needed
Before starting, gather the following tools and materials
- Socket set and ratchet - Wrench set - Screwdrivers (flathead and Phillips) - Pliers - Brake cleaner - Lubricant or grease - Replacement brake drum (if needed) - Safety goggles and gloves
Safety First
Before beginning any maintenance on your ATV, ensure you are in a safe environment. Work on a flat surface, and use wheel chocks to prevent the vehicle from rolling. Always wear safety goggles and gloves to protect yourself from debris and sharp edges.
Step 1 Lift the ATV
Use a high-quality jack or ATV lift to raise the vehicle off the ground. Secure the ATV with jack stands to ensure stability while you work. Make sure the vehicle is securely lifted before proceeding.
Step 2 Remove the Wheel
Using a socket wrench, remove the lug nuts holding the wheel in place. Once the nuts are removed, take off the wheel and set it aside carefully. This will expose the brake components.
Step 3 Inspect the Brake Assembly
Before removing the brake drum, take a moment to inspect the brake assembly for any obvious signs of wear or damage. Check the brake shoes for thickness and the condition of the springs and other components. If everything looks good, proceed to the next step.
Step 4 Remove the Brake Drum
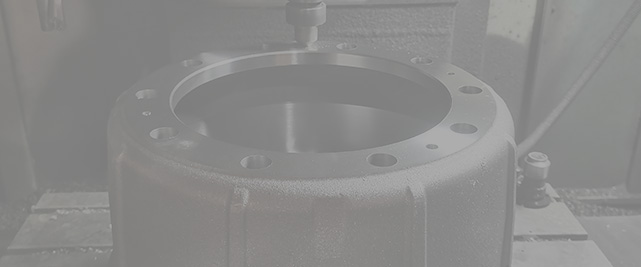
atv brake drum removal

Most ATV brake drums are secured with screws or bolts. Use the appropriate screwdriver or socket to remove these fasteners. If the drum hasn’t been removed in a while, it may be stuck due to rust or corrosion. Gently use a hammer to tap around the drum's edge, careful not to damage it, or use a rubber mallet for a more forgiving impact.
Once the drum is free, carefully slide it off the axle. Be mindful of the brake shoes, springs, and any other components that might fall out when you remove the drum.
Step 5 Replace or Inspect Components
With the drum removed, you can inspect the brake shoes and other internal components. If the shoes are worn down to the service limit, replace them with new ones. Clean the interior of the drum and the backing plate with brake cleaner to remove any dust and debris. If replacing the drum, ensure that the new drum matches the specifications of the old one.
Step 6 Reassemble the Components
Once you have either cleaned or replaced the necessary components, it's time to reassemble. Slide the new or cleaned brake drum back onto the axle. If you replaced any components, ensure they are installed correctly and securely.
Reattach any screws or bolts that hold the drum in place, making sure they are tightened to the manufacturer’s specifications. Before putting the wheel back on, apply a small amount of lubricant to any moving parts that were removed.
Step 7 Reattach the Wheel
Position the wheel back onto the hub and hand-tighten the lug nuts. Once they are secure, lower the ATV back to the ground and use a socket wrench to fully tighten the nuts in a crisscross pattern to ensure even pressure.
Step 8 Test the Brakes
Before taking your ATV on a ride, it's crucial to test the brakes. Press the brake pedal a few times to ensure the shoes and drum are properly seated, and check for any unusual noises. A quick test ride in a safe area will confirm that everything is functioning correctly.
Conclusion
Removing a brake drum from an ATV isn't an overly complicated task, but it requires attention to detail and safety precautions. Following these steps can help ensure that your ATV's braking system remains in optimal condition, providing the performance and safety needed for your off-road adventures. Always refer to your ATV's owner manual for specific guidance related to your model. Happy riding!
-
HINO Industrial Efficiency Solutions - ¡Ң���ຽ��е��������˾
NewsJul.13,2025
-
HINO Industrial Solutions - ¡Ң���ຽ��е��������˾ | Advanced Technology&Reliability
NewsJul.13,2025
-
HINO Industrial Efficiency-Jiangsu Hino Industrial|Productivity Optimization&Cost Reduction
NewsJul.12,2025
-
HINO-¡Ң���ຽ��е��������˾|Advanced Industrial Solutions&Energy Efficiency
NewsJul.12,2025
-
Premium Brake Drum Iveco – Durable Drum Brake Drum & Brake Shoe Solutions
NewsJul.08,2025
-
High-Performance Brake Drum Liza for Enhanced Safety Reliable Drum Brake Drum & Brake Shoe Solutions
NewsJul.08,2025
