Sep . 16, 2024 03:45 Back to list
Bleeding Brake Drums - Essential Guide for Safe Vehicle Maintenance
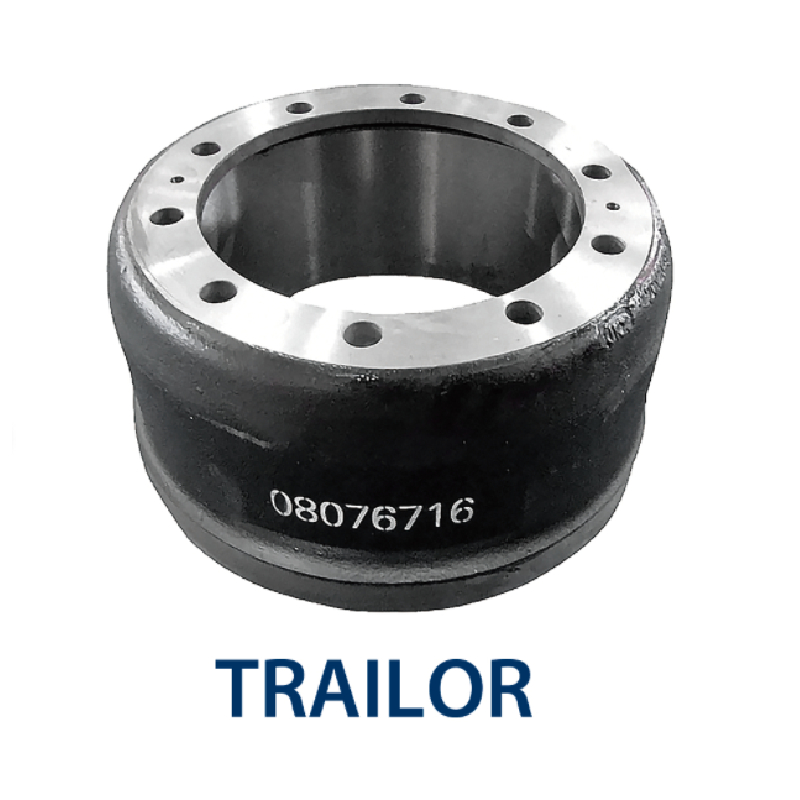
Understanding Bleeding Brake Drums A Comprehensive Guide
Bleeding brake drums is an essential maintenance task for vehicle owners, particularly for those with drum brake systems. Ensuring proper brake functionality contributes significantly to vehicle safety and performance. This article will guide you through the process of bleeding brake drums, why it’s necessary, and some tips to facilitate the task.
What is Bleeding Brake Drums?
Bleeding brake drums involves removing air bubbles from the brake fluid within the drum braking system. Air can enter the brakes through various factors such as leaks, worn seals, or during brake fluid replacement. When air infiltrates the brake line, it can lead to a spongy brake pedal feel and decreased braking effectiveness—situations that can compromise safety. Therefore, bleeding the brake drums is crucial to maintain optimal brake performance.
Why is it Necessary?
Over time, moisture can accumulate in brake fluid, reducing its boiling point and potentially leading to brake failure. When you bleed the brake system, you not only remove air but also replace old fluid with new, which helps maintain the integrity of the braking system. This maintenance task should be performed regularly, especially if you notice any decrease in braking efficiency or if it has been a while since your last service.
Tools and Materials Needed
Before you begin the bleeding process, gather the necessary tools and materials
1. Brake fluid (check your vehicle's specifications for the correct type). 2. A clear plastic tubing to connect to the bleeder screw. 3. A catch container to collect old fluid. 4. A brake bleeder kit (optional, but handy). 5. A wrench suitable for the bleeder screws. 6. A helper (for best results).
Steps to Bleed Brake Drums
bleeding brake drums

1. Preparation Park your vehicle on a flat surface and secure it using wheel chocks. Ensure the engine is off and the parking brake is engaged.
2. Locate the Bleeder Screw Identify the bleeder screw on each brake drum. Typically, it is found on the wheel cylinder.
3. Open the Bleeder Screw Starting with the brake farthest from the master cylinder (usually the rear passenger side), use a wrench to loosen the bleeder screw slightly. Be careful not to remove it completely.
4. Pump the Brake Pedal Have your helper pump the brake pedal several times and hold it down. This action will build up pressure in the system.
5. Release Air and Fluid While your helper is holding the brake pedal down, open the bleeder screw. You will see brake fluid and potentially air bubbles flowing out. Close the screw before your helper releases the pedal to prevent air from re-entering the system.
6. Repeat Repeat this process until you see a steady stream of brake fluid without bubbles. Don't forget to check the brake fluid reservoir regularly and top it up to prevent it from running dry.
7. Final Steps Once all drums have been bled, ensure all bleeder screws are tightened and recheck the brake fluid level one last time.
8. Test Drive After bleeding the brakes, take your vehicle for a short test drive to ensure the braking system feels solid.
Conclusion
Bleeding brake drums is a straightforward but vital maintenance task that every vehicle owner should be aware of. Regularly performing this procedure not only enhances safety but also extends the life of your braking system. If you are unsure about the process or uncomfortable performing it yourself, seeking assistance from a professional mechanic is always a wise choice. Your safety is paramount, and well-maintained brakes are crucial for safe driving.
-
Explore Japan: Ultimate Travel Guide & Authentic Experiences
NewsAug.19,2025
-
Your Brake Drum Man: Premium & Reliable Brake Drums for Sale
NewsAug.18,2025
-
ROR Web Development: Build Fast, Scalable, Secure Apps
NewsAug.17,2025
-
Scania Brake Drums: OEM Quality for Optimal Safety & Durability
NewsAug.16,2025
-
R.V.I: Advanced Remote Visual Inspection for Precision
NewsAug.15,2025
-
Discover HYUNDA: Innovative Vehicles, Equipment & Solutions
NewsAug.14,2025
