Nov . 11, 2024 21:48 Back to list
brake drum diameter measurement
Understanding Brake Drum Diameter Measurement
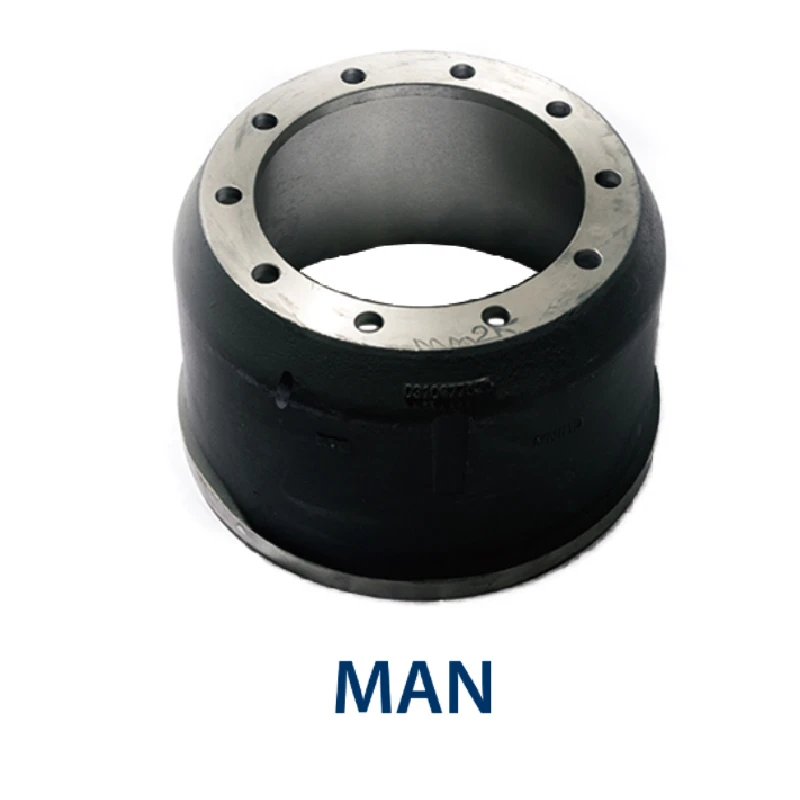
Brake drums are crucial components in a vehicle's braking system, designed to work seamlessly with brake shoes to provide the necessary stopping power. The effectiveness of a braking system is largely dependent on the proper functioning of its components, including the diameter of the brake drum. Understanding how to measure the brake drum diameter accurately is essential for maintaining vehicle safety and performance.
The Importance of Brake Drum Diameter
The diameter of a brake drum directly influences the braking efficiency and overall performance of a vehicle. A proper diameter ensures that the brake shoes engage correctly with the drum, allowing for maximum surface contact and effective heat dissipation. If the diameter is too small or too large, it can lead to uneven wear, reduced braking power, and potentially hazardous situations on the road.
Tools Required for Measurement
To measure the diameter of a brake drum accurately, you will need the following tools
1. Caliper A digital or mechanical caliper is essential for precise measurements. 2. Measuring Tape For larger drums or if a caliper isn't available. 3. Straight Edge Useful for ensuring the measurement is taken across the widest part of the drum. 4. Vernier Scale Optional, but can provide more accurate readings, especially when measuring inner diameters directly.
Step-by-Step Measurement Process
1. Preparation Start by safely lifting the vehicle and removing the wheel to access the brake drum. Ensure the brake drum is clean and free of debris, as dirt and grime can affect the accuracy of the measurement.
2. Position the Caliper Use the caliper to measure the diameter. If you are measuring the external diameter, place the caliper jaws on opposite edges of the drum. For internal measurements, insert the caliper into the drum and open it carefully until it contacts the inner walls.
brake drum diameter measurement

3. Take Multiple Readings It is advisable to take multiple measurements at different points around the drum to ensure consistency and accuracy. Variations in the readings may indicate warping or uneven wear of the drum.
4. Record Measurements Document the measurements carefully, noting the highest and lowest readings. This will help you identify any irregularities in the brake drum’s diameter.
5. Evaluate Measurements Once you have your measurements, compare them against the manufacturer’s specifications. This will help determine whether the drum is within acceptable limits. If the diameter is significantly less than specified, it may indicate that the drum has been worn down and needs to be replaced.
Common Issues Related to Brake Drum Diameter
1. Warping Excessive heat can cause brake drums to warp, leading to inconsistent measurements and performance issues. A warped drum can result in pulsating brakes, making it essential to measure and evaluate regularly.
2. Worn Drums As brakes are used, wear can occur, decreasing the diameter. This not only affects braking performance but also can lead to brake fade and longer stopping distances.
3. Incorrect Installation If a drum is installed improperly, it can cause uneven wear, which will affect the measurement. Ensuring that drums and shoes are installed correctly is vital for maintaining appropriate diameters.
Conclusion
Measuring the diameter of a brake drum is a vital aspect of vehicle maintenance that ensures safety and optimal performance. Regular checks can prevent larger issues, prolong the life of brake components, and enhance overall vehicle efficiency. As vehicle technology evolves, understanding these fundamental components remains essential for both professional mechanics and everyday drivers alike. Always consult manufacturer specifications and guidelines to ensure that all measurements and findings correlate with the safety standards expected in modern vehicles.
-
Durable Brake Drum MAZ for Heavy Duty Trucks | High Performance
NewsAug.26,2025
-
FUWA: Premium Quality, Reliable Performance & Innovative Solutions
NewsAug.25,2025
-
Liza Brake Drum: Superior Quality & Performance for Safe Driving
NewsAug.24,2025
-
Iveco Brake Drum | Premium OE Quality for Daily & Eurocargo
NewsAug.22,2025
-
Your Brake Drum Man: Quality & Performance Parts
NewsAug.21,2025
-
Explore Japan: Ultimate Travel Guide & Authentic Experiences
NewsAug.19,2025
