Dec . 07, 2024 02:40 Back to list
Tips for Rebuilding Your Brake Drum System Effectively and Safely
A Comprehensive Guide to Brake Drum Rebuild
Brake systems are critical for the safe operation of any vehicle, and the brake drum is a key component in this system, particularly in older models and certain vehicles like trucks. A brake drum rebuild can not only restore the performance of your vehicle’s braking system but also improve overall safety. In this article, we will explore the process of rebuilding brake drums, the tools required, and some tips for ensuring a successful rebuild.
Understanding Brake Drums
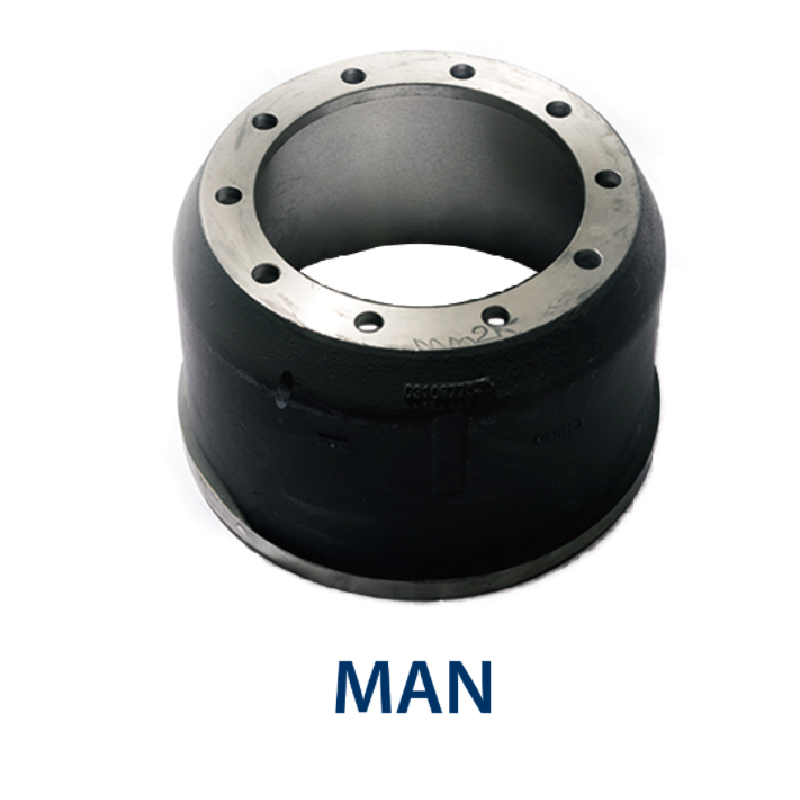
Brake drums are part of a drum brake system, where friction material (brake shoes) presses against the inner surface of the drum to create the stopping force. Over time, drums can become warped, worn out, or damaged, which can lead to decreased braking efficiency and increased stopping distances. Therefore, rebuilding your brake drums can be a prudent maintenance step that offers better performance and longevity.
Tools and Materials Needed
Before beginning the rebuild process, it’s essential to gather the necessary tools and materials. Here’s a list to get you started
1. Tools - Tire iron - Jack and jack stands - Brake drum puller - Brake cleaner - Micrometer or caliper - Screwdrivers - Wrenches - Torque wrench - Hammer - Safety glasses and gloves
2. Materials - New brake shoes - Brake drum hardware kit (springs, retainers, etc.) - High-temperature grease - Replacement drums (if necessary)
Step-by-Step Guide to Rebuilding Brake Drums
1. Preparation Begin by parking your vehicle on a level surface and engaging the parking brake. Gather all tools and materials to ensure you have everything at hand before you start the process.
2. Removing the Wheel Using the tire iron, loosen the lug nuts of the wheel before lifting the vehicle with a jack. After securing it with jack stands, remove the lug nuts completely and take off the wheel.
brake drum rebuild

3. Inspect the Brake System With the wheel off, inspect the brake components for wear and damage. Check the brake shoes, drum, and hardware. If they show signs of excessive wear, consider replacing them rather than rebuilding.
4. Removing the Brake Drum Depending on your vehicle, you may need to remove the retaining screws holding the brake drum in place. If the drum is stubborn, a brake drum puller can help. Gently tap the drum with a hammer if it doesn't come off easily.
5. Cleaning the Drums or Replacing If the drums are still within specification, clean them thoroughly using brake cleaner. Inspect for cracks or significant wear. If replacing, ensure the new drums are correctly sized for your vehicle.
6. Measuring for Specifications Use a micrometer or caliper to measure the inner diameter of the drum. Compare these measurements with the manufacturer’s specifications to determine if the drum can be refurbished.
7. Installing New Brake Shoes Install new brake shoes, ensuring that all hardware is in good condition. Apply high-temperature grease to the contact points to avoid squeaking and promote smooth operation.
8. Reinstalling the Brake Drum Once the shoes are in place and adjusted, carefully slide the brake drum over the new shoes. Make sure it spins freely and does not drag.
9. Reassembling the Wheel Reattach the wheel and tighten the lug nuts in a crisscross pattern to ensure even pressure. Lower the vehicle back to the ground and recheck the torque on the lug nuts.
10. Test Drive Before hitting the road, do a slow test drive to ensure everything is functioning properly. Listen for unusual noises and check that the brakes respond effectively.
Conclusion
Rebuilding your brake drums can be a fulfilling DIY project that enhances your vehicle’s safety and performance. While it requires some mechanical skill and attention to detail, following this guide will help ensure a successful rebuild. Regular maintenance of your braking system is vital; not only does it improve your vehicle’s reliability, but it also keeps you and your passengers safe on the road. Always consult your vehicle’s service manual and, when in doubt, seek assistance from a professional mechanic.
-
Durable Brake Drum MAZ for Heavy Duty Trucks | High Performance
NewsAug.26,2025
-
FUWA: Premium Quality, Reliable Performance & Innovative Solutions
NewsAug.25,2025
-
Liza Brake Drum: Superior Quality & Performance for Safe Driving
NewsAug.24,2025
-
Iveco Brake Drum | Premium OE Quality for Daily & Eurocargo
NewsAug.22,2025
-
Your Brake Drum Man: Quality & Performance Parts
NewsAug.21,2025
-
Explore Japan: Ultimate Travel Guide & Authentic Experiences
NewsAug.19,2025
